


Managing your orders
Wix Stores: Creating Automated Responses for Product Purchases
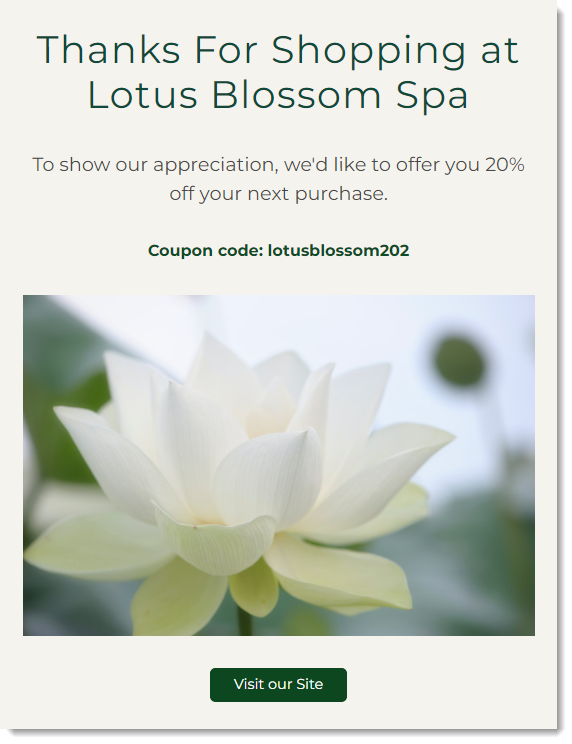
Keep customers engaged by creating an automated response that they receive after purchasing your products. For example, you can send an email with a coupon offer that arrives 10 days after the initial product purchase.
Step 1 | Set up the trigger
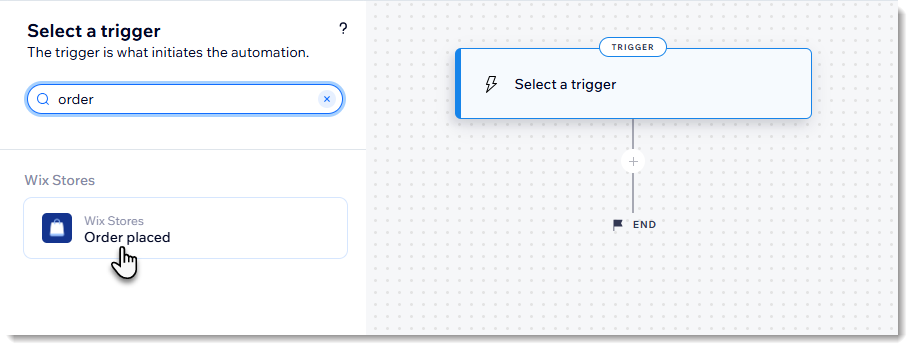
The trigger is what sets the automation in motion. In this case, the trigger you want to select is Order placed.
To select the 'Order placed' trigger:
Go to Automations in your site's dashboard.
Click + New Automation.
Click + Start from Scratch on the left.
Click the title at the top left to give the automation a name.
Search for Order placed on the left and select it.
Step 2 | Add to your automation
Now you can start customizing what happens when the trigger occurs. Take a moment to consider the best time to send the automated response. Customers probably won't want to receive a reminder right after completing a purchase. You may get better results by sending your message a week or two later. Set the timing by adding a delay.
Step 3 | Select products
The automations builder also allows you to add a condition. One example of a condition is that the order includes specific products.
For example, if you sell 7 types of soaps, you can add the condition that at least one of those soaps must be purchased to set the automation in motion.
To select which products trigger the response:
Click the
 icon to add a step.
Select Condition.
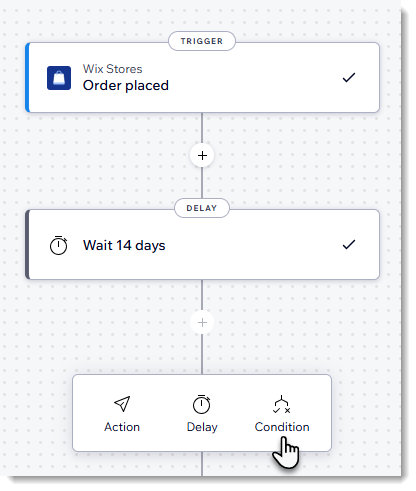
Select Ordered item ID from the first drop-down.
Select Includes any of from the second drop-down.
Select the relevant products (up to 50).
Learn more about adding a condition to an automation.
Step 3 | Choose the automated response
Wix offers a variety of ways to respond to clients after a trigger is activated. Choose whether you want to send an email, a chat message, or maybe you can email your customer a coupon to encourage them to make another purchase.
Important:
If you're sending an email, make sure to customize the message and design your email to suit your brand.