Managing your events
Wix Events: Setting When Registration is Open or Closed
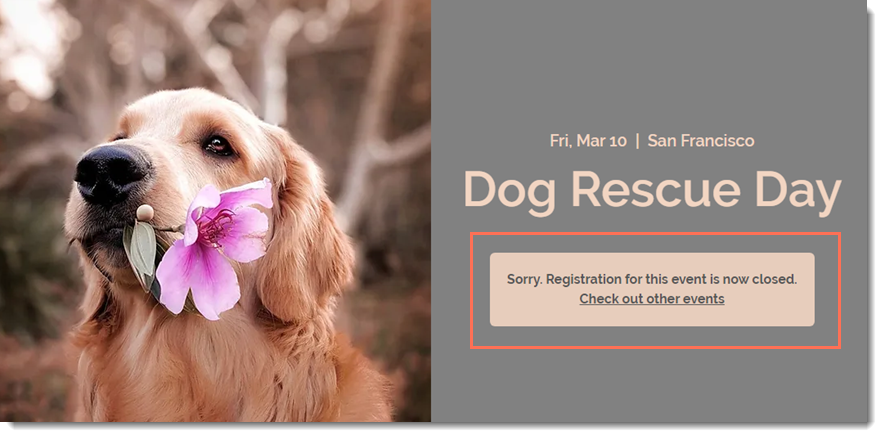
Guests can register for your event only when the registration status is "Open". When the status is closed, site visitors see a "Registration is closed" message on the Events Details page. You can change the open/closed status at any time.
In this article, learn how to:
Changing the status to "Open" or "Closed"
Any time you want to manually open registration up or close it, you can do so.
To open or close event registration:
Go to Events in your site's dashboard.
Click to select the relevant event.
Click the Settings tab.
Click Edit next to Registration settings.
Click Open or Closed to change the current status.
Click Save.

Note:
You can change the registration status to "Open" to allow guests to register after an event has started.
Selecting dates when registration opens and closes (RSVP Events)
You might want to decide in advance when registration for your RSVP event opens or closes. For example, if you know you want to open registration a month in advance and close it 3 days before your event begins, you can select the relevant dates.
To select when registration opens and closes:
Go to Events in your site's dashboard.
Click to select the relevant event.
Click the Settings tab.
Click Edit next to Registration settings.
Select Custom Dates.
Select an opening date and time.
Select a closing date and time.
Click Save.
Selecting dates when registration opens and closes (Ticketed Events)
You can set when ticket sales open and close per ticket. This way, you have the option of setting separate dates for "early bird" tickets, and other dates for regular tickets.
To select when registration opens and closes:
Go to Events in your site's dashboard.
Click to select the relevant event.
Click the Tickets tab.
Start creating a ticket or edit and existing one.
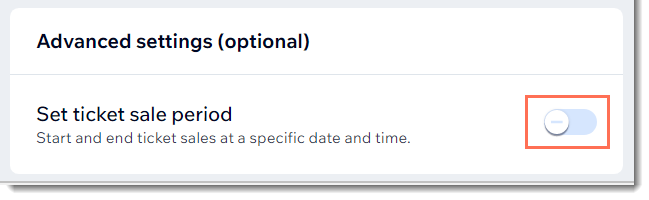
Scroll down to the bottom and click the Set ticket sale period toggle to enable it.
Select the date and time that ticket sales open.
Select the date and time that ticket sales close.
(Optional) Select the Hide tickets from the event details page when they are not on sale checkbox.
Click Save.
Editing the "Registration is Closed" message
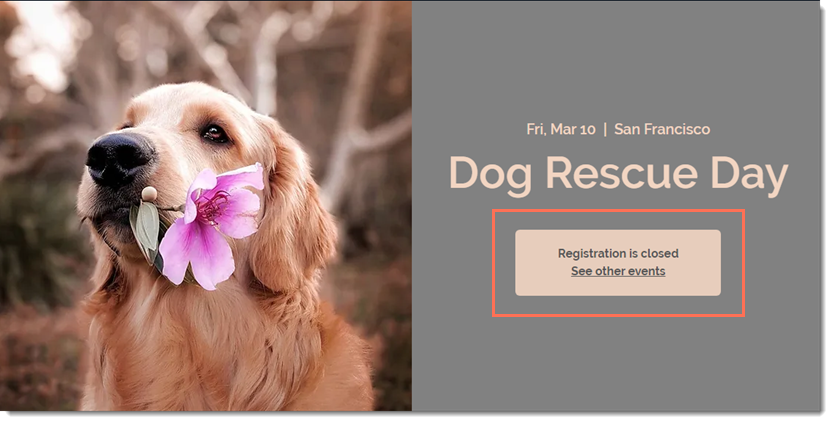
When registration is closed and visitors try to register, they see a message informing them that the event is not open for registration. You can edit this text.
To edit the "Registration is Closed" message:
Go to Events in your site's dashboard.
Click to select the relevant event.
Click the Settings tab.
Click Edit next to Registration closed message.
Edit the message or button text.
Click Save.