


Customizing Wix Bookings pages
Wix Bookings: Displaying Different Services on Different Pages
Display different types of services on separate pages by creating several service lists. Then choose which services you want to display in each list. This keeps your services organized and easier to book.
Other display options:
In this article, learn more about:
Adding and setting up an additional service list
Categorize different services you offer by creating another service list page. This makes it easier for your clients to find and book the service they need.
To add another service list:
Wix Editor
Studio Editor
Click Add Elements
 on the left side of the editor.
Click Bookings.
Click Service List then select a Service List template.
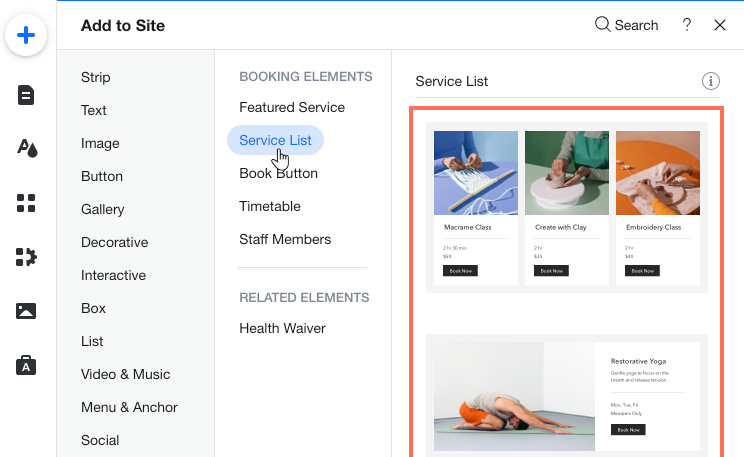
Click the Service List element on your page.
Click Settings.
Click the Services tab.
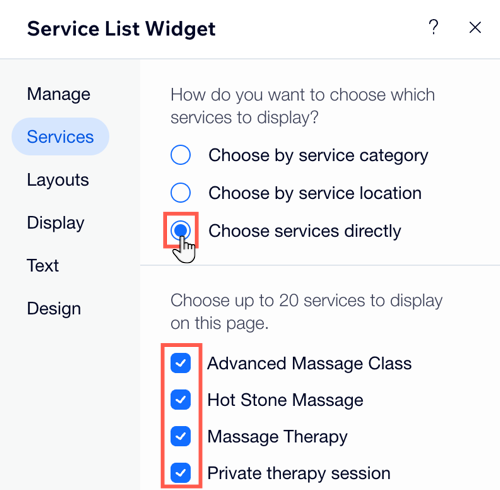
Under How do you want to choose which services to display?, select the checkbox next to the relevant option: Choose by service category, Choose by service location, or Choose services directly.
Click to select the checkbox next to the relevant categories, locations, or services you want to display. The options you see depend on your choice in step 9 above.
Click Save.
Click Publish when you're ready to make your changes go live.
Setting up a page with services for site members only
Offer certain services for site members only. This is a great way to reward your regular clients.
To set up a page with services for site members only:
Wix Editor
Studio Editor
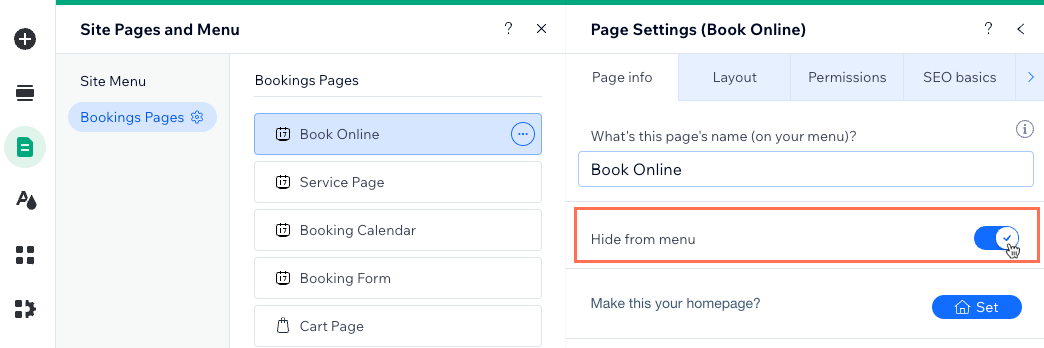
Hide the Book Online page from your site's menu:Click Pages & Menu
 on the left side of the editor.
Click Bookings Pages.
Click the More Actions icon next to the Book Online page and select Settings.
Enable the Hide from menu toggle.
Click Site Menu in the Site Pages and Menu panel.
Click + Add Menu Item at the bottom of the Site Pages and Menu panel and select New Page. Then select a preset page or a blank page for displaying your members only services.
Add a Service List (see adding and setting up an additional service list).
Click the Service List widget on your page.
Click Settings.
Click the Services tab.
Select only the services that you are reserving for site members.
Set the page permissions to Members Only:Click Pages & Menu
 on the left side of the editor.
Click the More Actions icon next to the new page.
Click Settings.
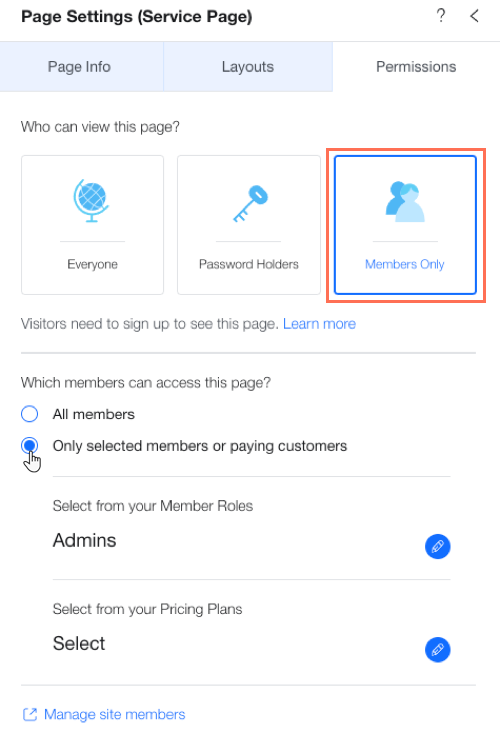
Click the Permissions tab.
Select Members Only.
Select Only selected members or paying customers.
Select which Member Roles and Pricing Plans gain access to the new page.
Click Save.
Click Publish when you're ready to make your changes go live.