top of page

wix studio

Adding and Setting Up Flexboxes

Use flexboxes to streamline the display of your site content. Flexboxes are layout tools that are made up of responsive containers, so they automatically adjust to your visitors' screen sizes.

Step 1 | Add a flexbox

Open the Add panel to select a flexbox preset and drag it onto your page. There are many designs to choose from according to the type of content you need to display (e.g. images only, images and text, etc.)

To add a flexbox:

  1. Click Add Elements  on the left side of the Editor.

  2. Click Layout Tools.

  3. Click Flexboxes.

  4. Drag and drop your chosen flexbox onto the page.
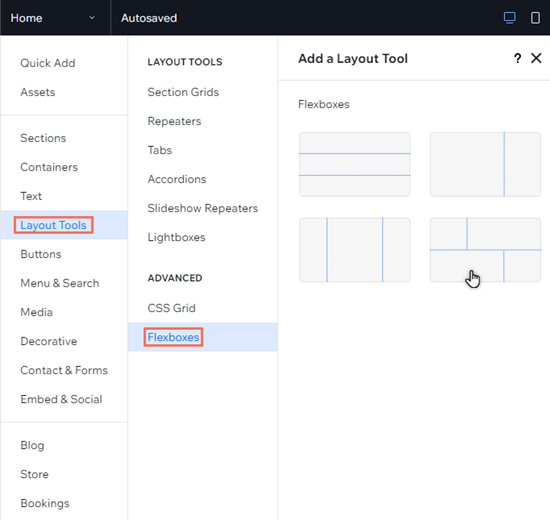
The Add elements panel in the studio editor. The cursor is hovering over a flexbox layout.

See how it works:

Drag the handles on your canvas to see how the content of the flexbox seamlessly reorganizes across breakpoints.

Step 2 | Add items to your flexbox

A flexbox is made up of several items that are responsive containers. You can change the number of items in a flexbox and it will automatically resize the items to fit the available space.

To add a new item, you can click Add Item or use the Manage Items panel in the Inspector.
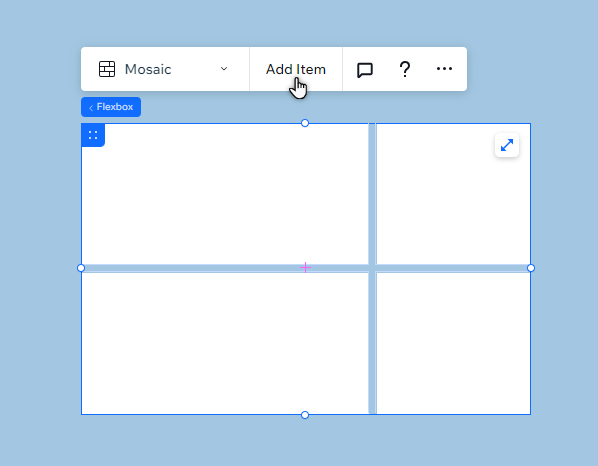
A blank flexbox in the Editor. The cursor is hovering over the Add items button.

Step 3 | Add elements to your flexbox

Choose what you want to display in your flexbox by adding adding elements to the items. You can hide or show elements on different breakpoints to create a unique experience for visitors, no matter the device.

To add elements to an item:

  1. Click Add Elements  on the left side of the Editor.

  2. Select the element type you want to add.

  3. Click your chosen element to add it to your page.

  4. Drag the element to the flexbox item, and drop it when you see Attach.
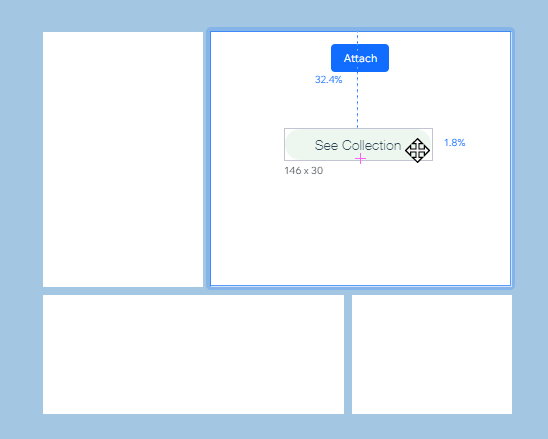
A button that has been dragged to a flexbox. The Attach message is displayed.

Need A Professional Website?
Contact Us 
Today!

Wix Forms: Troubleshooting

Wix Forms: Removing a Form from Your Site

Wix Forms: Saving Your Form Data to Your Contacts

Wix Forms: Creating Automated Email Responses for Form Submissions

Wix Forms: Choosing Who Gets Notified About Form Submissions

Wix Forms: Viewing and Managing a Submissions Table

Wix Forms: Customizing the Success Message and Thank You Page of Site Forms

Wix Forms: Designing Your Site Forms

Wix Forms: Adding a Signature Field

Wix Forms: Protecting Your Site Forms from Spam

Wix Forms: Adding a Subscriber Opt-In Checkbox to a Site Form

Wix Forms: Adding a File Upload Field

Wix Forms: Managing Your Form Fields

Wix Forms: Managing Your Standalone Form Fields

Wix Forms: Translating Your Forms with Wix Multilingual

Wix Forms: Adding and Setting Up a Standalone Form

Wix Forms: Adding and Setting Up a Form on Your Site

Wix Forms: An Overview

Wix Functions: Creating a Custom Loyalty Program Reward

Wix Functions: Adding Custom Validations to Your Forms

Wix Functions: Adding Additional Fees at Checkout

Wix Functions: Creating a Function

Wix Automations: Understanding Conditions Operators

Wix Automations: Using the Run Velo Code Action

Wix Automations: Troubleshooting Wix Automations

Wix Automations: Creating a Multi-Action Automation

Wix Automations: Sending Data via Webhook

Using Zapier to Automate Connections with Third-Party Apps

Wix Automations: Sending Data to Google Sheets

Wix Automations: Managing Your Automations

wix experts
Graphic2Traffic web design
©
bottom of page