


Managing products and categories
Wix Stores: Importing Products to Wix Stores
Planning to move from another eCommerce platform to Wix Stores? We're glad to have you on board. You can import your products using our Wix CSV template file to get your store up and running.
Before you begin:
To migrate products from a store built on another eCommerce platform, first go to that platform and export your product data. Then, go to step 1 below.
To migrate from another Wix store, go to the site and export your products. Then, skip to step 2 below (Adding your products) to import the products to your new store.
To learn how to export and import products from the same store, click here.
Step 1 | Download the Wix CSV Template File
Download the Wix CSV template file and save it on your computer. This file comes with 3 sample products, 2 of which have product variants. These are examples to help you understand how to add your products to the file.
To download the Wix CSV template file:
Go to the Store Products tab in your site's dashboard.
Click More Actions.
Click Import.
Click Download CSV File.
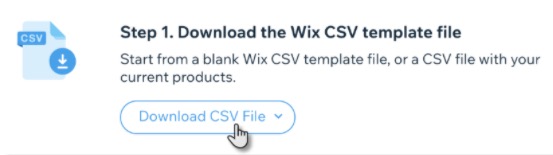
Choose an option:Blank Wix CSV template: Import products from another store.
Wix CSV with your products: Update existing products. Learn more
Open the CSV file.
Note: Mac users should open the file with Numbers or Excel version 15 or higher.Save the downloaded file in CSV (Comma delimited) format.
Note:
You can also click here to download the Wix CSV template file.
Step 2 | Add Your Products & Upload the File
Add your products to the template file you downloaded. Once you're ready, upload the file to your store.
Adding your products
Enter the product data into the template, following the instructions in the table below. You must also follow these guidelines:Do not add or delete columns.
Do not edit column names.
Each product must have a handleId, name, fieldType, price.
Each variant must have a handleId, fieldType, optionChoices.
If you're unsure how to fill out non-mandatory fields, leave them blank and make changes to products later.
Your file from another platform may have fields not found in the Wix CSV Template file. Do not add them.
Delete the rows of sample data.
Note: You can also leave the sample data and delete the sample products after the import.Save the file in a CSV format.
Once all the data has been entered, you can go back to the Store Products tab and upload the file.
Uploading the CSV file
Go to the Store Products tab in your site's dashboard.
Click More Actions.
Click Import.
Click Upload CSV File.
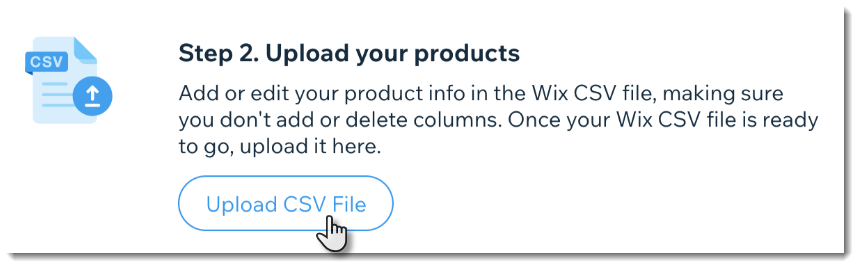
Upload the updated file you saved and click Continue.
Read the import review and check for error messages.
Do one of the following:No products with errors: Click Import Products to complete the process.
Products with errors: If you have products with errors, you can either correct the errors and import again (see instructions below) or import your products as is. If you go ahead and import without fixing errors, only products without errors are imported.
Note: If you decide to import without correcting the errors, first click View Errors so that you know which products or variants are not imported.
Important:
Product images may take up to one hour to upload if you have many products. You can continue to make changes in your store while the images upload in the background.
Tip:
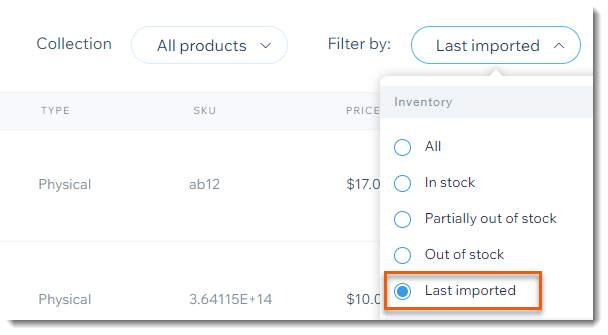
To view your imported products, go to the Store Products tab in your site's dashboard and select Last imported from the Filter by by drop-down.
Dealing with Errors
If any of the rows in the file contain a critical error, it is displayed in the Import review.
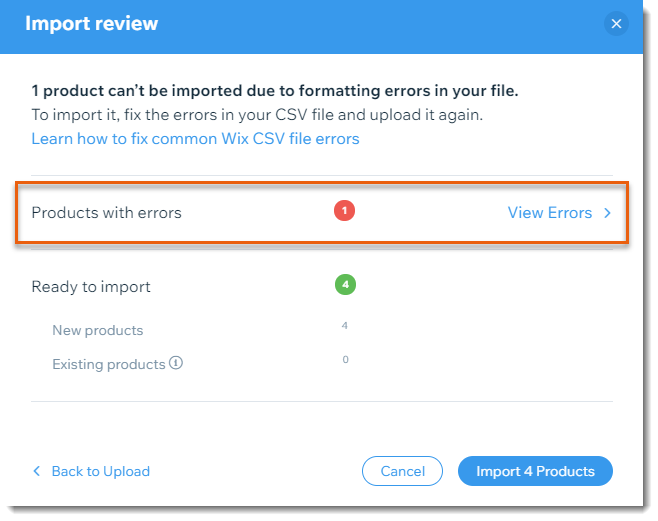
To handle errors & upload a corrected file:
Click View Errors.
View the specific error in the Error column.
Note: For information on what each error means, click here.
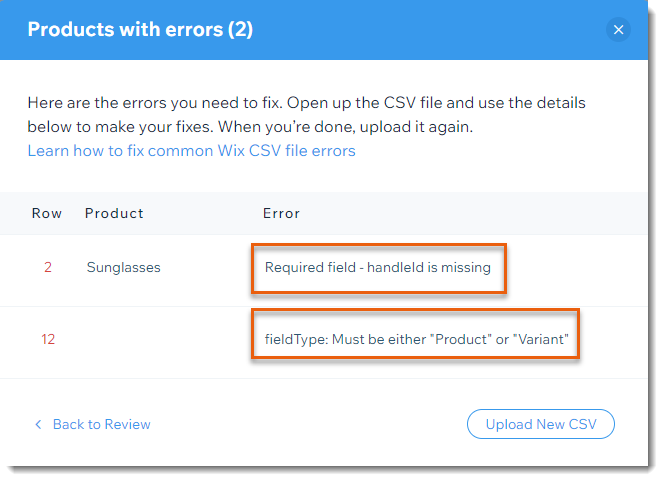
Open the CSV file.
Correct the errors.
Save the CSV file.
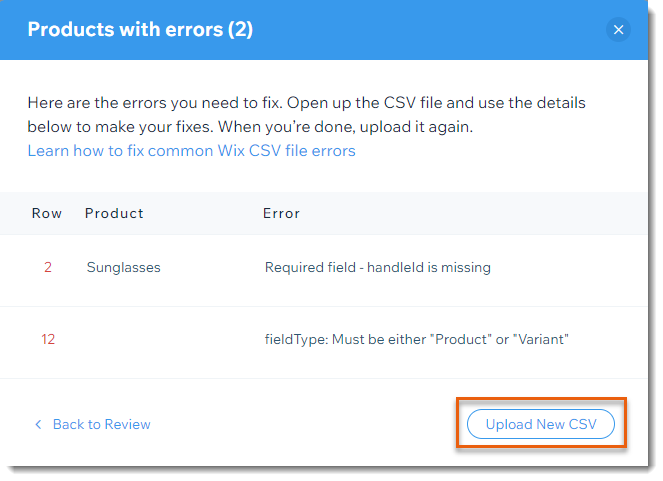
When you're ready, click Upload New CSV to import the corrected file.
Note: It may take a few minutes to complete the import process.
FAQs
Can I use the import tool to make bulk edits to products in my existing Wix store?
Yes. You can export your existing products to a spreadsheet. There, you can quickly update multiple products. When you're ready, use the import tool to upload your changes. Learn more
Can I use the import tool to move products from one Wix store to another?
Yes. Start by exporting products from the old store. Then, add the products to the new store (see Uploading your CSV file).
Are there other ways to migrate from other eCommerce platforms?
You can use the Cart2Cart third-party app to migrate from other platforms:
Migrate from Shopify. Learn how
Migrate from other eCommerce platforms. Learn how
Migrate from iZettle using the Import from iZettle app. Learn how
How many products can I import using one file?
You can import up to 5,000 rows per CSV file.
Can I import digital products?
No. Importing files containing digital products is currently not supported. Vote for this feature.
I need to add image URLs to the template. How do I find an image URL?
Go to the live site where the image is displayed and navigate to the image.
Right click on the relevant image.
Click Copy image address.

Can I import a product file with non-Latin characters?
Yes, but product files with data containing non-Latin characters (e.g. data written in Japanese, Hindi, Arabic) may not upload correctly. To fix this, save the file according to these instructions:
Upload your CSV file to Google Sheets. Learn how
Click File, then select Download.
Select Comma-separated values.
Note: Do not open the file.

Can I upload a file with superscript or subscript characters?
Special characters (e.g. trademark signs, registered trademark symbols) display incorrectly when imported. We suggest you remove them from the file and then add them manually to product names, descriptions, or into sections after the import.
What happens if I import from a store with a different currency?
Prices of imported products appear in the currency set in your Wix Store. For example, if your Wix store currency is USD and you import a product whose price was set at 50 Euros, it changes to $50.