


Designing Wix Events
Wix Events: Customizing Your Registration Form Page
The Registration Form page contains your event's registration form. Visitors enter their details on this page to register for an event. Note that the registration form page for a ticketed event has different fields than one for a non-ticketed event.
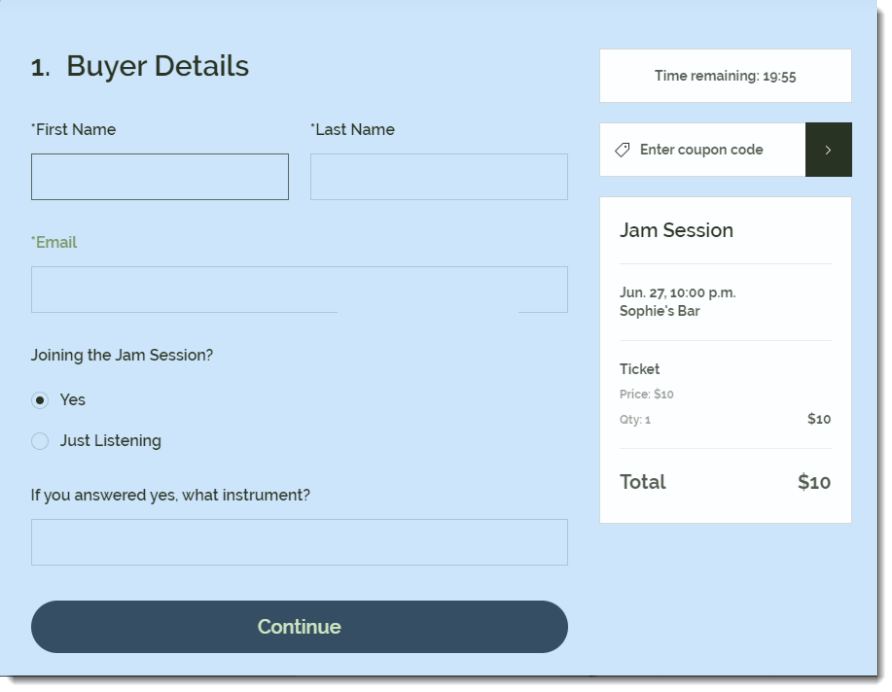
Visitors reach this page after clicking the RSVP button on your Event Details page (if enabled) or on the main screen of the app (if the Event Details page is disabled).
Note:
The instructions below show you how to set up the Registration Form page. Click here to learn how to set up the registration form itself.
To customize your Registration Form page:
Wix Editor
Studio Editor
Go to the Event Details & Registration page:Click Pages & Menu
 on the left side of the editor.
Click Event Pages.
Click Event Details & Registration.
Click the Event Details element on your page.
Click Settings.
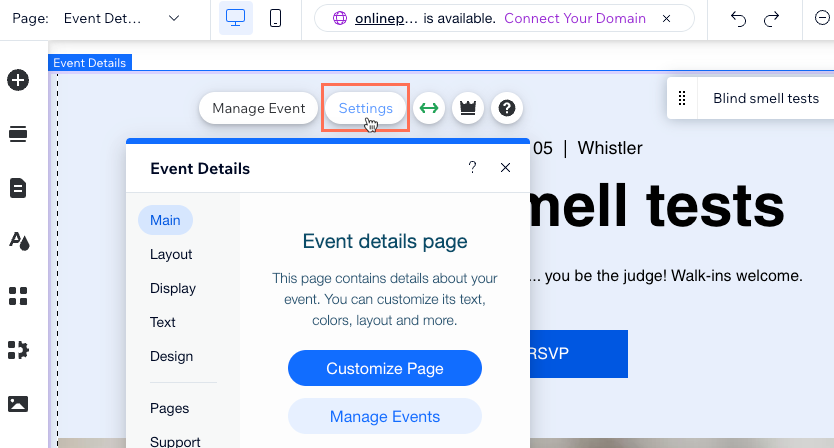
Click the Pages tab.
Click Go to Page next to Registration form page.
Select the Registration Form on the page.
Click Settings.

Click the Design tab to customize the design of the form page:
Note: Click Back at the top left of the panel between each of the following steps.
Click General and customize the design of the form:Registration form title: Customize the font and change the color of the form title.
Text: Customize the font and change the color of the field labels (e.g. First Name, Last Name).
Page background opacity & color: Drag the slider to change the opacity and select a color for the page background.
Click Event Info and customize the Event Info section (if shown):Event Info Text: Customize the font and change the color of the title text (event name).
Text Style: Customize the font of the info text.
Background Opacity & Color: Drag the slider to change the opacity and select a color for the background of the Event Info section.
Border Opacity & Color: Drag the slider to change the opacity and select a color for the border of the Event Info section.
Border Width: Drag the slider to change the width of the border of the Event Info section.
Click Button and customize the RSVP button:Choose a Style: Select a preset style for the button.
Font Style: Customize the font and select the color of the button text.
Background Opacity & Color: Drag the slider to change the opacity and select the color of the button background.
Corner Radius: Drag the slider to change the corner radius (the higher the radius, the rounder the corners).