


Managing your orders
Wix Stores: Creating Invoices for Store Orders
You can create invoices to request payment for store orders or to create a record for you and your customers.
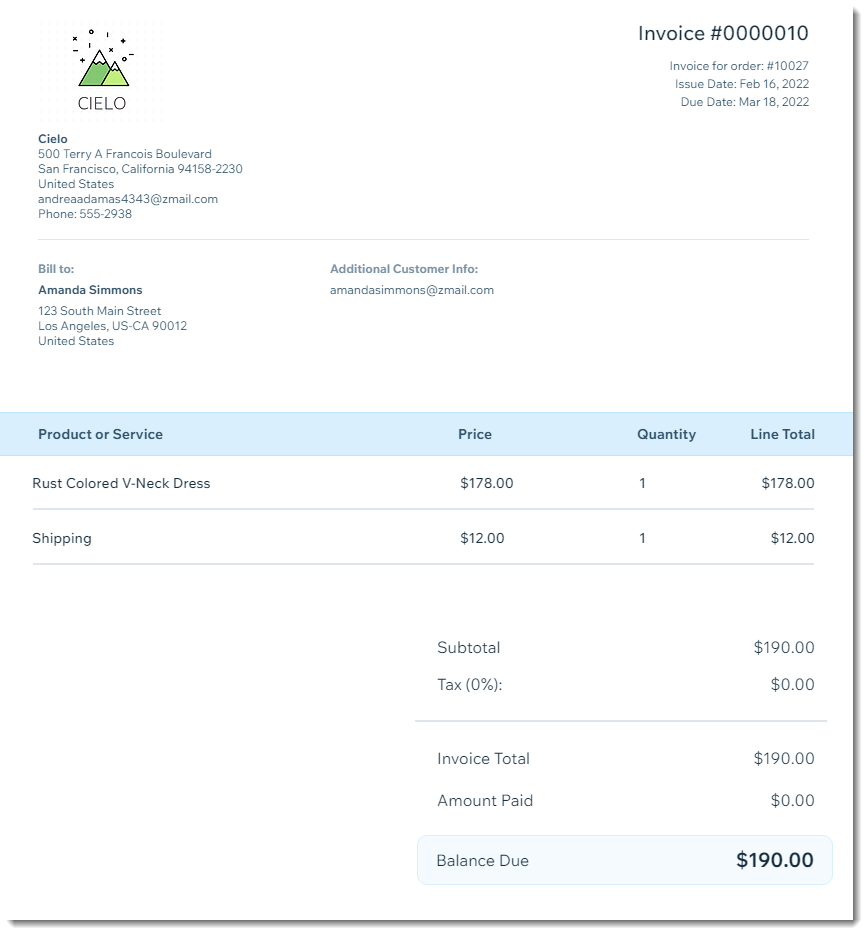
Before you start sending invoices, make sure your company details are displayed at the top of the invoice.
In this article, learn how to:
Create an invoice from scratch (not from a store order)
Setting up invoices
Add your company logo and business details so they appear at the top of your invoices. You can also add other elements such as a due date field or legal terms.
To set up your invoices:
Go to Invoices in your site's dashboard.
Click Get Started.
Enter your basic business information:Enter your Business Name.
Enter your Business Email Address.
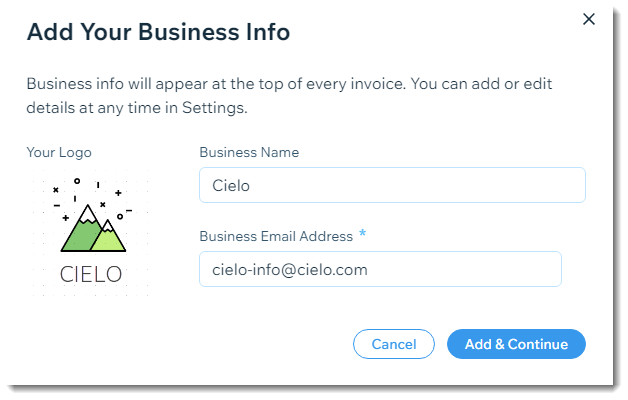
(Optional) Add a business logo:Click the Plus icon
 .
.
Upload a logo and click Add to Page.
Click Add & Continue.
Add additional customizations:Go to Invoice Settings in your site's dashboard.
Personalize your invoices to show your business info, notes and more.
Don't have a business logo yet?
Use the Wix Logo Maker to create a logo for your business.
Automatically creating invoices for each order
You can set your store to automatically create an invoice every time an order is paid online. These invoices have a balance of $0.00 because the order has already been paid.
Invoices are only created for:
Orders paid online through your site (not with the manual payment method)
Orders for which you have the buyer's email address
Orders for which you have not yet created an invoice
To automatically generate an invoice for every order:
Go to Checkout settings in your site's dashboard.
Click the Invoices toggle to enable automatic invoicing.
Note:
If you issue a partial or complete refund on a store order, the invoice doesn't update to reflect the refund amount.
Manually creating an invoice for paid orders
Create invoices for store orders that have the "paid' status so you or your customers have an official record of the purchase. You can create an invoice for a single order, or select multiple orders and create invoices for all of them at once.
To manually generate an invoice for paid orders:
Go to Orders in your site's dashboard.
Click the relevant paid order.
Click the More Actions drop-down.
Select Create Invoice.
Click Create Invoice to confirm.
(Optional) Share, print, or email the invoice using the links at the top.
Tip:
You can also create invoices for multiple orders at once:
Select the checkboxes next to the relevant orders or click the top checkbox to select all.
Click Create Invoice.
Click Create Invoice to confirm.
Requesting payment via invoice for an unpaid order
You can create an invoice for an unpaid order to request payment from your customer.
If you send the invoice to your customer by email or as a shared link, they can click to pay for it online using any of your payment methods.
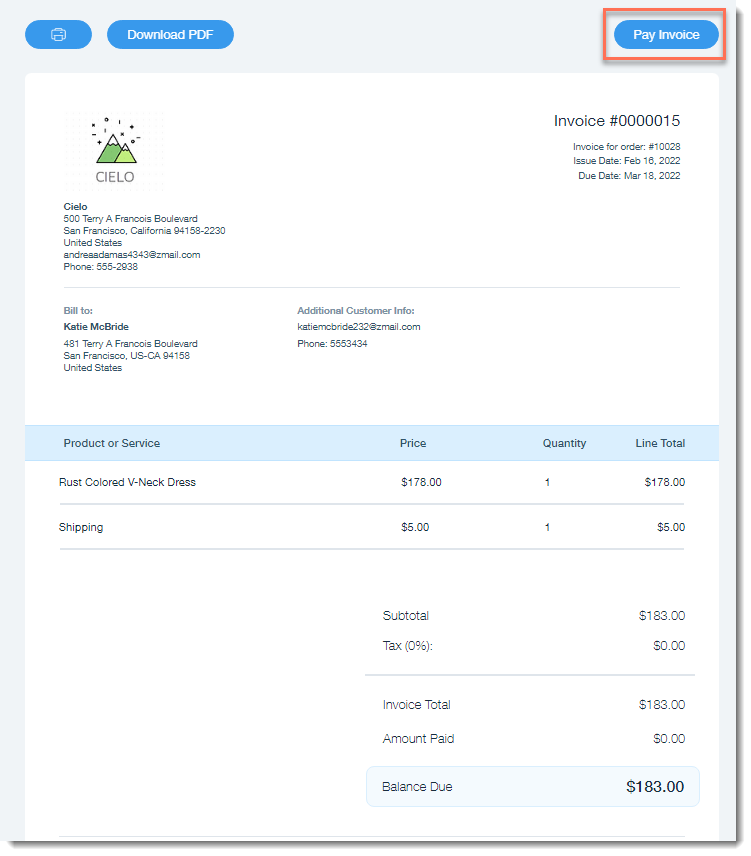
To manually generate an invoice for an unpaid order:
Go to Orders in your site's dashboard.
Select the relevant unpaid order.
Click the Collect Payment drop-down and select Charge with invoice.
Click Create Invoice.
Tip: This creates a saved draft of your invoice.Select how to send the invoice to your customer:
Share using a link:Click Share link at the top.
Click Click Here to Create a Link.
Click Copy Link.
Click Done.
Send the link to your customer.
Print a copy of the invoice:Click Print at the top.
Print a PDF or hard copy of the invoice.
Send the invoice to your customer.
Send by email:Click Send via email at the top.
(Optional) Edit the email's subject line or message.
Click Send.
Updating the payment status:
If your customer pays online, the status updates automatically.
You can also accept payment by manually entering the customer's credit card details.
If you receive offline payment, you can go to the Orders tab and mark the order as "Paid".
If you receive partial payment, you can go to Invoices in your site's dashboard and record the amount. Learn more about requesting partial payment as a deposit.
Creating an invoice from scratch
Using Wix Invoices, you can create an invoice and a new store order in one go.
This can come in handy when you want to add other charges to the invoice (e.g. charging billable hours) along with Wix Stores products.
Tips:
Out of stock items can be added to the invoice.
You cannot create a manual order for a product subscription.
You can add store products to an invoice - without creating a store order - by following the instructions below, but select Invoice in step 3.
To create a manual order through Wix Invoices:
Go to Invoices in your site's dashboard.
Click New Invoice.
Select Invoice & Order.
(Optional) Edit the Issue Date for your invoice.
(Optional) Edit the Due Date.
Enter your customer's details:
Note: Details must include phone number, shipping and billing addresses.
Click Customer and select an option:Select an existing contact from the drop-down.
Click + New Customer to add a new contact.
Enter an invoice title.
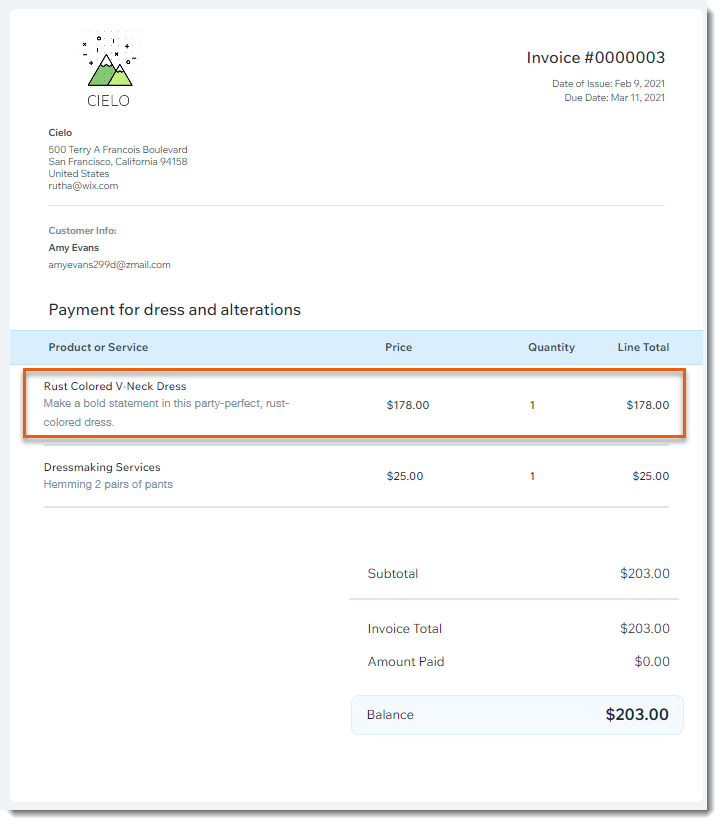
Add a store product to your invoice:Click the Product or Service drop-down and select a store product.
If relevant, select product variants and click Add to Invoice.
Note: The product price and description are added automatically and can be edited.
 (Optional) Select an existing tax from the drop-down menu or create a new one.
(Optional) Add a line item to your invoice (e.g. billable hours):
Tip: You can select this line item next time you send an invoice.Click the Product or Service drop-down.
Select an option:
Add a new invoice item:Click +Add New.
Enter a name (e.g. Dressmaking Services).
Enter a description (e.g. Alterations on blue jacked).
Enter a price.
Click Save & Add.
Select an existing invoice item: Select the item from the drop-down.
(Optional) Select an existing tax rate from the drop-down menu or create a new one.
(Optional) Click Add Discount and enter a discount.
(Optional) Scroll down and enter or edit the text in the Notes and Legal Terms fields.
Click Preview to view your invoice.
Click Send Invoice.
What's next?
After your customer pays the invoice online, the order appears in the Orders tab.
Viewing invoices you created
You can view a specific invoice by going to the relevant order in the Orders tab and clicking View Invoice. You can also print the invoice, resend it by email, or share it as a link.
Tip:
To view a list of all your invoices, go to the Invoices tab in your site's dashboard.
To view your invoices:
Go to Orders in your site's dashboard.
Click the relevant order.
Click the More Actions button.
Select View Invoice.
(Optional) Share, print, or email the invoice using the links at the top.