top of page

Setting up Retail POS sales

Wix Retail POS: Setting Up Text Receipts

Important:

  • This article is about Wix Retail POS tablet for brick & mortar businesses.

  • For info on using POS on a mobile device, click here.

Save paper by providing customers with receipts via text message (SMS). After you enable this option, you'll be able to select it at checkout.
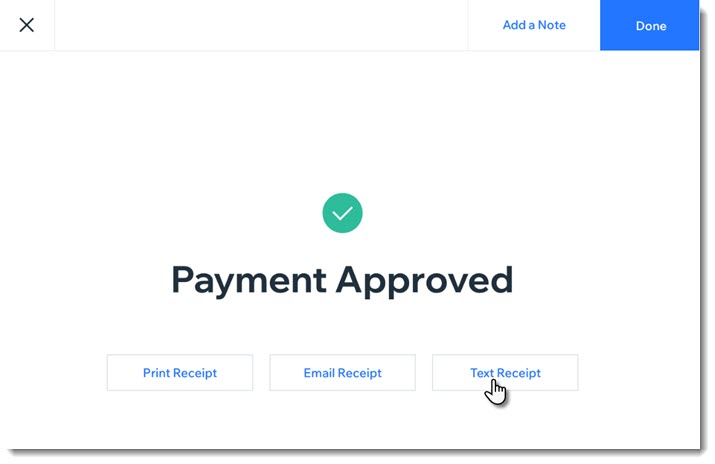
Screenshot of the screen you see after payment for a sale was approved. The screen show a text receipt option

Enabling text receipts

To display the text message receipt option at checkout, you must first enable text receipts.

To enable text receipts:

  1. Open the POS tablet.

  2. Tap the Menu icon  at the bottom left.

  3. Tap Settings.

  4. Tap Receipt on the left menu.

  5. Enable the Enable text receipts toggle.

FAQs

Click a question below to learn more about text receipts.

How do I enter phone numbers correctly?

Enter your customer's phone number, starting with the country code, then the area code, and the actual number. For US and Canadian numbers, enter 1 as the country code, as in the example below:

Screenshot of the field where you enter the phone number and the Text Receipt button

How can I send or resend a text receipt at a later date?

  1. Open the POS tablet.

  2. Tap Sales History from the bottom bar.

  3. Tap the relevant sale to select it.

  4. Tap Actions.

  5. Select Text Receipt.

  6. Enter the phone number and tap Text Receipt.

Need A Professional Website?
Contact Us 
Today!

Keeping the Free Wix URL

Subdomains Overview

About HTTPS and SSL

About Domain Propagation

Replacing Your Site URL with Another Domain Name

Domain Hosting with Wix

About Domains

Wix Studio App: An Overview

About CSS Editing

Working With Layers

Using Global Sections

Using the Inspector Panel

Adding Mouse Effects

Adding Mouse Effects

Adding and Customizing Lottie Animation Files

Adding Header Scroll Effects

Adding an Entrance Animation

Adding a Scroll Animation

Adding a Loop Animation

Creating a Custom Click or Hover Interaction

Adding a Preset Click or Hover Interaction

About Animations

Adding and Setting Up Flexboxes

Working with Docking, Margins and Padding

Setting the Size of Your Elements

Using the Inspector Panel

Building a Responsive Site

Designing Across Breakpoints

Creating a Physical Product

Using AI to Create an Online Store

wix experts
Graphic2Traffic web design
©
bottom of page