


Managing your Store in Retail POS
Wix Retail POS: Creating Product Categories
Important:
This article is about Wix Retail POS tablet for brick & mortar businesses.
For info on using POS on a mobile device, click here.
Using product categories, you can organize your store products to help you locate them more quickly at your point of sale.
Note:
Product categories were previously called product collections.
All your products are automatically added to the "All Products" category. You can also add products to other categories so that they appear in more than one category. For example, if you have a pet shop, you can create a "Dog" category and a "Cat" category, that contain dog and cat food respectively. You can also create a general "Pet Food" category that includes the same products that are in the other categories.
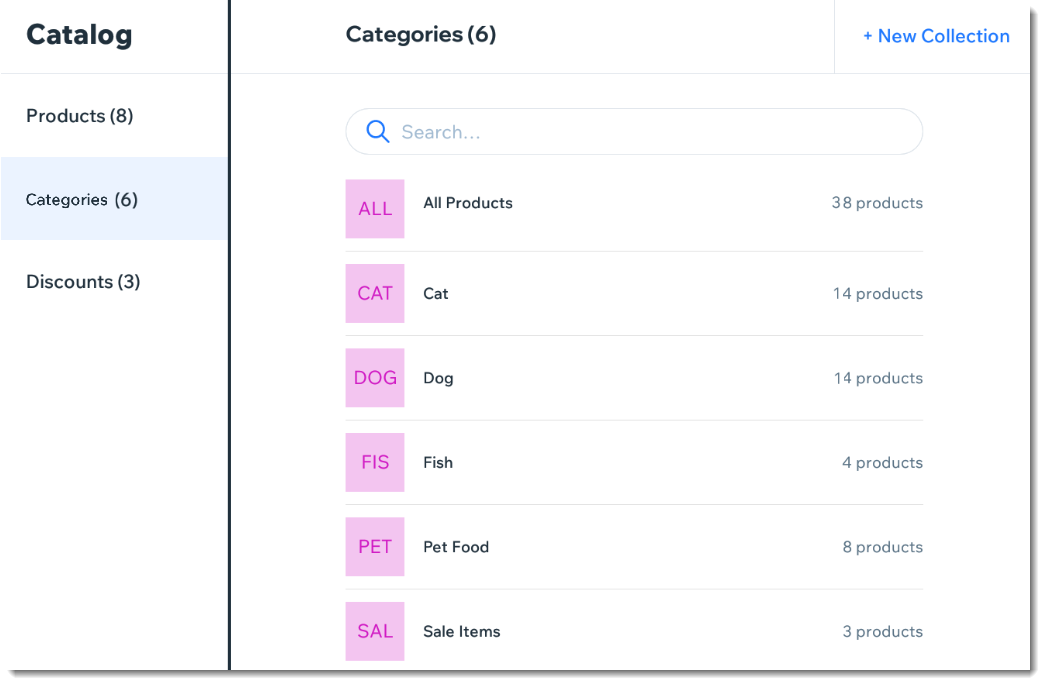
Note:
Any product categories you create on the POS tablet also appear in your dashboard on desktop and vice versa. You can use categories in your live site to display different types of products on different pages.
To create a product category:
Open the POS tablet.
Tap the Menu icon
 at the bottom left.
Tap Catalog.
Tap Categories.
Tap + New Category.
Enter a name for your category and tap Save.
Add products to your new category:Tap Add Products.
Select the checkboxes next to the products you want to add.
Note: You can use the search bar to find specific products.
Tap Add.
Notes:
To delete a product category, select the category and tap Delete at the top right. Deleting a category does not delete the products.
To remove a product from a category, tap the Remove icon
 next to the product.