


Setting up Photo Albums
Wix Photo Albums: Publishing Your Album
Once you're finished creating and editing your photo album, go ahead and publish it to make it live. Make sure to review your album name before publishing. The name is used in your album's URL which is a subdomain of your site's domain.
In this article, learn more about:
Publishing your photo album
Ready to go live with your latest photo album? You can publish the album directly from your album editor.
To publish your photo album:
Go to Photo Albums in your site's dashboard.
Click Edit next to the relevant album.
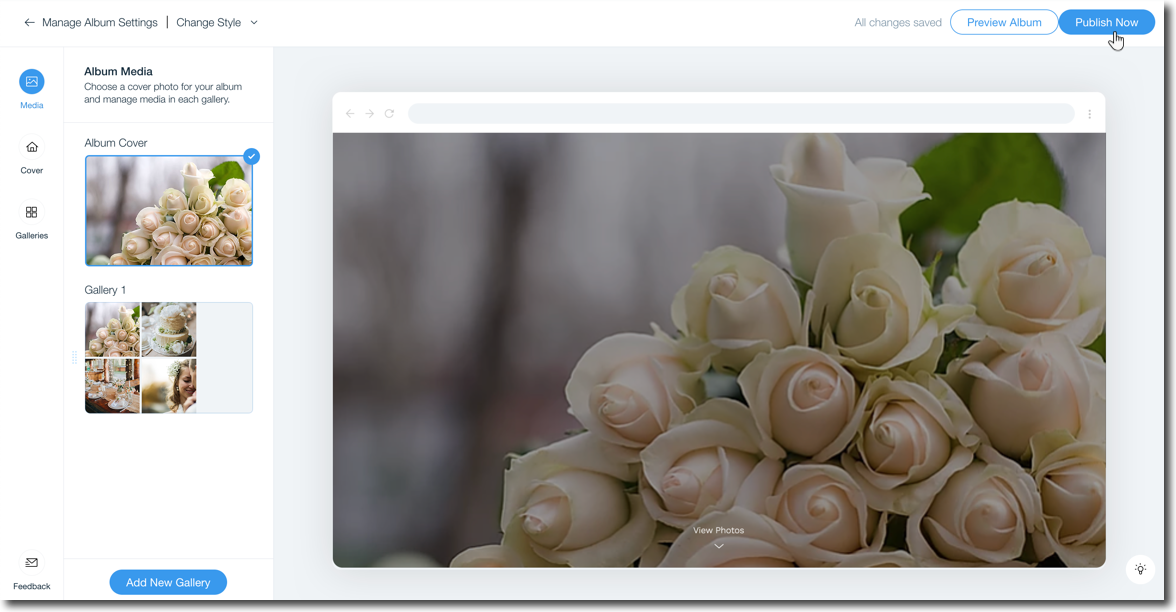
Click Publish Now at the top right.
FAQs
Click a question below to learn more about publishing your photo album.
What blockers might I face when trying to publish my album?
You cannot publish your album if:
You have not made any changes since the last time you published.
You did not upload any of your own photos.
You are not the owner of the site (if you are a site collaborator).
Can I unpublish an album I no longer need?
No, it is not possible to unpublish a photo album. You can only hide or delete the album.
I made changes to my URL, does it take long to update?
It can take up to 24 hours for the live URL to update to include your domain.
My domain is connected to Wix via Pointing, can I connect a subdomain?
Subdomains cannot be connected to a domain that is connected to Wix via Pointing. Learn how to switch your domain connection method.
Why do I have a Wix Promo banner on my album?
Photo Albums published to free sites without a custom domain or premium plan will display a Wix promo banner at the top similar to other site pages