


Wix Mobile POS
Wix Mobile POS: Charging Clients at a Point of Sale
Important:
This article is about Wix Mobile POS for mobile phones.
For info on Wix Retail POS for brick and mortar stores, click here.
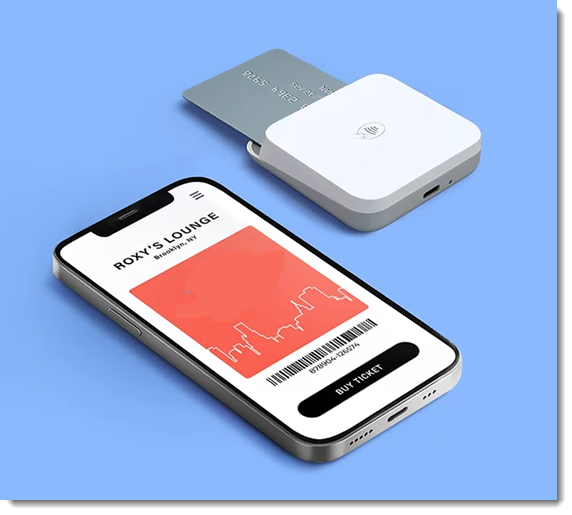
Let clients pay you by making your mobile device a point of sale (POS). Just enter the amount you want to charge your client and accept payment by cash or card.
For example, if you do consulting work and book appointments yourself (not through Wix Bookings), you can collect payment using your phone.
Notes:
If your sites has any of these Wix apps, click the links below to learn how to use your phone as a POS:Wix Stores: Sell products
Wix Bookings: Sell services
Wix Restaurants Orders (New): Receive restaurant orders
Wix Events: Sell tickets
Pricing Plans: Sell plans
Wix Invoices: Collect payment
You can also set up a Wix POS tablet solution for your brick & mortar store
To charge clients at a point of sale:
Make sure you download the Wix app.
To accept credit card sales, make sure you:Set up Wix Payments as your payment provider.
Order and set up a card reader and/or set up Tap to Pay.
Go to your site in the Wix app.
Tap Manage
 at the bottom.
Tap Point of Sale under Get Paid.
Tap Make a Sale.
Enter the amount you want to charge, including cents and tap Next.
Note: Enter the final amount after tax or discounts are calculated.Enter a short description of what the payment is for and tap Next.
Note: This information appears in the Payments tab in your site's dashboard.Choose what you want to do:
Accept cash payment
Tap Cash.
Select an option:Manually enter the exact cash amount you receive from the client and tap Accept Cash.
Select a preset cash amount you received from the client.
Give your client the change.
Tip: The amount appears on the screen.(Optional) Select a receipt option:
Email a receipt:Tap Email receipt.
Enter the customer's email address.
Note: Email addresses are needed if you want to generate an invoice later.
Enter the customer's name.
Tap Send Receipt.
Send a text receipt:Tap Text receipt.
Enter the phone number.
Tap Text Receipt.
Accept payment through Wix Mobile POS & Wix Payments
Tap Credit Card.
Select a payment option:Card reader: Let customer swipe, insert, or tap the customer's credit card.
Tap to Pay (iPhone or Android): Let customer tap their card or phone.
(Optional) Select a receipt option:
Email a receipt:Tap Email receipt.
Enter the customer's email address.
Note: Email addresses are needed if you want to generate an invoice later.
Enter the customer's name.
Tap Send Receipt.
Send a text receipt:Tap Text receipt.
Enter the phone number.
Tap Text Receipt.
Manually enter credit card details
The option of manually entering card details is open to merchants using a payment provider that allows manual card entry payments.
Important: Entering credit card details manually is the least secure way of accepting card payments. We recommend accepting manual payment only from buyers you trust. Note that in case of fraud, it is the merchant who is liable. Learn more
Tap Manual Card Entry.
Enter all the credit card details and tap Charge.
(Optional) Select a receipt option:
Email a receipt:Tap Email receipt.
Enter the customer's email address.
Note: Email addresses are needed if you want to generate an invoice later.
Enter the customer's name.
Tap Send Receipt.
Send a text receipt:Tap Text receipt.
Enter the phone number.
Tap Text Receipt.
Note: Wix Payments processing fees for manual card entry are the same as for other card payments.
Accept payment through Square
If you have set up Square as your POS solution, you can accept payment using this option.
Tap Card.
Tap Open Square.
Read the customer's credit in any of the following ways:Swipe
Manually enter your client's credit card number.
Note: When you enter the credit card number manually, Square charges a higher processing fee.
Tap Open.
Ask for the client's signature.
(Optional) Select a receipt option:
Email a receipt:Tap Email receipt.
Enter the customer's email address.
Note: Email addresses are needed if you want to generate an invoice later.
Enter the customer's name.
Tap Send Receipt.
Send a text receipt:Tap Text receipt.
Enter the phone number.
Tap Text Receipt.
Accept payment through SumUp
If you have set up SumUp as your POS solution, you can accept payment using this option.
Tap Card.
Log in to your SumUp account.
Read the customer's credit card in any of the following ways:Tap
Swipe
Insert
Ask for the customer's signature.
(Optional) Select a receipt option:
Email a receipt:Tap Email receipt.
Enter the customer's email address.
Note: Email addresses are needed if you want to generate an invoice later.
Enter the customer's name.
Tap Send Receipt.
Send a text receipt:Tap Text receipt.
Enter the phone number.
Tap Text Receipt.