Wix Forms FAQ
Wix Forms: Customizing the Success Message and Thank You Page of Site Forms
Your form's success message is displayed after a visitor submits. Edit the text of the message and choose how long it displays for. You can also have the success message link to a thank you page on your site that gives more information on what to do next.
Note:
This article refers to customizing the success message of site forms. For standalone forms, you can edit the form's thank you text that appears on a new page.
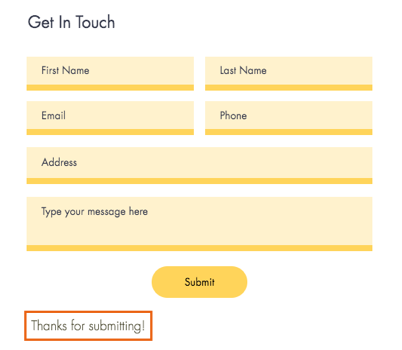
Customizing the success message
Edit the text and timing of the message that appears for visitors after they've submitted a form successfully on your site.
New Forms
Old Forms
Go to your editor and click the relevant form.
Click Edit Form to open the form builder.
Click the Submit button.
Note: If your form does not have a submit button, add a button by adding a Submit field.Click Settings.
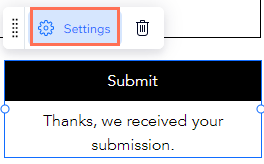
Edit the submit button text.
Choose between the following options when a visitor submits a form:
Show a message: Display a custom thank you message.Enter the message you want your visitors to see after submission.
Choose between the following options:Custom: The message shows for a set amount of time. Drag the slider to set the number of seconds that the message should display for.
Always: The message appears after submission and does not get removed.
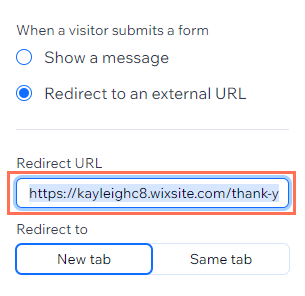
Redirect to an external URL: Select a URL for your users to be redirected to after they click submit.Enter the URL you want to redirect to.
Select whether you wish for the URL to open in the existing tab, or a new tab.
See your success message in action:
Preview your site and submit your form to see how the message appears.
Creating a custom "Thank You" page
You can set the submit button to redirect visitors to any link or site page. To encourage visitors to keep exploring, you can have the button lead to a custom "Thank You" page with more information.
When creating a custom page for this purpose, make sure to hide it from the site menu and from search results. This ensures that the page is only visible to those submitting your form.
New Forms
Old Forms
Add a new page to your site and add the content you want to include on your thank you page.
Publish your site with the new page.
Copy the URL of your thank you page and return to your editor.
Hide the new page from search results.
Note: If you are using Wix Studio, learn more about hiding your pages from your menu and search results.Select the relevant form in the editor.
Click Edit Form to open the form builder.
Click the Submit button.
Click Settings.
Click Redirect to an external URL.
Enter the URL of your thank you page.