


Wix Bookings
Wix Bookings: Creating and Setting up Your Booking Forms
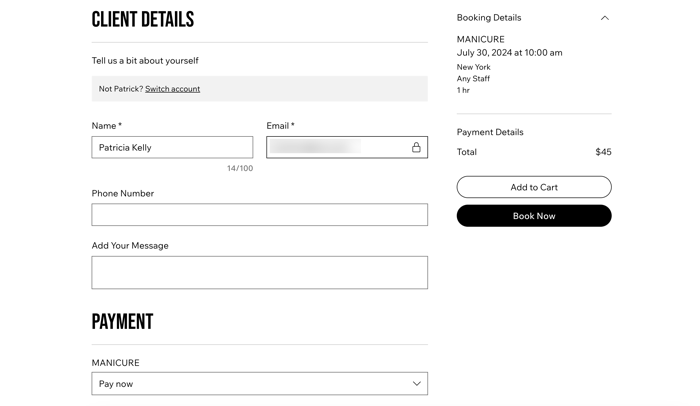
Clients fill out the Booking Form when they sign up for your services. You can adjust your default form, or create custom forms for each service to suit your business needs.
For example, if you offer dog grooming, you might want to ask clients to enter the dog's name and vaccination status. If these questions are not relevant for a particular service (e.g. a lecture on dog care), then you can create a custom booking form for that service without those questions.
Note:
You can also create an additional form your clients see as they complete checkout, which covers the entire order the client makes.
Step 1 | Set up your default Booking Form
The default booking form appears for all services, unless you create a custom booking form for a specific service. You can choose which information is mandatory.
You can also enable SMS reminders to add a checkbox at the bottom of the form. Clients can opt in to receive SMS messages 24 hours before their session.
To set up your default Booking form:
Go to Booking Form in your site's dashboard.
Give your default Booking Form a title, and then click the Confirm icon
 .(Optional) Add a subtitle with more details or instructions for filling out the form, if required.
Choose how you want clients to enter their name on the form by hovering over First Name or Last Name then:Click the Split icon
 to split the name fields into first and last name, then click the Confirm icon .
Click the Combine icon to combine first and last name in the one field, then click the Confirm icon .
Click the Edit icon
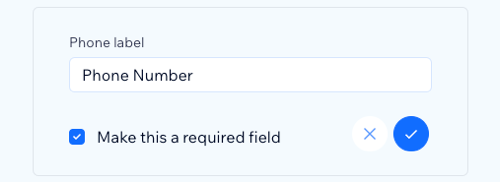
 on any of the remaining fields on the form to edit their text label, and then click the Confirm icon .Select the Make this a required field checkbox to make specific details mandatory before booking.
(Optional) Click + Add custom field if you require any additional information from clients before they can book your services, and then click the Confirm icon
.Click Save Form.
Step 2 | Create a custom form for a specific service
If it's not appropriate to apply the default booking form to all your services, you can create a custom booking form for individual services.
Before you begin:
Learn more about creating custom fields for your form if you require more detailed or specific information from your clients before they attend your services.
To setup a custom form for a service:
Go to Bookings Form in your site's dashboard.
Create a new service or edit an existing one.
Scroll down to the bottom and click the Expand icon
 next to Additional Settings.
Click Custom booking form.
Give the custom form a title.
Add or remove the relevant fields for the service.
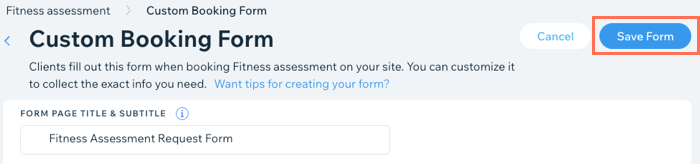
Click Save Form.
Step 3 | Customize the design of your forms
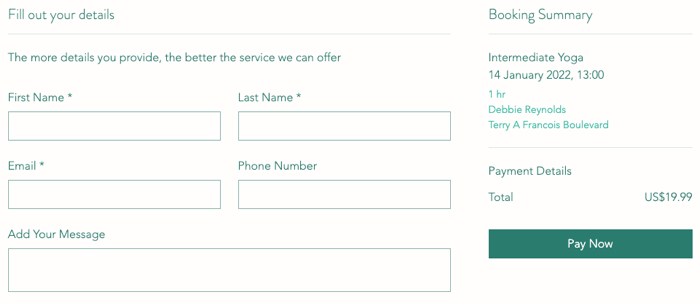
You can customize the layout, display design and text of your booking forms to suit your site and your brand. Keeping the design and layout as clear as possible provides a better experience for clients as they make bookings.
To customize the design of your forms:
Wix Editor
Studio Editor
Go to your Booking form page:Click Pages & Menu
 on the left side of the editor.
Click Bookings Pages.
Click the Booking form page.
Click the Booking form element on your page.
Click Settings.
Choose what you want to customize:
Layout
Click Layout and customize the title alignment and spacing.

Display
Click Display and choose from the following options:Show video conferencing badge: Enable the toggle to show that you offer your services online.
Default payment options: Choose the default payment method:Buy a Plan: Offer your clients reduced rates when they sign up for multiple sessions with one of your Pricing Plans.
Pay online: Clients pay for each session individually online.
Pay in person: Clients pay for each session in person, using cash or card, for example.
Note: Encourage your clients to buy a Pricing Plan for a discount on booking your services.

Design
Click Design to customize your form's:General Style: Choose how you want your background, dividers and widgets to appear.
Form Field Style: Choose the borders, shapes and color schemes of the form fields.
Text: Set the fonts, styling and color scheme for each text box in your form.
Button: Customize the color, border width, opacity and hover color for the buttons in your form.

Text
Click Text and edit the relevant text fields on your form using the available options.
Note: Click Form, and then Booking Form to add or edit form fields.
