Using the Studio Editor Tools
Using the Inspector Panel
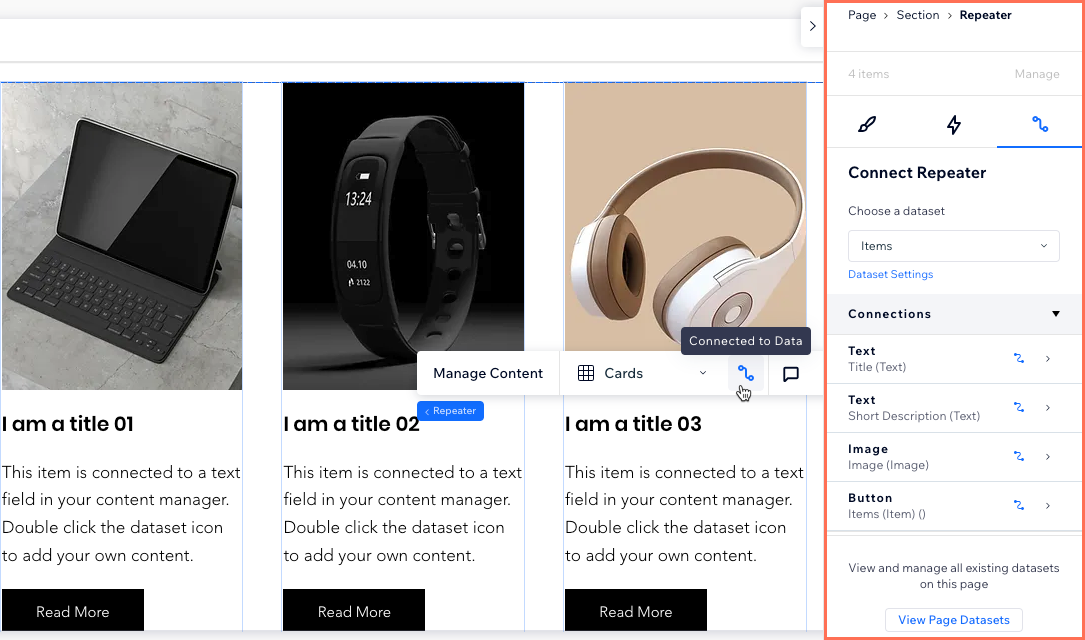
The Inspector panel is where you can edit the properties of every element, section and site page. Choose how elements are resized on different breakpoints, adjust the design, add interactions and much more.
How can I access the Inspector panel?
Click the Open Inspector arrow  at the top right of the editor. The panel opens on the right, showing the element you're working on at the top.


Design
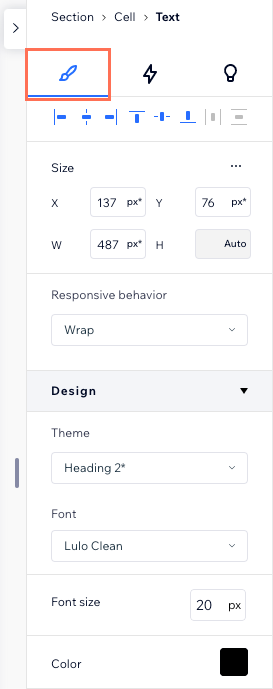
The Design tab is the first one you see in the Inspector panel. This is where you can change your element's look, size and position across breakpoints.
Size and responsive behavior: See the width and height of an element and choose how it's resized on different screens.
Design: Change the element's colors, borders and formatting, add shadows and much more. The available options here depend on the element type.
Cursor: Add a custom cursor to an element, section or page.
Layout: Adjust the spacing, display and grid of sections, cells, containers, repeaters and flexboxes.
Position: Adjust the element's docking and margins so it stays in place on different screen sizes. You can also choose a position type (e.g. pinned, sticky) here.
Adjust: Change an element's appearance by applying transforms (e.g. opacity, angle, skew).
Anchor: Add an anchor to an element or section so you can link directly to it.
Note:
Some of these sections are only available for certain elements.
Animations and Effects
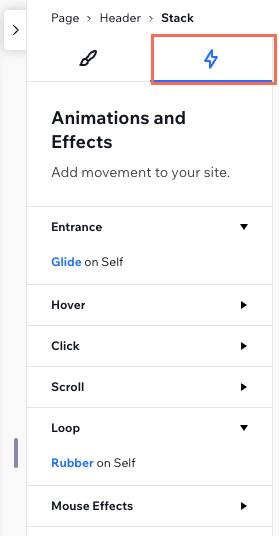
The Animations and Effects tab lets you add eye-catching animations that grab people's attention. After selecting an element, section or page, choose the type of animation you want:
Entrance: Animations that appear when the element first loads.
Hover: Animations that are triggered by visitors hovering over with their cursor.
Click: Animations that are triggered by visitors clicking an element.
Scroll: Animations that are triggered by visitors scrolling up and down the page.
Loop: Animations that play in a continuous loop.
Mouse Effects: Effects that are automatically triggered by the visitor's cursor movement.
Content
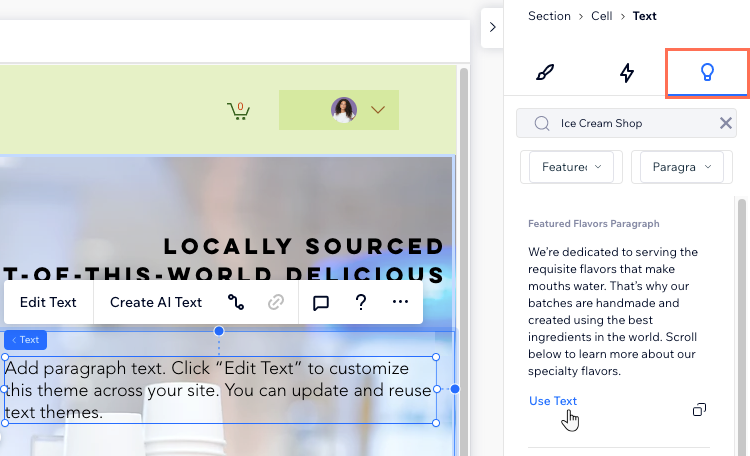
Looking for some inspiration? Access the Content tab to get ideas for text, buttons, images, shapes and Vector Art. You can filter the suggestions by your line of business or any other search term so they're accurate to your needs.
CMS
In Wix Studio, we've moved datasets to the Inspector panel to make them easier for you to use.
Now, when you access the Inspector panel and select a page, you can view every dataset that exists on the page. You can also change the connections, adjust the dataset settings, or add a new element, all from the Inspector panel.
Select an element and click the Connect to CMS icon  , to open the Inspector panel automatically. In the panel, you can connect the element to a dataset, manage the connections, change the dataset settings, or add a new dataset.
Learn more about using the CMS in Wix Studio.