


Setting up Pricing Plans
Pricing Plans: Collecting Additional Information at Checkout
Ask clients for additional information (e.g. their t-shirt size) while they're purchasing a pricing plan. You can choose the relevant form fields from a wide selection: drop-downs, multiple choice questions, and more.
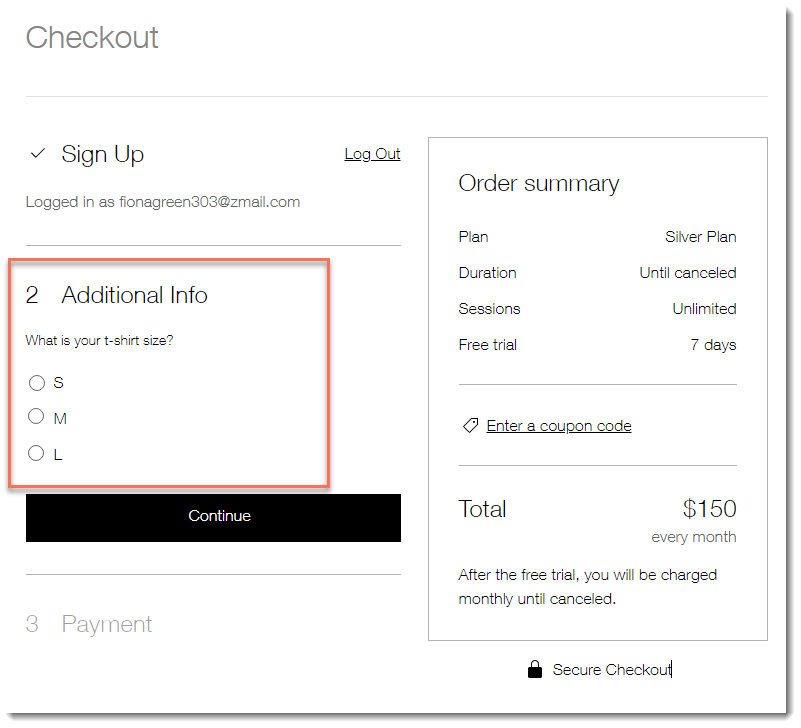
Step 1 | Create your custom form
To get started, create a custom form with the information you want to collect. Give your form a title you can recognize, and drag and drop the relevant fields. You can click each field to customize its title, make it mandatory, add a character limit and much more.
To create your custom form:
Go to Pricing Plans settings in your site's dashboard.
Click the Checkout tab at the top.
Scroll down to Collect additional info at checkout section.
Click + Create Form.
Edit the default My Form title at the top left and click the Save icon
 .
.
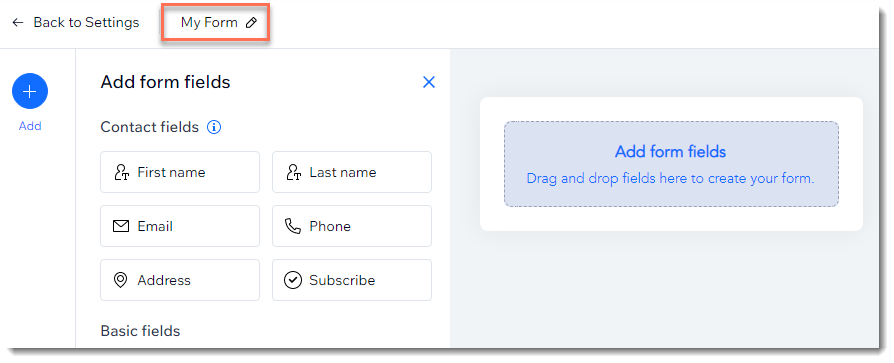
Drag a form field to the Add form fields box.
(Optional) Customize the field:Click the field you just added.
Click Settings.
Customize the field using the available options on the right.
Note: The specific customization options vary depending on the field you added.
Repeat steps 6-7 above to add and customize more fields.
When your form is ready, click Save at the top right.

Step 2 | Connect the form to one or more plans
After creating your form, connect it to one or more of your pricing plans. The form will appear in the checkout process, so clients fill in the information as they are purchasing the pricing plan.
To connect the form with a pricing plan:
Go to Pricing Plans settings in your site's dashboard.
Click Checkout at the top.
Click the More Actions icon
 next to the relevant form.
Click Manage connected plans.
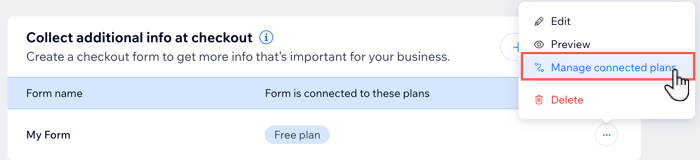
Click to enable the toggle next to each plan you want to connect to the custom form.
Click Done.
Frequently asked questions (FAQs)
Click on a question below to learn more.
How do I check what information customers put in the custom form?
You can view the information your customers enter in the form in two places in your site's dashboard: the Pricing Plans settings page and the Subscriptions page.
In Pricing Plans settings, you can get an overview of every submission made to a particular custom form.

To get an overview of custom form submissions:
Go to Pricing Plans settings in your site's dashboard.
Click Checkout at the top.
Hover over the relevant form, and click View Submissions.

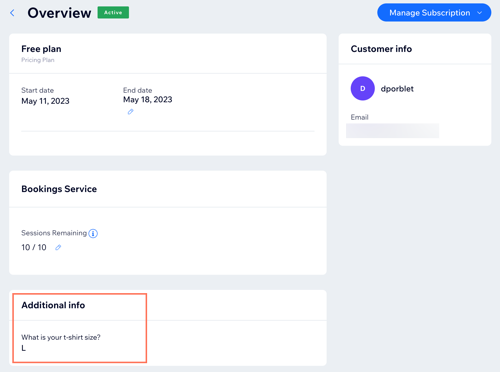
You can also view a specific customer's submission in the form under Subscriptions in your site's dashboard.
To view specific form submissions:
Go to Subscriptions in your site's dashboard.
Hover over the relevant purchased plan and click View.
The details appear under Additional Info.
Can I edit my existing custom forms?
Yes, you can edit your custom forms at any time.
To edit your custom form:
Go to Pricing Plans in your site's dashboard.
Hover over a plan with the relevant form.
Scroll down to Settings.
Click Edit next to Collect additional info at checkout.
