


Setting up Pricing Plans
Pricing Plans: Allowing Guest Checkout on Your Site
Let visitors to your site buy your pricing plans without having to sign up or log in. Enabling guest checkout makes it easier for site visitors to become loyal customers.
In this article, learn more about:
Enabling guest checkout for pricing plans
Enable guest checkout to let visitors sample your pricing plans, without becoming full members of your site right away.
Visitors who go through guest checkout automatically become contacts. They also receive an email with a link to create a member profile on your site, so they can access the Members Area.
Notes:
For plans that include online content and services, visitors need to create their member profile up to gain access.
Guest checkout is only available to customers on the Plans & Pricing page on your site.
To enable guest checkout:
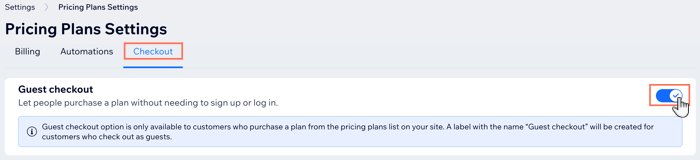
Go to Pricing Plans Settings in your site's dashboard.
Click the Checkout tab.
Click to enable the Guest checkout toggle.
How guest checkout looks on your site
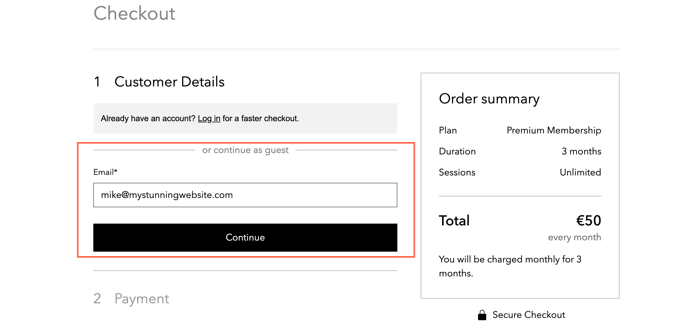
After you enable guest checkout, site visitors can buy your plans without signing up to become a site member. They begin by choosing the plan they want to buy. Then, they have the option of logging in or continuing as a guest.
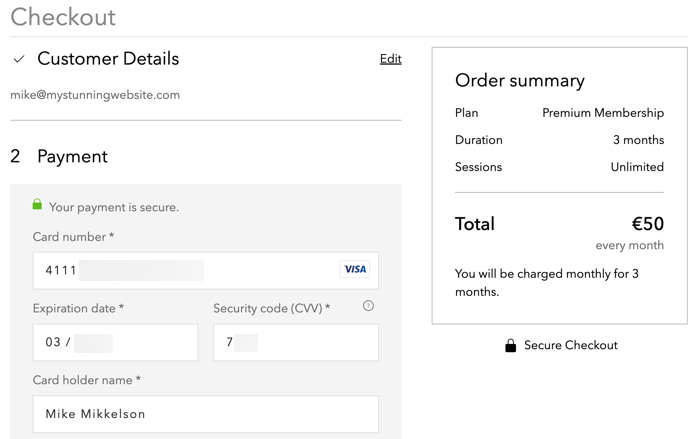
Visitors then enter their payment details as normal and continue.
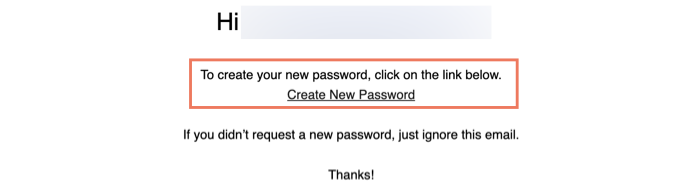
When payment is complete, they receive an email with the details of their purchase. The email contains a link which allows your customers to Create New Password and sign up as members of your site.
Note:
You are unable to customize this email.
What's next?
You can manage and customize your other email automations connected to your Pricing Plans.
You can customize your Thank You page that customers see when they complete checkout.