Setting up Online Programs
Online Programs: Creating and Managing Online Program Categories
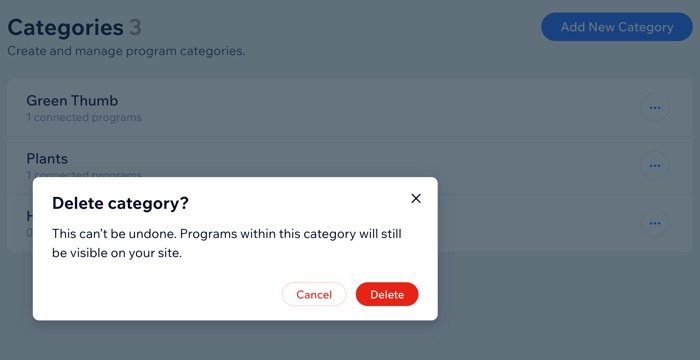
Create categories for your programs to help visitors discover content by topic, ensuring organization on your site. This also enables you to showcase various types of programs across different site pages, enhancing accessibility and user experience.
In this article, learn more about:
Creating a new category
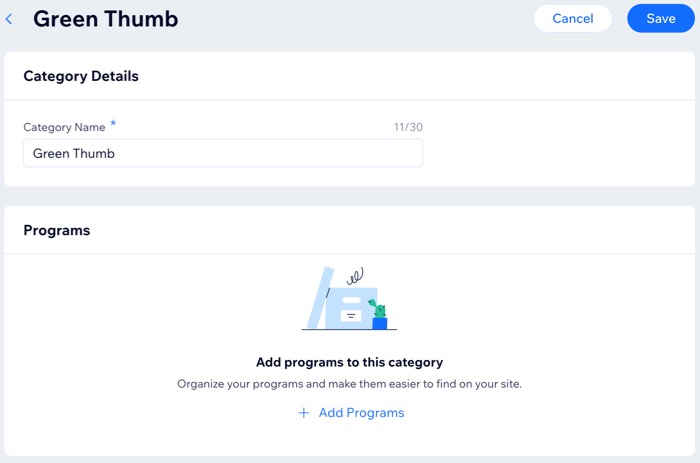
Start by choosing a name for your category. Then, select the programs you want to place in that category.
To create a new category:
Go to Online Programs Categories in your site's dashboard.
Click Add New Category.
Enter a category name.
Click + Add Programs.
Select the checkbox next to the relevant programs.
Click Confirm.
Click Save.
Adding or removing a category from a program
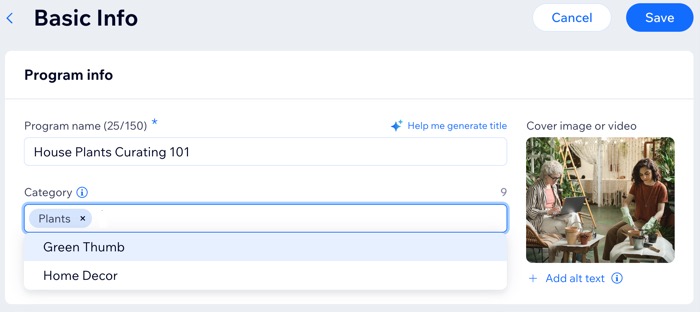
Add up to 10 categories to each program to make it more discoverable. You can link programs to categories that are already associated with other programs.
To add or remove a category:
Go to Online Programs in your site's dashboard.
Click the More Actions icon
 next to the relevant program.
Click Edit Settings.
Click Basic Info.
Click the Category field.
Choose what you want to do:Add the program to a category: Select the relevant category name.
Remove a category: Click the "x" next to the category you want to remove.
Click Save.
Renaming a category
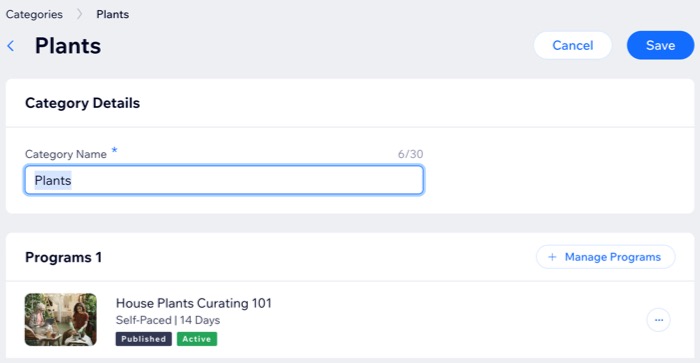
You can rename a category anytime, enabling members to sort programs accordingly. Category labels will be visible in your program list.
To rename a category:
Go to Online Programs Categories in your site's dashboard.
Hover over the relevant category and click Edit.
Edit the category name.
Click Save.
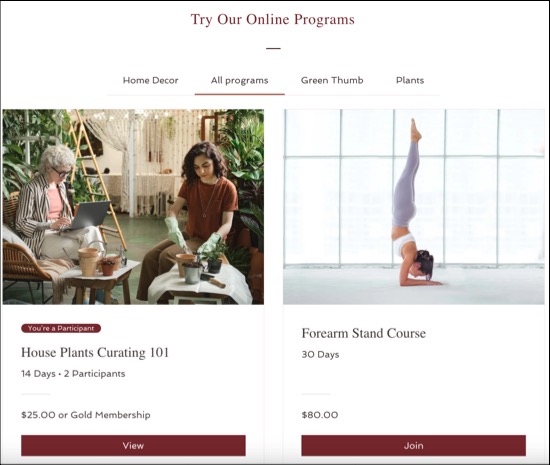
Deleting a category
You can always delete a category that you no longer need. When deleting a category, the programs connected to the category are not deleted.
To delete a category:
Go to Online Programs Categories in your site's dashboard.
Click the More Actions icon
 next to the relevant category.
Click Delete.
Click Delete to confirm.