Additional Wix Apps
Adding and Setting Up the Get Files to Dropbox App
Important:
The Get Files to Dropbox app is no longer available in the Wix App Market. The app will be removed from your site on December 11th 2024 and Wix will no longer support it. As an alternative solution, you can add the Wix File Share app to your site.
To set up the Get Files to Dropbox app:
Step 1 | Open the Settings panel of the app.
Select the app in the Editor.
Click Settings.
Step 2 | Connect your account and select the folder that files can be uploaded to.
Click Connect Account.
Log in to your Dropbox account and allow access.
Click the Folder tab.
Hover over the relevant folder and click Select.
Step 3 | Edit the app settings.
Click the Settings tab.
Drag the Max size per upload slider to change the maximum file size site visitors can upload.
Drag the Disable when storage left is (MG) slider to change the storage size at which you no longer allow site visitors to upload.
Select what visitors must send you when uploading:An email: Visitors must enter a valid email address.
A password: Enter a password and give it to site visitors you allow to upload.
Nothing: Site visitors can upload files without doing anything additional.
Select a language from the drop-down list.
Click the New subfolder per upload toggle.Enabled: A subfolder is created for each upload.
Disabled: Files are uploaded to the selected folder.
Click the Email me for every upload toggle.Enabled: You receive an email every time someone uploads a file.
Disabled: You do not receive an email when someone uploads a file.
Click the Users can add a message toggle.Enabled: A message field appears which site visitors can use to send you a message when uploading.
Disabled: No message field appears in the app.
Step 4 | Change the app layout.
Click the Layout tab.
Select a layout:Full: All upload options appear on your site.
Button: An Add File button appears on your site. Additional options appear after the button is clicked.
Step 5 | Customize the app design.
Note: Design options vary for different layouts.
Click the Design tab.
Click the color box to select a background color and drag the slider to change the opacity.
Click the color box to select a border color and drag the slider to change the border width.
Click the color box to select a title font color and click the Expand icon
 to select a font.
Click the color box to select a font color for the file size limit and click the Expand icon
to select a font.Click the Expand icon
to select a button font.Click the color box to select a color for the Add File button.
Click the color box to select a color for the Send button.
Click the color box to select a font color for the email and message fields and click the Expand icon
to select a font.Click the color box to select a background color for the email and message fields.
Click the color box to select a border color for the email and message fields and drag the slider to change the border width.
Step 6 | Customize the app text.
Click the Text tab.
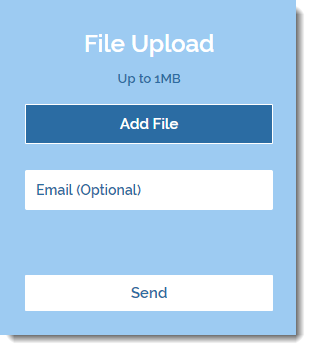
In the Text Labels section, edit any of the text visitors see before uploading.
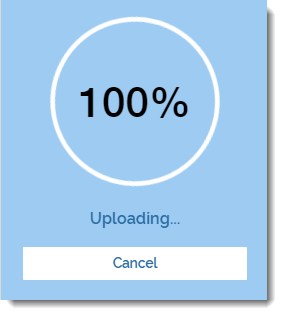
In the Loading Screen Labels section, edit any of the text visitors see while uploading.
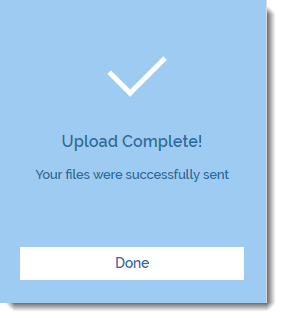
In the Success Screen Labels section, edit any of the text visitors see after successfully uploading.