


Adding videos & channels
Wix Video: Adding and Editing Action Cards
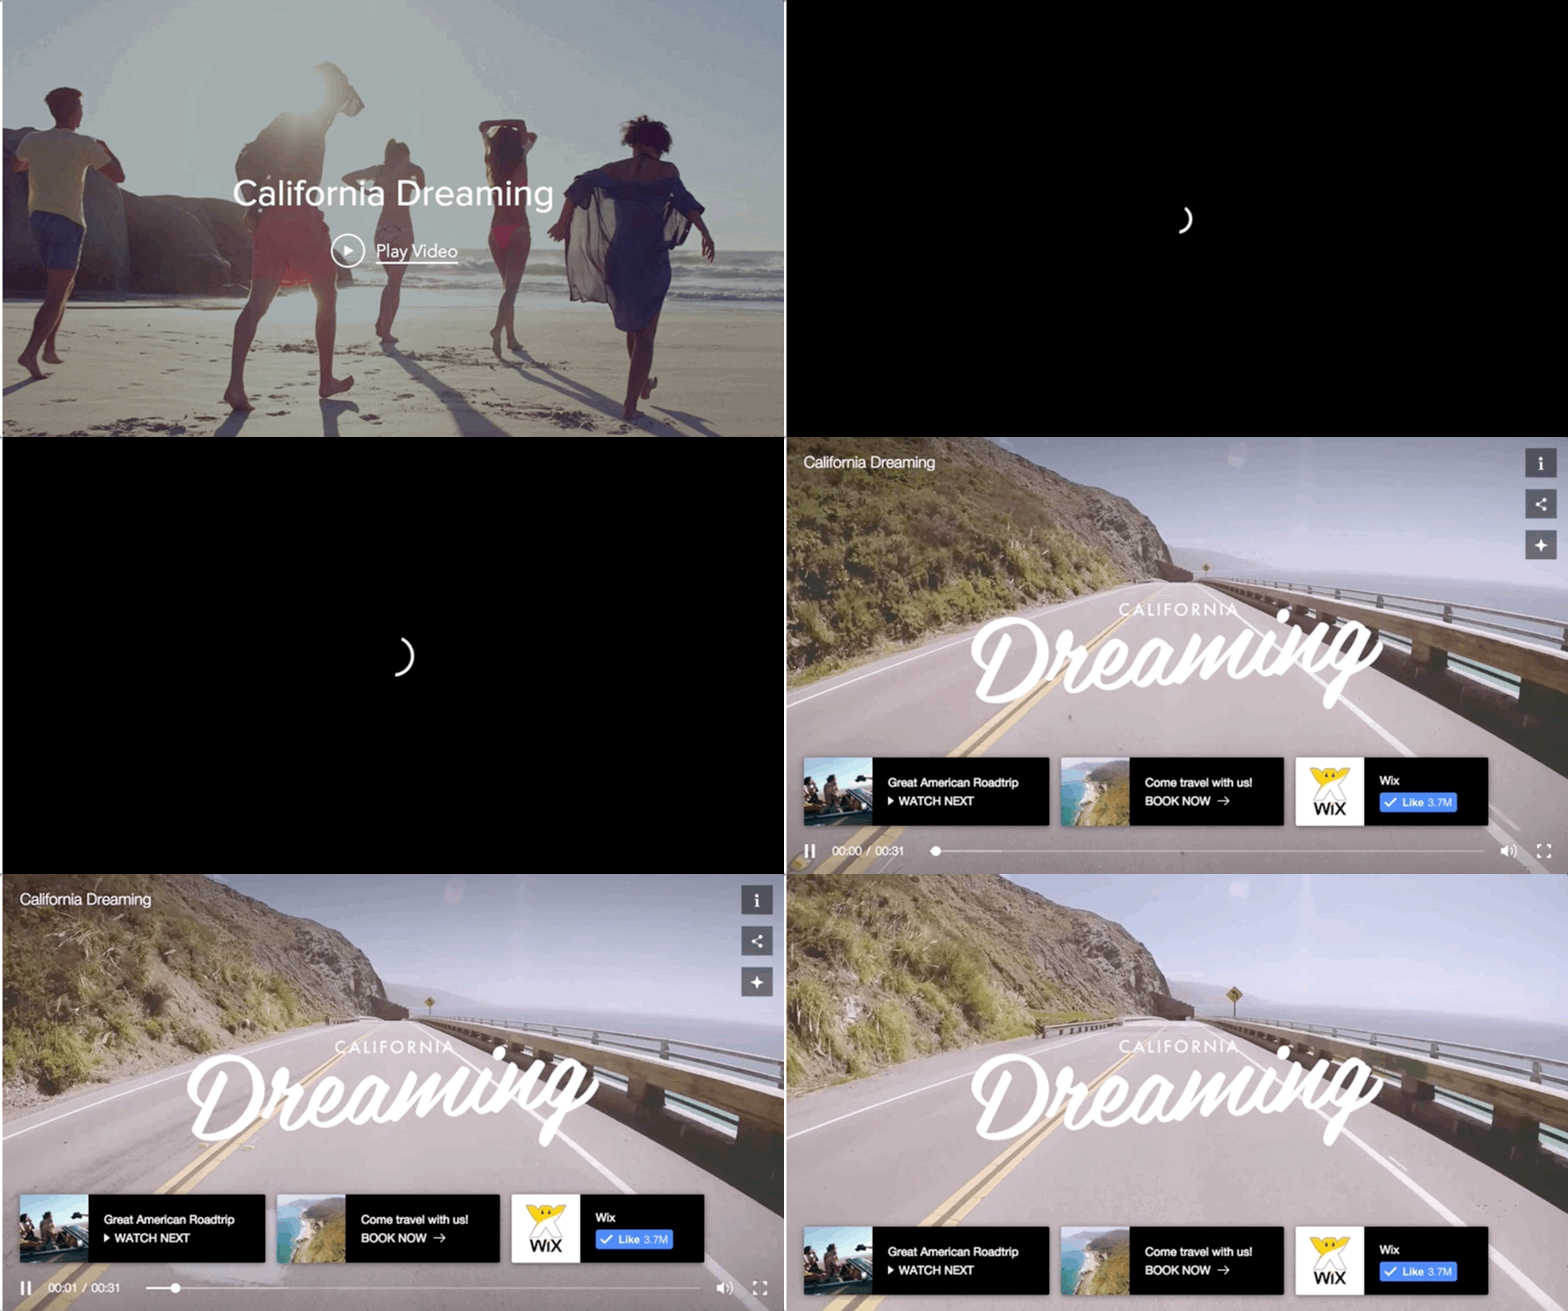
Action cards are a great way to interact with your viewers through your video. You can use them to promote another video, feature a channel, promote a product, or get social followers.
Add as many cards as you want and choose the time each card appears. Each card can also be linked to any URL.
Learn more about:
Important:
You can only add action cards to videos you upload, not to videos added from YouTube, Vimeo, or Facebook.
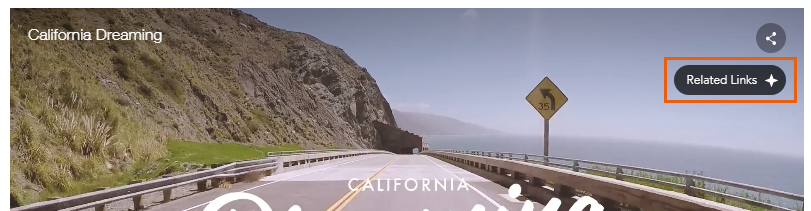
To view all of the action cards on a video, you can click the Related Links icon on your video on your site:

Note:
The number of cards on the video at any given time depends on the size of the viewers' screen. If your cards do not fit, they display in a loop and change every few seconds.
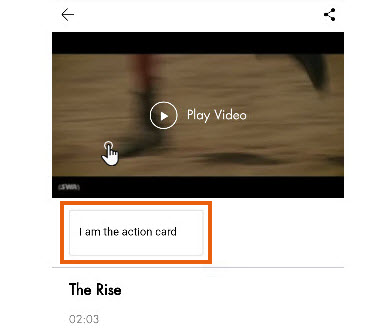
On mobile devices, cards appear on the video page and not on the video player during playback. To access the cards on your mobile device tap on the video's cover.
Adding an Action Card
Choose a preset action card or create your own custom card to use your own text and link.
Go to Video Library in your site's dashboard.
Select the relevant video to which you want to add a card.
Click the Action Cards tab.
Click the Select an Action Card drop-down and choose a goal:
Get Social Followers
Use your video to encourage viewers to follow you on social media. You can add a YouTube channel or a Twitter page.
Add the relevant URL. Make sure you add your YouTube channel URL or your Twitter page URL.
Click Connect.
Promote a Video
Promote your video content and encourage continuous viewing.
If the promoted video is in the same channel - clicking the card changes the video to the new one. If the video is in a different channel - clicking the card opens the video in a new tab.
Select whether you want to Always promote your latest video, or Choose a video to promote.
Select the relevant video.
If the video appears in several channels, select the relevant channel.
Click Save.
Feature a Channel
Add a card calling your viewers' attention to one of your channels.
In the Select an Action Card menu, select Feature a Channel.
Select the relevant channel.
Click Save.
Promote a Product
Do you have a store? Use your video to promote one of your products. You can add a link to a Wix Stores product or to products you sell on other eCommerce sites (e.g. Amazon).
In the Select an Action Card menu, select Promote a Product.Click the text box under Card text to add a product description.
Click the drop-down menu under Button text to select the text for a call-to-action button, or enter your own custom text (up to 18 characters).
Paste the URL to the product page under Links to.
Note: To locate a product URL, go to your live site, click on the relevant product, and copy its URL (web address).
Upload or drag an image to the image box to add an image.
Click Save.
Create a Custom Card
Create your own customized action card. Encourage viewers to book your class, sign up for updates, RSVP, contact you and so much more!
In the Select an Action Card menu, select Custom Card.Click the text box under Card text to add a description.
Click the drop-down menu under Button text to select the text for a call-to-action button, or enter your own custom text (up to 18 characters).
Paste the URL to a web page under Links to.
Upload or drag an image to the image box to add an image.
Click Save.
Tip:
Cards appear in embedded videos posted on other sites. It's a great way to get more business and grow your followers from anywhere on the web!
Editing an Action Card
Hover over the relevant card.
Click the Edit icon
 .
.Edit the start and end time:Click the box under Appears at or Ends at in the relevant card.
Enter a time or drag the Progress Bar to the relevant location.
Deleting or Duplicating an Action Card
Hover over the relevant card.
Click the Show More icon
 .
.Click Duplicate or Delete.