


Managing products and categories
Wix Stores: Sharing Products on Social Media
Promote your products by sharing them on social media. You can also make it easy for customers to share their favorite products by displaying social share icons right on the Product Page.
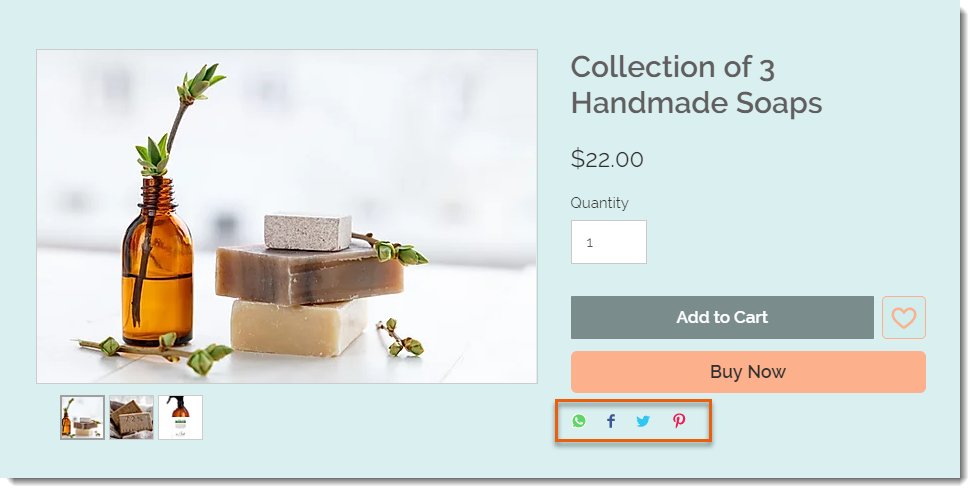
In this article, learn how to:
Sharing products yourself on social media
Go to Products in your site's dashboard.
Select an existing product or click New Product to add a new one.
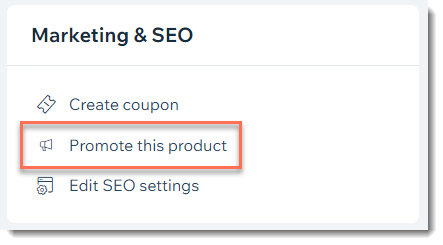
Click Promote this product on the right.
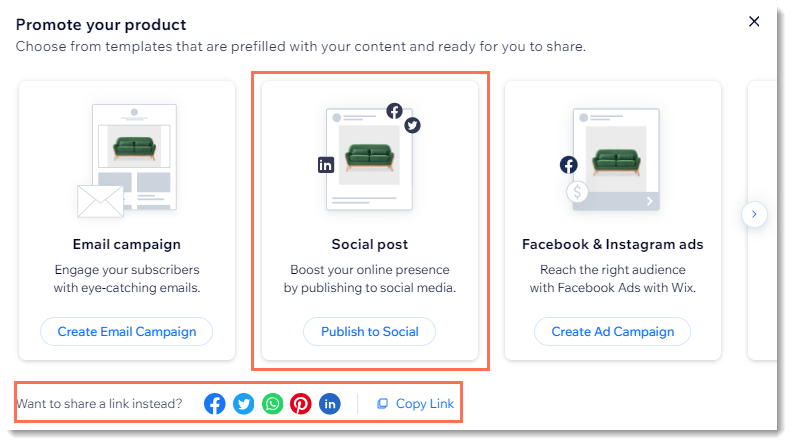
Create a social post or share a link on social media.
Showing or hiding social share icons on the Product Page
Displaying social share icons makes it easy for customers to share products they love. Select the ones you want to display.
Wix Editor
Studio Editor
Go to your Product page:Click Pages & Menu
 on the left side of the editor.
Click Store Pages.
Click Product Page.
Click the Product Page element on your page.
Click Settings.
Click the Settings tab.
Scroll down to the social media bar section and select an option:Hide all social media icons: Click the Display share icons toggle to disable it.
Show some or all social media icons:Click the Display share icons toggle to enable it.
Deselect the checkboxes next to icons you do not want to display.
Editing images, titles, and descriptions
You can control how a product looks when it's shared on social media by changing the image or editing the title or description. Learn more
You can also customize your page's Twitter Settings to display a different title, description, and image for shares on Twitter.
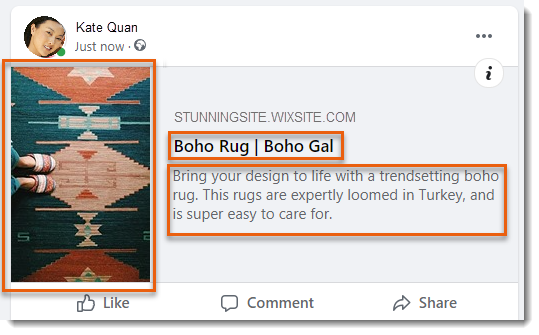
To edit images, titles and descriptions:
Go to Products in your site's dashboard.
Click the product you want to customize.
Click Edit SEO Settings on the right.
Click the Social Share tab.
Edit the product image:
Hover over the image and select an option:
Edit the existing image:Click the Adjust icon to open the Photo Studio.
Edit the image and click Save.
Replace the image:Click the Change icon .
.
Select an image and click Add to Page.
Edit the title: Enter your title in the og:title field.
Note: By default, Wix uses your page's title tag.Edit the description: Enter your description in the og:description field.
Note: By default, Wix uses your product's meta description.Click Twitter Settings to set a different image and text for Twitter shares:Click the Change icon
to select a different image.
Choose a card size under Select card size.
Add a title under twitter:title.
Add a description under twitter:description.
Click Save.