top of page

Dropshipping with Wix Stores

Wix Stores: Setting Up Dropshipping with Printify

After you connect your store to Printify, you can select a product and start designing it!
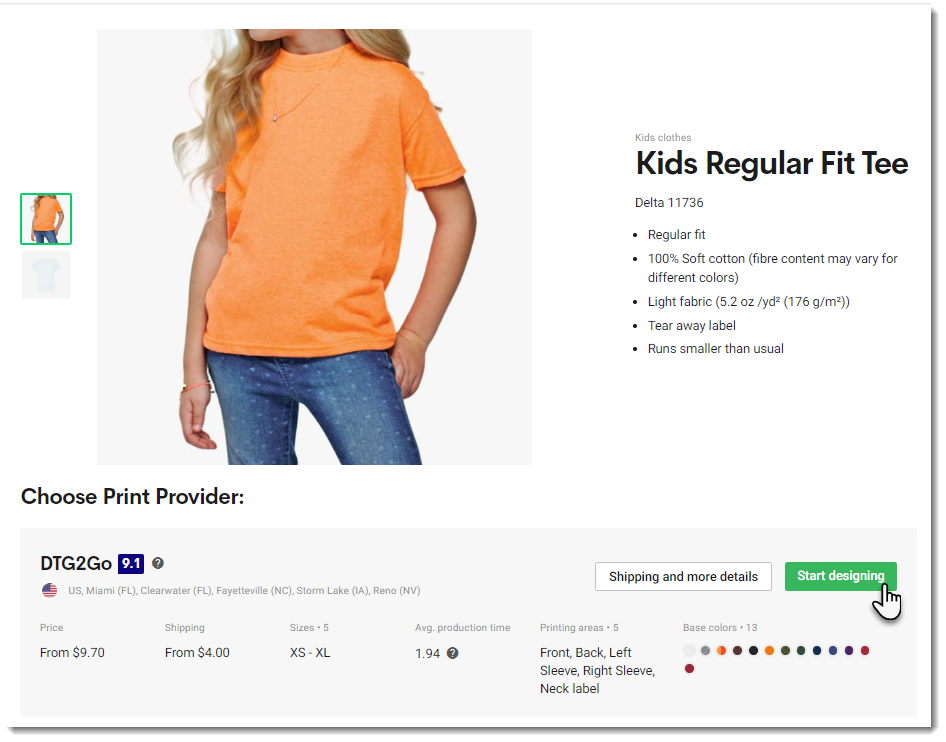
Printify is a print on demand (POD) service. You pay no subscription fees and there is no need to purchase inventory. You only pay when a customer places an order.

Step 1 | Create Products and Add them to Your Store

First, log in to Printify, click Catalog at the top, and choose a product. Then, create your first product and set pricing. Learn How

Step 2 | Set Up Shipping

Make sure you set up shipping in your Wix dashboard. Take into consideration Printify's shipping costs. You can charge for shipping separately or you might want to increase the product price so that it covers the shipping cost and then offer free shipping - the choice is yours.

Step 3 | Add a Billing Method in Printify

After a customer purchases a Printify product in your Wix store, you'll need to pay Printify for it. After this is done, Printify creates the product and ships it to your customer.

You can handle the payment to Printify in two ways:

  • Automatic: Set up automatic payment by adding a payment method  (PayPal or credit card) in the Printify dashboard.  Learn How
    When a paid order comes in, (or when you mark an order as "Paid"), your payment to Printify is processed automatically and the order is fulfilled. You won't need to do a thing.

  • Manual: When you receive an order, you can go to the Orders tab in the Printify dashboard and click Fulfill orders to pay for the order manually. It is then fulfilled by Printify.

Need A Professional Website?
Contact Us 
Today!

Wix Automations: Adding and Sending a Coupon

Wix Automations: Sending Automated Emails to Contacts After Form Submissions

Wix Automations: Customizing Automated Emails

Wix Automations: Creating a New Automation

Wix Automations: An Overview

The New Automation Builder: Understanding Email Types

The New Automation Builder: Creating a Multi-Action Automation

The New Automation Builder: Sending Data via Webhook

The New Automation Builder: Adding and Sending a Coupon

The New Automation Builder: Troubleshooting Wix Automations

The New Automation Builder: Understanding Conditions Operators

The New Automation Builder: Setting Up a 'Scheduled Time' Trigger

The New Automation Builder: Sending Data to Google Sheets

The New Automation Builder: Using the Property Picker

The New Automation Builder: Viewing and Managing Automations Installed for You

The New Automation Builder: Customizing Automated Emails

The New Automation Builder: Managing Your Automations

The New Automation Builder: Creating an Automation

The New Automation Builder: Overview

Microsoft Office 365 Mailbox Limits

Resetting the Password for Additional Office 365 Mailboxes

Resetting Your Admin Password for Your Office 365 Mailbox

Accessing Your Microsoft Office 365 Mailbox Through Your Wix Account

Accessing Your Microsoft Office 365 Mailbox Through Your Wix Account

Accessing the Microsoft Office 365 Admin Center

Activating Your Microsoft Office 365 Mailbox Purchased from Wix

Google Workspace: Troubleshooting Login Issues

Google Workspace: FAQs

Google Workspace: Contacting Google Support

Google Workspace Error Message: "You do not have access to Email"

wix experts
Graphic2Traffic web design
©
bottom of page