


Managing products and categories
Wix Stores: Scheduling Product Discounts Using the Wix Store Scheduler App
Important:
This app is no longer available in the Wix App Market. You can schedule discounts using Automatic Discounts.
Using the Store Scheduler app, you can manage when your products go on sale and when the sale ends. For example, you can schedule a 24-hour sale that starts and ends precisely at midnight.
The Store Scheduler app can also be used to schedule when products or categories are visible.
Step 1 | Schedule when the discount starts
Now that you added the app, you can go ahead and schedule your first discount.
To schedule a discount:
Access the app:Go to Manage Apps in your site's dashboard.
Click Open next to Wix Store Scheduler.
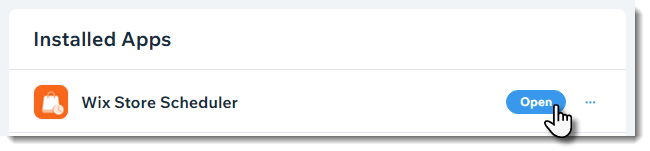
Click + Schedule Activity.
Select Set sale price.
Select what you want to apply the discount to:Select an option from the Choose product or category drop-down.
Select the relevant product or category.
Select a discount option:
Amount off discount: E.g. $10 off.Click the Amount icon .
.
Enter the discount amount.
Percentage discount: E.g. 10% off.Click the Percentage icon .
.
Enter the discount percentage.
Select a start date, time, and time zone.
Click Schedule.
Step 2 | Schedule when the discount ends
To schedule when a discount ends, you need to create a 0% or $0 discount for the same discount you previously created.
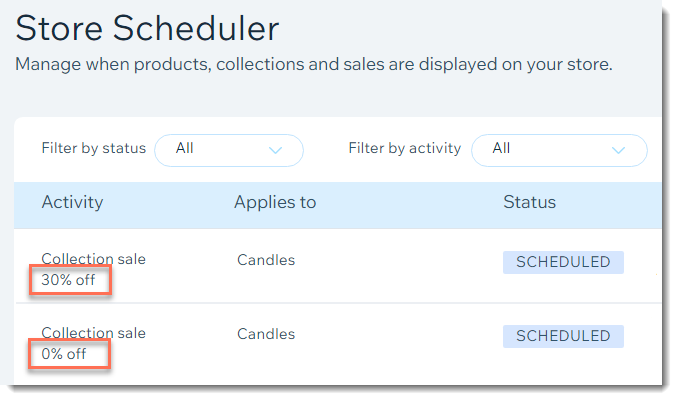
To schedule the end of a discount:
(In the Store Scheduler app) Click + Schedule Activity.
Select Set sale price.
Select the product or category you selected when you created the discount:Select an option from the Choose product or category drop-down.
Select the relevant product or category.
Select the type of discount you want to end:
Amount off discount:Click the Amount icon .
.
Enter 0.
Percentage discount:Click the Percentage icon .
.
Enter 0.
Select a end date, time, and time zone.
Click Schedule.