


Managing products and categories
Wix Stores: Managing Your Product List
Your product list is the place to view, manage, and update all of your store products.
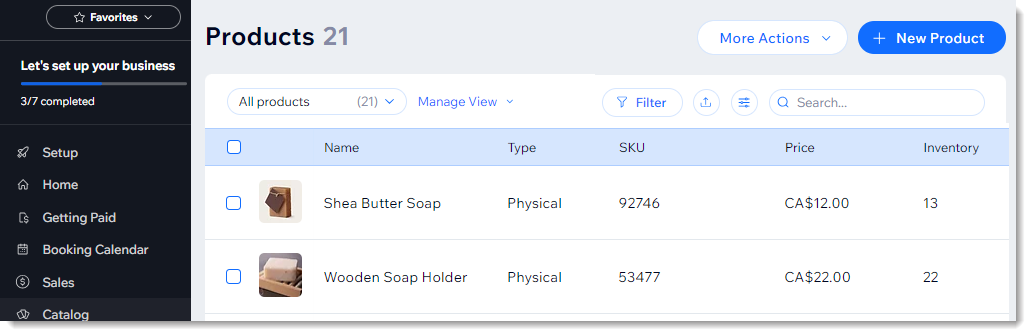
In this article, learn more about:
Performing bulk actions (set visibility, sale prices, or delete products)
Filtering the product list & saving your view
You can filter your products to help you focus on the ones you want to view. If you re-use certain filters, you can save them and give them a name. You'll be able to select the saved filters next time you want to apply it.
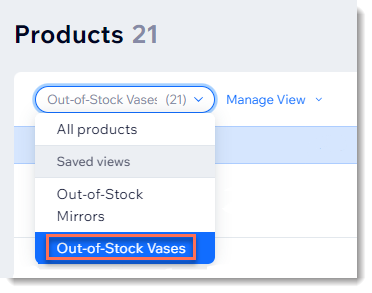
To filter your products:
Go to the Product tab in your site's dashboard.
Click Filters.
Select one or more filters.
Tip: The filters you selected appear at the top of the product list.(Optional) Save these filters:Click Manage View.
Select Save as new view.
Enter a view name.
Tip: Enter a meaningful name that you'll remember (Out-of-stock vases).
Click Save.
Rearranging the product order
Make sure the products you want to promote are displayed front and center on your site. You can rearrange the order of products in any of your categories.
Tip:
By default, products are displayed in the order they were created with the most recent product first.
To rearrange products in a category:
Go to Categories in your site's dashboard.
Select a category.
Click and drag the products to change the order.
Click Save.

Exporting & importing your product list
You can export your list of products to a CSV file to view them. You can also use the file to make changes and then import the updated file.
Learn how to:
Performing bulk actions
Rather than updating products one at a time, you can save time by selecting multiple products and applying the changes in one go.
To update multiple products at once:
Go to the Product tab in your site's dashboard.
Select which products you want to update:All products: Select the checkbox at the top left.
Individual products: Select or deselect the checkboxes next to relevant products.
Choose what you want to do next:
Show or hide products
Using this method, you can show or hide products from your online store (but not a point of sale).
Click Set Visibility.
Select a visibility option.
Note:
To show or hide products at a point of sale, you must click an individual product and then select or deselect the Show in Point of Sale checkbox at the top right.
Delete products
Important: Deleted products cannot be recovered. As an alternative, you may want to hide products from your site.
Click More Actions.
Select Delete.
Click Delete to confirm.
Add an info section
Click +Add info section.
Click Add.
Set a sale price
You can create a percentage sale price and apply it to multiple products.
Click More Actions.
Click Set sale price.
Enter the discount percentage.
Click Apply.
When the sale is over, select the same products and apply a 0% sale price.