


Managing store emails
Wix Stores: Adding the Privy eComm Marketing App
The Privy third-party app offers a variety of marketing tools to help you boost store sales. Whether you want to send messages about abandoned carts, send targeted newsletters about promotions, or add site pop-ups, Privy can help you grow your business.
In this article, learn more about:
Tip:
Privy offers a 15-day trial period. After the period is up, you can continue with a free plan or upgrade to a paid plan that can handle the number of contacts in your account.
App features
The Privy eComm Marketing app has several features to help you increase your sales.
Build your email list
Privy offers 2 ways to grow your email list:
Welcome Discount Display: Ask site visitors to join your email list in exchange for discounts,
content, or to get exclusive updates. Learn how to set up a welcome discount display.Cart Savers: Send a cart-saver pop-up that appears when visitors who started the checkout process are about to leave your site. Learn how to set up cart savers.
Send newsletters
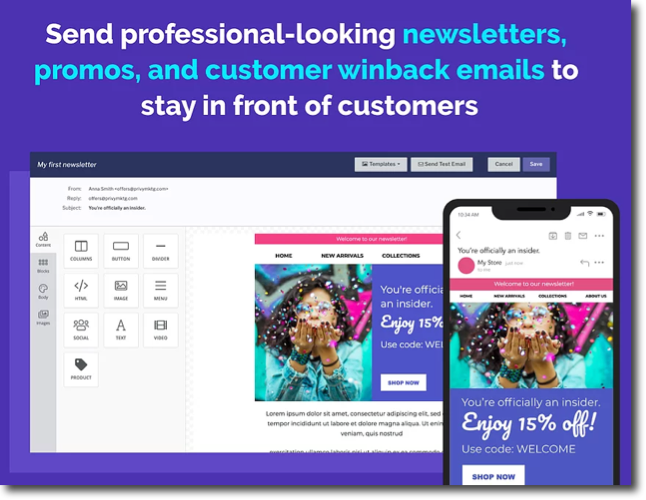
Use Privy to send targeted emails to customers to keep them engaged with your store. You can target by parameters such as:
Region
Cart value
Customers' behavior on your site
Start by selecting a template and customizing it using the newsletter email editor.
Add SMS marketing
Grow your cross-channel marketing by adding SMS messaging. Collect customers' phone numbers and ask for consent. Then, send text messages about abandoned carts and more.
Adding the Privy App
Before you begin:
Make sure your site has been upgraded to a Premium plan or Studio plan that allows you to accept payments and has a domain.
Wix Editor
Editor X
Studio Editor
Dashboard
Click Add Apps
 on the left side of the editor.
Search for the Privy eComm Marketing app in the search bar.
Click Add to Site.
Click here to access the app.
Click +Add to Site.
Review the app permissions and click Add to Site.
Go to the email associated with your Wix account and open the Privy email.
Note: You must complete this step within an hour of adding the app.Click Sign in to Privy.
Sign in to your existing account or click Create New Business and create a new account.