top of page

Managing products and categories

Wix Stores: Adding Info Sections to Products

Customers are more likely to make a purchase when their questions are answered. Add one or more info sections (e.g. product details, shipping info) to a product to provide all the explanations your customers need.

GIF is a product in a wix store showing the info sections

In this article, learn how to:

Adding an Info Section to a product

Help customers feel comfortable about buying your products by adding the information they need. This can include product specs, sizing, care info, and store policies.

To add an info section:

  1. Go to Products in your site's dashboard.

  2. Create a new product or edit an existing one.

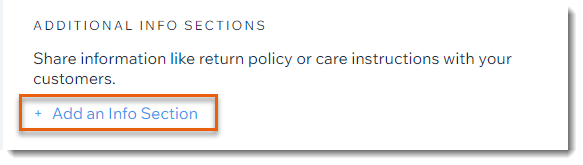
  3. Click + Add an Info Section.

Screenshot of the product creation page in the Wix dashboard with the Add info section option outlined

  1. Enter the info section title.

  2. Enter the relevant information and use the text editing toolbar to format the text.

  3. Click Save.

Adding a table

Tables are a great way to display certain types of information, such as a size chart.
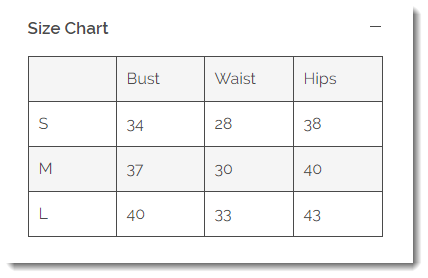
Screenshot of a size chart in an info section of a product in Wix stores

To add a table to an info section:

  1. Go to Products in your site's dashboard.

  2. Create a new product or edit an existing one.

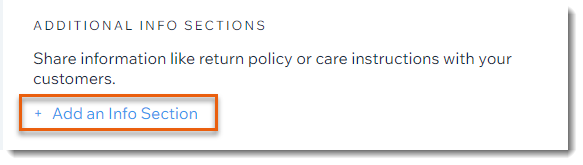
  3. Click + Add an Info Section.

Screenshot of the product creation page in the Wix dashboard with the Add info section option outlined

  1. Enter the title.

  2. Click the Table icon .

Screenshot of part of the window you use to add an info section to a product in a Wix store with the table icon outlined

  1. Set up your table:Enter the total number of columns and rows you want.
    Select an option from the Headers drop-down.
    Tip: Rows or columns designated as headers are bolded.
    Click OK.

  2. Enter the table content.

  3. Click Save.

Adding links

You can add links that direct to pages containing additional info about your product or policies. For example, you may want to display basic shipping information in the info section and also provide a link to a page with detailed shipping information.

Linking options:

You can link to hidden or live pages in your site. You can also link to any external page.
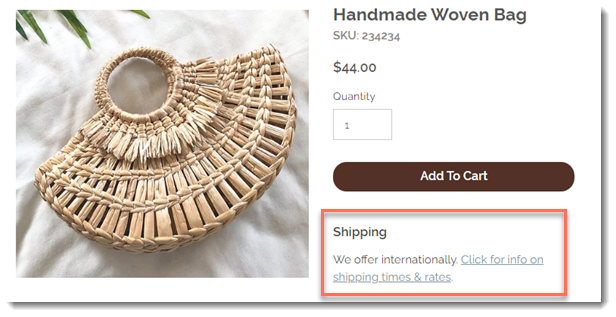
Screenshot of a product in a Wix stores that has an info section containing a link

To add links to an info section:

  1. Highlight any text.

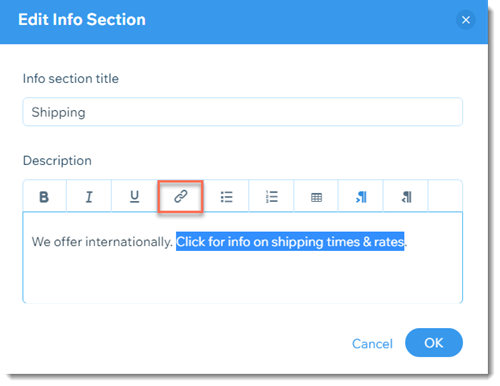
  2. Click the Link icon .

Screenshot of the window you use to add an info section to a product in a Wix store with the link icon outlined

  1. Enter the URL you want to link to.

  2. Click OK.

Adding an Info Section to multiple products

To save time, you can add the same info section to multiple products at the same time. Simply select the relevant products and create the info section as you would for a single product.

To add info sections to multiple products at once:

  1. Go to Products in your site's dashboard.

  2. Select the checkboxes next to the products you want to edit, or click the checkbox at the top left to select all products.

  3. Click More Actions.

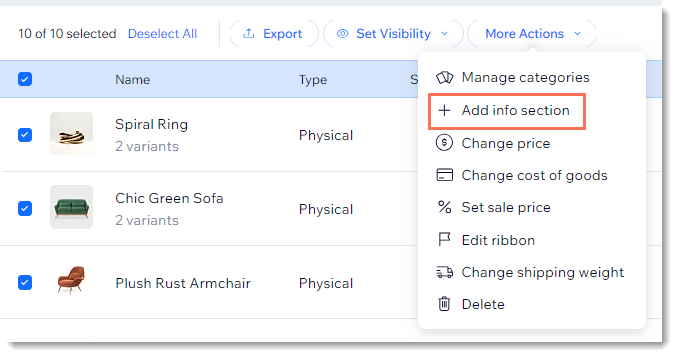
  4. Select + Add info section.

Screenshot of the product list in a Wix Stores with multiple products selected and the Add info section option outlined

  1. Create and save the info section following the instructions above.

Need A Professional Website?
Contact Us 
Today!

Wix Automations: Adding and Sending a Coupon

Wix Automations: Sending Automated Emails to Contacts After Form Submissions

Wix Automations: Customizing Automated Emails

Wix Automations: Creating a New Automation

Wix Automations: An Overview

The New Automation Builder: Understanding Email Types

The New Automation Builder: Creating a Multi-Action Automation

The New Automation Builder: Sending Data via Webhook

The New Automation Builder: Adding and Sending a Coupon

The New Automation Builder: Troubleshooting Wix Automations

The New Automation Builder: Understanding Conditions Operators

The New Automation Builder: Setting Up a 'Scheduled Time' Trigger

The New Automation Builder: Sending Data to Google Sheets

The New Automation Builder: Using the Property Picker

The New Automation Builder: Viewing and Managing Automations Installed for You

The New Automation Builder: Customizing Automated Emails

The New Automation Builder: Managing Your Automations

The New Automation Builder: Creating an Automation

The New Automation Builder: Overview

Microsoft Office 365 Mailbox Limits

Resetting the Password for Additional Office 365 Mailboxes

Resetting Your Admin Password for Your Office 365 Mailbox

Accessing Your Microsoft Office 365 Mailbox Through Your Wix Account

Accessing Your Microsoft Office 365 Mailbox Through Your Wix Account

Accessing the Microsoft Office 365 Admin Center

Activating Your Microsoft Office 365 Mailbox Purchased from Wix

Google Workspace: Troubleshooting Login Issues

Google Workspace: FAQs

Google Workspace: Contacting Google Support

Google Workspace Error Message: "You do not have access to Email"

wix experts
Graphic2Traffic web design
©
bottom of page