


Designing your store
Wix Stores: Adding and Optimizing a Search Box for Stores
Boost store sales by helping your customers locate the products they're interested in.
Add a general search box to your site and then customize it to work optimally with Wix Stores.
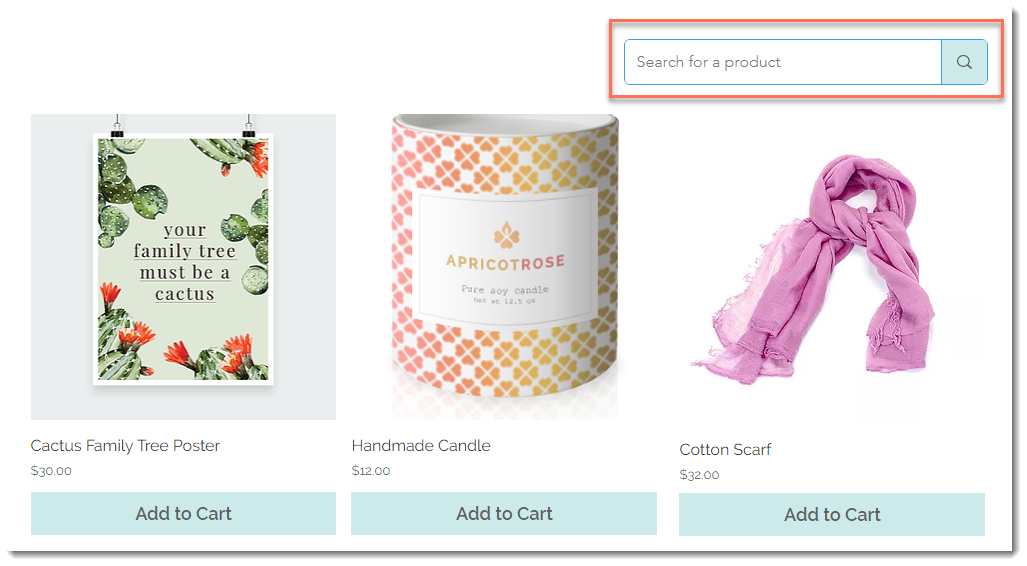
Step 1 | Add a search box to your site
Start by adding a search box. By default, the search box is placed in your site's header and is visible on every page.
Wix Editor
Studio Editor
Click Add Apps
 on the left side of the editor.
Search for the Wix Site Search app in the search bar.
Click Add to Site.
Step 2 | Customize the search box field
To help customers understand what they're searching for, edit the placeholder text. Note that in step 3, you can edit the search results page to display only store products.
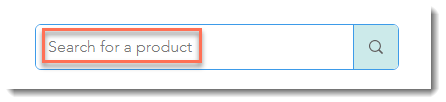
To customize the search box:
Click the search box in your editor.
Click Settings.
Enter placeholder text suitable for store product searches (e.g. Search for a product).
Click the Layout icon
 and Design icon
 and customize the look of the search box.
Step 3 | Customize the search results page
By default, the search results page shows results from all parts of your site. This can include blog posts, events, regular pages, and more.
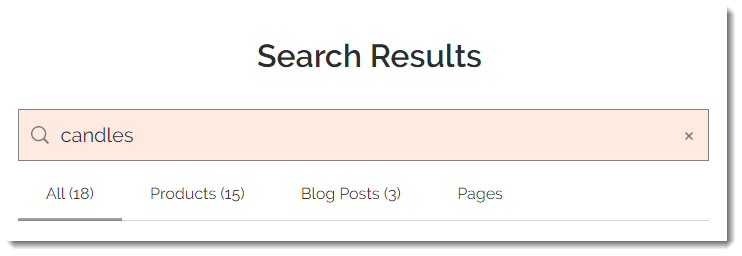
You can customize the results to display only store products. Additionally, you can optionally display an Add to Cart button and search filters.
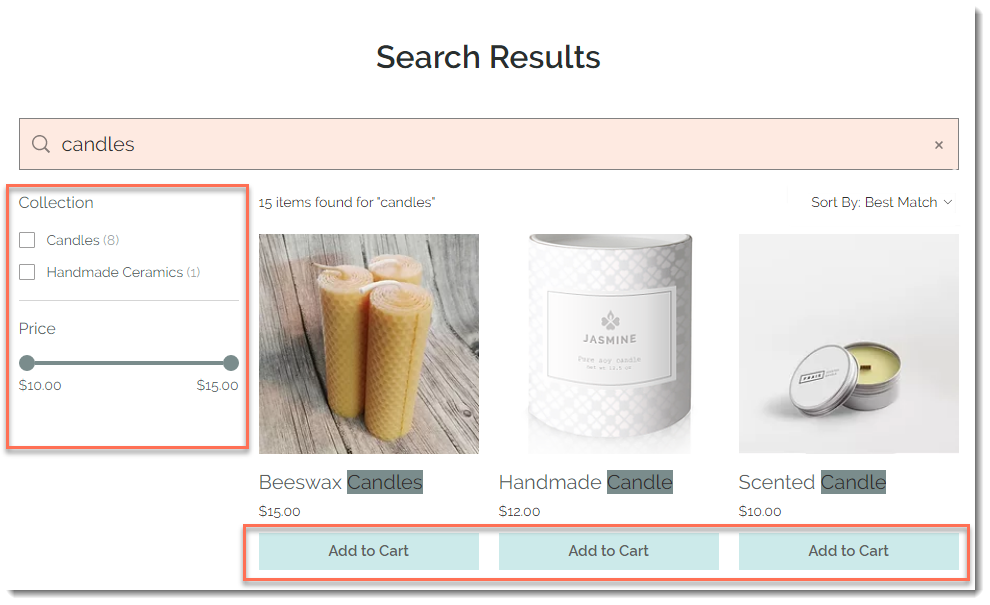
To customize search results:
Wix Editor
Studio Editor
Click Pages & Menu
 on the left side of the editor.
Click Site Menu.
Click the Search Results page.
Click the Search Results page in the Editor.
Click Settings.
Click the Settings tab.
Click the toggle next to any types of search results you want to hide to disable it.
Edit the product search results:Click the Edit icon
 next to Products.
(Optional) Edit the label text (relevant only if displaying other results, such as blog posts).
Select a resizing option: Fit or crop.
(Optional) Deselect the checkbox next to Product price to hide prices.
Click the Show button toggle under Add to Cart to enable or disable the button. Tip: If displayed, you can edit the "Add to Cart" button text.
Click the Show product filters toggle to show or hide filters. Note: When product filters are displayed, all categories you created that are relevant for the search query are shown.
(Recommended) Increase the number of results per page:Click the Layout tab.
Drag the Number of results per page slider to increase the number of products displayed in the first page of search results.
Use the rest of the customization options to further customize the behavior and look of the search results page.
Notes:
To see how your product search works, publish your changes and test it on your live site.
To hide specific products from appearing in site search results, you can edit their SEO settings. Note that this also stops the product from appearing in search engine results.