top of page

Setting up Retail POS sales

Wix Retail POS: Setting Up Text Receipts

Important:

  • This article is about Wix Retail POS tablet for brick & mortar businesses.

  • For info on using POS on a mobile device, click here.

Save paper by providing customers with receipts via text message (SMS). After you enable this option, you'll be able to select it at checkout.
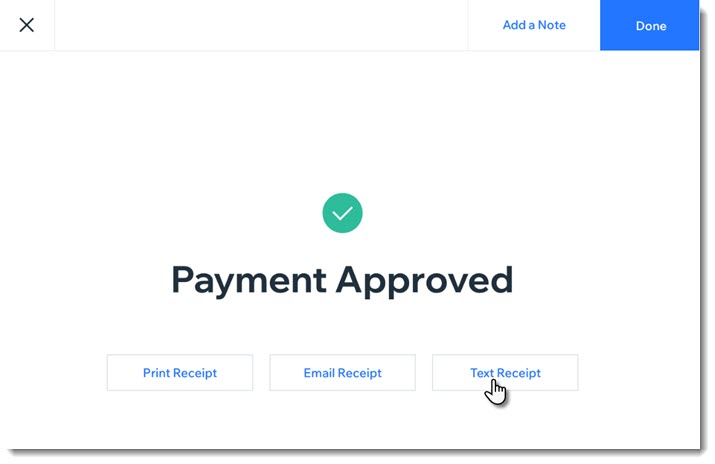
Screenshot of the screen you see after payment for a sale was approved. The screen show a text receipt option

Enabling text receipts

To display the text message receipt option at checkout, you must first enable text receipts.

To enable text receipts:

  1. Open the POS tablet.

  2. Tap the Menu icon  at the bottom left.

  3. Tap Settings.

  4. Tap Receipt on the left menu.

  5. Enable the Enable text receipts toggle.

FAQs

Click a question below to learn more about text receipts.

How do I enter phone numbers correctly?

Enter your customer's phone number, starting with the country code, then the area code, and the actual number. For US and Canadian numbers, enter 1 as the country code, as in the example below:

Screenshot of the field where you enter the phone number and the Text Receipt button

How can I send or resend a text receipt at a later date?

  1. Open the POS tablet.

  2. Tap Sales History from the bottom bar.

  3. Tap the relevant sale to select it.

  4. Tap Actions.

  5. Select Text Receipt.

  6. Enter the phone number and tap Text Receipt.

Need A Professional Website?
Contact Us 
Today!

Wix Automations: Adding and Sending a Coupon

Wix Automations: Sending Automated Emails to Contacts After Form Submissions

Wix Automations: Customizing Automated Emails

Wix Automations: Creating a New Automation

Wix Automations: An Overview

The New Automation Builder: Understanding Email Types

The New Automation Builder: Creating a Multi-Action Automation

The New Automation Builder: Sending Data via Webhook

The New Automation Builder: Adding and Sending a Coupon

The New Automation Builder: Troubleshooting Wix Automations

The New Automation Builder: Understanding Conditions Operators

The New Automation Builder: Setting Up a 'Scheduled Time' Trigger

The New Automation Builder: Sending Data to Google Sheets

The New Automation Builder: Using the Property Picker

The New Automation Builder: Viewing and Managing Automations Installed for You

The New Automation Builder: Customizing Automated Emails

The New Automation Builder: Managing Your Automations

The New Automation Builder: Creating an Automation

The New Automation Builder: Overview

Microsoft Office 365 Mailbox Limits

Resetting the Password for Additional Office 365 Mailboxes

Resetting Your Admin Password for Your Office 365 Mailbox

Accessing Your Microsoft Office 365 Mailbox Through Your Wix Account

Accessing Your Microsoft Office 365 Mailbox Through Your Wix Account

Accessing the Microsoft Office 365 Admin Center

Activating Your Microsoft Office 365 Mailbox Purchased from Wix

Google Workspace: Troubleshooting Login Issues

Google Workspace: FAQs

Google Workspace: Contacting Google Support

Google Workspace Error Message: "You do not have access to Email"

wix experts
Graphic2Traffic web design
©
bottom of page