


Setting up Retail POS hardware
Wix Retail POS: Connecting Your POS Hardware
Important:
This article is about Wix Retail POS tablet for brick & mortar businesses.
For info on using POS on a mobile device, click here.
Welcome to Your Wix Retail Point of Sale. The article shows you how to connect your tablet, card reader, and other devices so you can start making sales.
Step 1 | Connect the Wix POS tablet to the accessories
Start by unboxing the POS tablet and connecting the tablet to the accessories that you purchased. When that's done, you can plug the tablet in.
To connect the Wix POS tablet and accessories:
Unbox the Wix POS tablet.
Carefully place the tablet with the screen facing down so you can access the ports.
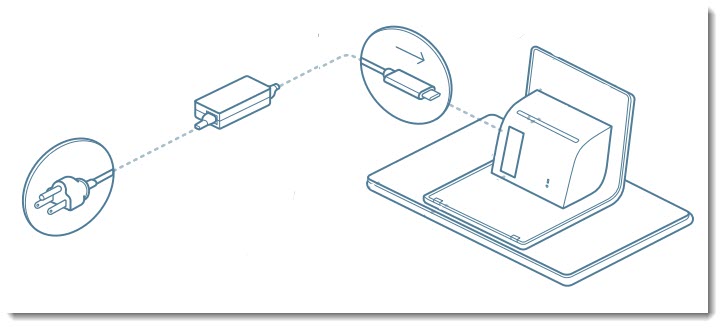
Tip: The tablet base can swivel.Plug the power adapter into the tablet’s USB Type C port.
Note: Don't connect it to the power outlet yet.
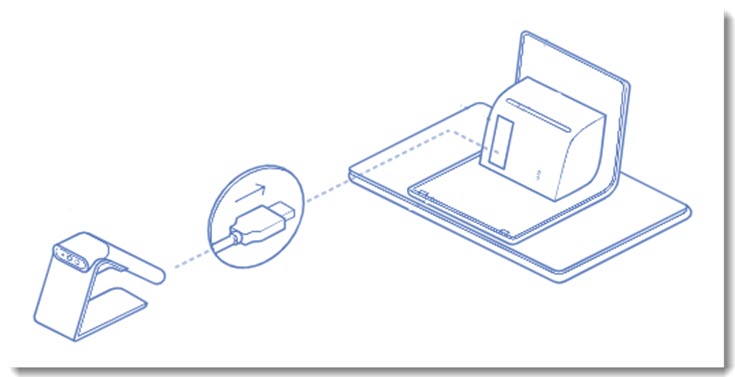
Connect the barcode scanner via the USB-A port.
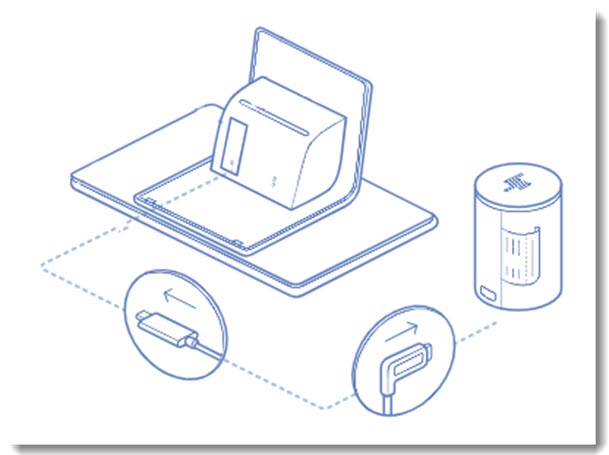
Connect your printer:HP Printer: If you purchased an HP printer, connect it via the USB-C port.
Epson m30 series printer: If your Epson printer connects via USB, then connect it via the USB-C port. If it connects using another method, learn how to set up and connect your Epson printer.
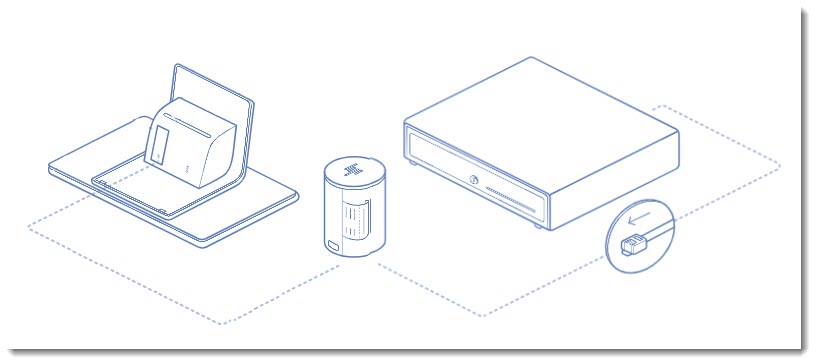
Connect the cash drawer to the printer using a RJ-12 connector.
Plug the power adapter into a power outlet.
Step 2 | Switch on the card reader
Now you can set up your card reader. Note that Canadian and US merchants have different card reader models.
US card readers:
You can:
Purchase a separate cradle
Charge in or out of the cradle
Remove the card reader and use it wirelessly
To switch on the card reader:
Unbox the Wix card reader.
Plug the reader into a wall outlet.
Note: The card reader connects wirelessly to the printer via Bluetooth.Press the power button to turn on the card reader.
Important:
The card reader will disconnect automatically if the battery goes below a 25% charge.
Step 3 | Log in to your Wix account
Now it's time to get the tablet up and running and log in to your Wix account. Once you do, you'll have access to all your Wix Stores products and Wix Bookings services (depending on which you're using).
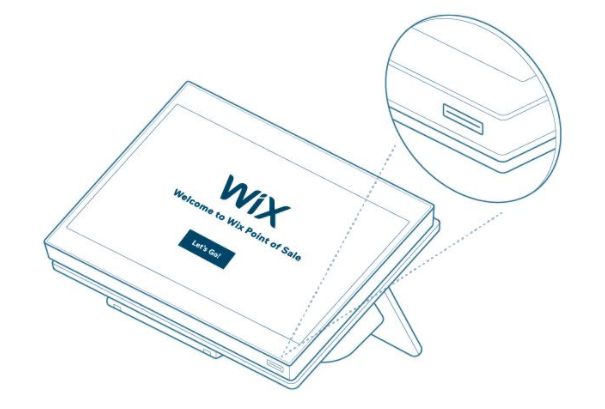
To log in to your Wix account:
Press the power button in the bottom right.
Tip: Wait until the Wix logo screen appears (about 5 seconds).Connect the tablet to your WiFi.
Log in to your Wix account.
Check for updates:Open the POS tablet.
Tap the Menu icon at the bottom left.
Tap Settings.
Scroll down and tap App & Tablet.
Check for available updates.
Click Install Update.
Step 4 | Sync your devices
Before you can start accepting credit card payments, you need to sync the tablet with your card reader.
Tip:
Your other POS accessories sync automatically once they are plugged in.
To sync your card reader:
Open the POS tablet.
Tap the Menu icon
at the bottom left.Tap Settings.
Scroll down and tap Manage Hardware.
Tap Set up Card Reader.
Set up a Bluetooth card reader


Set up a network card reader

Step 5 | Test your POS set up
Before you start selling to customers, you can test each of the components to familiarize yourself with the system.
To test your POS set up:
Test your scanner: Scan a store product to add that product to cart (relevant for Wix Stores merchants).
Note: For this to work, the product must be in your Wix Stores product catalog and its SKU must match the barcode.Test your card reader: Add an item to the cart and check out with a credit card.
Tip: You can add a discount so that you aren't charged the whole amount.Test your cash drawer:Providing change: Make a cash sale and enter an amount receive that requires the return of change.
Manually opening the cash drawer: Tap Checkout from the bottom bar of the tablet, tap Actions, and select Open Drawer w/o Sale.
Test your printer: When making a test purchase, after payment, select the Print Receipt option.