Taking online orders
Wix Restaurants: Managing Your Phone Orders
Important:
This article is about the original Restaurants Orders app.
We've released a new online ordering app. Learn how to add and set up the new Wix Restaurants Orders (New) app.
Customers can call in and place their order over the phone. All you need to do is enter the incoming phone orders and track them until they're complete. You can also invite people to manage your restaurant so that your staff can help you handle incoming calls.
Before you begin:
Make sure you've upgraded your site to a Business Premium plan.
Check that you've enabled online ordering for your restaurant, and that your restaurant's operating hours align with your online ordering hours.
To place a phone order:
Go to Orders in your site's dashboard.
Click More at the top right and select + Create New Order.
Enter the customer's phone number and click Next.
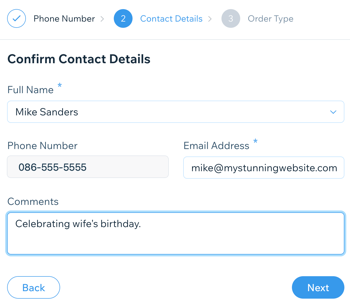
Enter their contact details and click Next.
Note: Information for returning customers is saved and you can add comments about the customer.
Select the order type and click Next:Delivery: Enter the customer’s delivery address.
Pickup: Select the location for customer pickup.
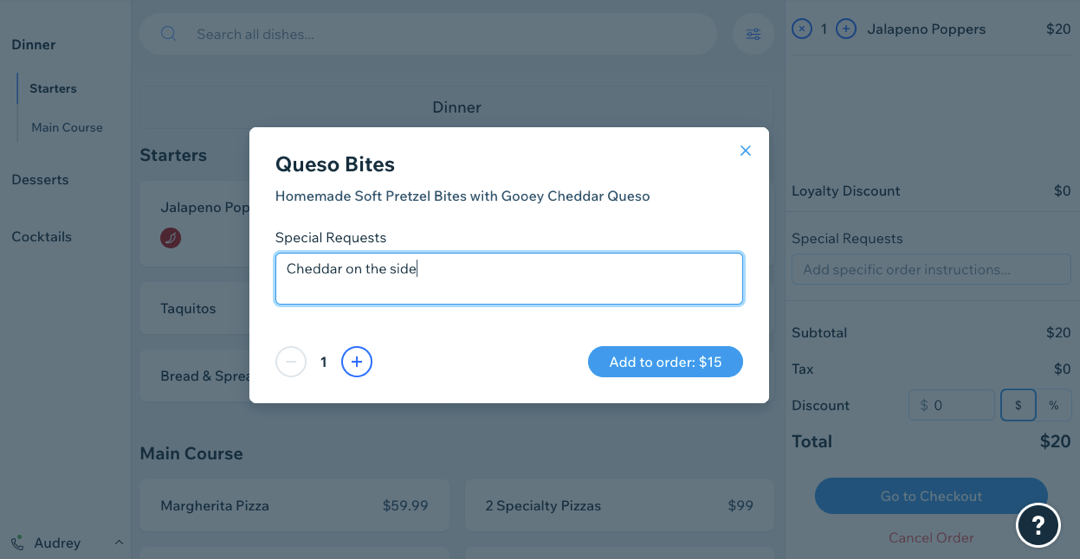
Add the customer's order:Select the dish from the menu.
Enter any special requests for the order.
(Optional) Click the Plus and Minus icons
  to change the quantity of the item.
Click Add to order.
Once you've added the full order, click Go to Checkout.
Choose a payment method for the order. Note: You'll only be able to choose from the payment providers that are set up in your account.
Click Place Order.
Click Done.
Note:
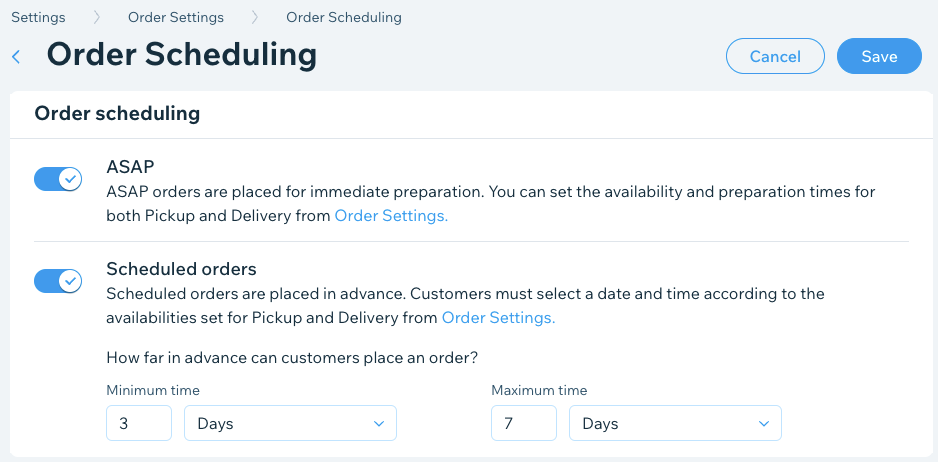
Phone orders only work for orders placed for right now. Currently, there isn't an option to place an order for another time or date. Make sure to toggle on ASAP orders in Order scheduling.