


Taking online orders
Wix Restaurants: Managing Orders
Important:
This article is about the original Restaurants Orders app.
We've released a new online ordering app. Learn how to add and set up the new Wix Restaurants Orders (New) app.
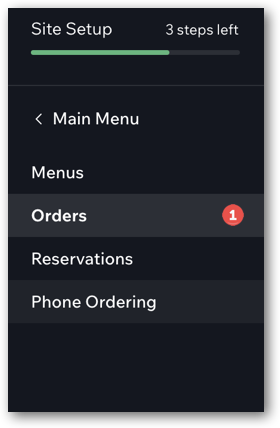
When an order comes in, you hear a sound and see a red alert on the Orders tab of your restaurant's dashboard. You can accept an incoming order, mark an order as delivered or reject an order.
Connected Square POS to Wix Restaurants?
When you connect Square POS to your Wix Restaurant site, you manage your online orders through Square POS. You can also see them in Orders in your site's dashboard.
In this article, learn how to:
Accepting incoming orders
Accept incoming orders from customers and easily keep track of all your restaurant orders.
To accept an order:
Go to the Orders tab in your site's dashboard.
Click the relevant order.
Click Accept at the top right.
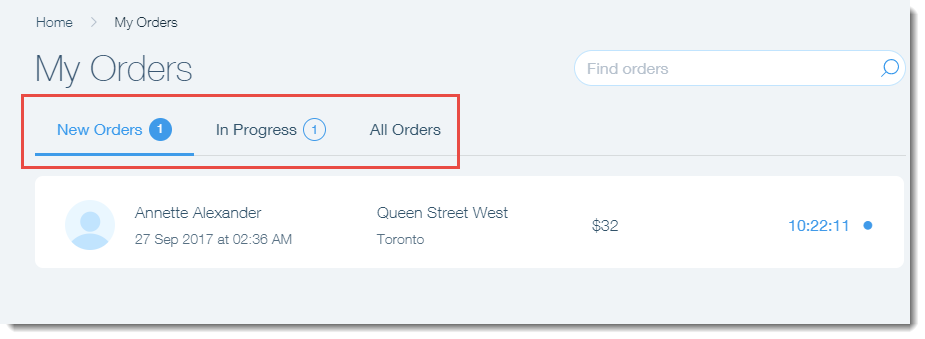
After you accept an order, it moves to the In Progress tab. From here, you can mark the order as delivered when you are ready.
Tip:
You can set additional notifications methods (email, text, fax etc.), and backup notifications that are triggered after a set time that an order has not been handled. Learn more
Marking an order as delivered
After you process an order, you can mark the order as delivered. Delivered orders move from the In Progress tab to the All Orders tab.
To mark an order as delivered:
Go to the Orders tab of your site's dashboard.
Click the In Progress tab at the top.
Click the relevant order.
Click Mark Delivered at the top right.
Rejecting an order
If you are unable to fulfill an order, or if a guest calls to cancel, you can reject the order no matter what status it's in.
To avoid chargebacks and complaints:
You have to contact the customer after you reject an order to let them know that their order has been unsuccessful.
You must void the transaction in the dashboard of your chosen payment gateway. Marking an order as rejected does not automatically void or refund the transaction. To locate the transaction ID, go to the Payments tab in your dashboard. The transaction ID appears under the payment method.
To reject an order that has not yet been accepted:
Go to the Orders tab of your site's dashboard.
Click the relevant order.
Click the Show More icon
 at the top right and select Reject.
Enter the reason for rejection.
Click Reject to confirm.
To reject an order that has already been accepted:
Go to the Orders tab of your site's dashboard.
Click the In Progress tab.
Click the relevant order.
Click the Show More icon
at the top right and select Reject.Enter the reason for rejection.
Click Reject to confirm.
Tip:
You can also reject an order once it has been marked as delivered. Simply click the All Orders tab to find the relevant order.