


Creating your Wix Restaurants menu
Wix Restaurants: Displaying Multiple Restaurant Menus on Your Site
Important:
This article is about the original Wix Restaurants Menus App. Try out our new, improved menu app. Learn how to add and set up Wix Restaurants Menus (New) app.
Manage your online menus to suit your restaurant. Create additional menus as you need them and decide how you want those menus displayed.
Learn how to:
Adding additional restaurant menus
You can create multiple menus for your restaurant. For example, you can have a dinner menu, lunch menu and dessert menu - all with different sections, dishes and/or prices.
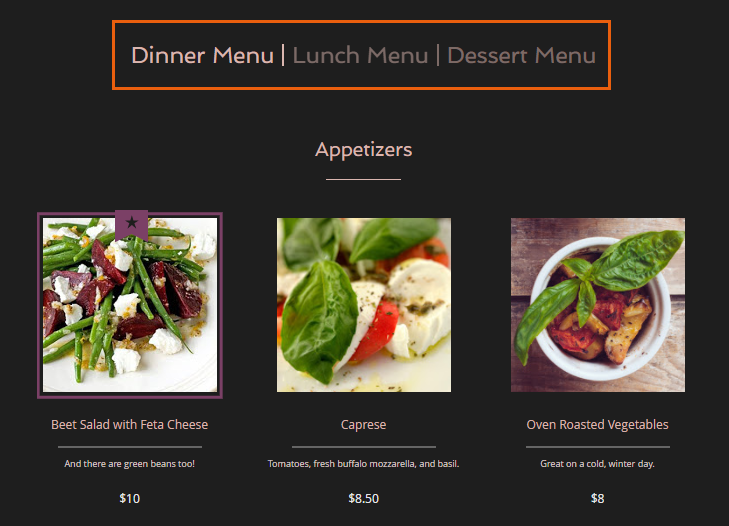
To add additional menus:
Go to your site's dashboard.
Click the Menus tab.
Click New Menu.
Tip:
Now that you've added a new menu, create that menu with everything from menu structure to individual dishes.
Displaying different restaurant menus on different pages
By default, if you have more than one menu (e.g. Breakfast, Lunch, Dinner), all menus are shown on the same page of your Wix site. You can add new menu pages at any time, and choose which menus should show on each page.
You can select which menus you want to show and which ones you want to hide. For example, hide menus meant only for online orders from your restaurant menu.
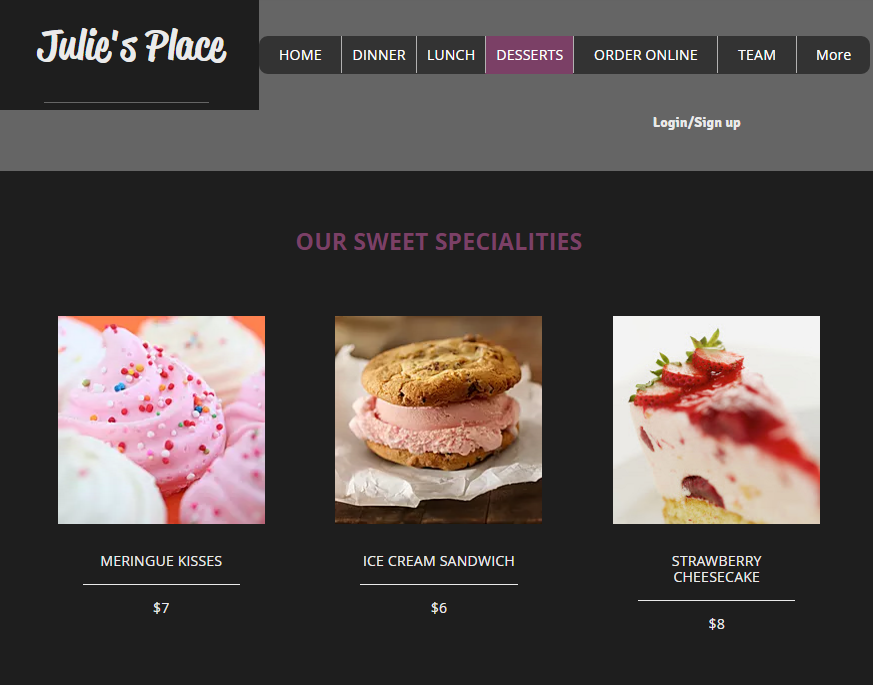
To display different menus on different pages:
Click the Wix Restaurants Menus app in the Editor.
Click Settings.
Click + New Menu Page. (A new page named Menus is added to your site).
Click the Wix Restaurants Menus app on the new page.
Click Settings.
Click the Display tab.
Select Show Specific Menus under Do you want all your menus to be visible?.
Hover over the menu name and click the Hide icon
 next to the menus you do not want to display on the page.
Note: Leave only the menu that you want to show.

(Optional) Repeat to add additional menu pages.
Tip:
Each menu page that is added to your site is given the name "Menus". We recommend that you change the name of each new page so that your customers know which is which.