top of page

Getting Started with Wix Payments

Wix Payments: Adding Tap to Pay on Mobile as a Payment Method

Add Tap to Pay on mobile as a payment method to help your customers pay quickly and securely using your mobile device to take the payment.

Tap to Pay on mobile lets you accept payment on your phone without connecting any external hardware. Customers can either tap a credit/debit card directly on your phone or use their own phones to pay you.

Before you begin:

  • You must set up Wix Payments to accept payments via Tap to Pay on mobile.

  • You must download the Wix app to accept Tap to Pay payments on mobile.

  • Tap to Pay on mobile is currently available only in the United States.

General Info

Supported countries

United States

Supported currencies

USD

Processing fees

USA: 2.6% of the transaction amount + 0.20 USD

Notes

The currency used in your Wix account must match the currency in your Wix Payments account. If the currencies do not match, the transactions may be declined. Learn how to change your currency

Adding Tap to Pay

  1. Go to Accept Payments in your site's dashboard.

  2. Click Manage next to Wix Payments.

  3. Enable the toggle next to Tap to Pay on mobile.
    Note: You can disable the toggle at any time to remove Tap to Pay from your payment options.
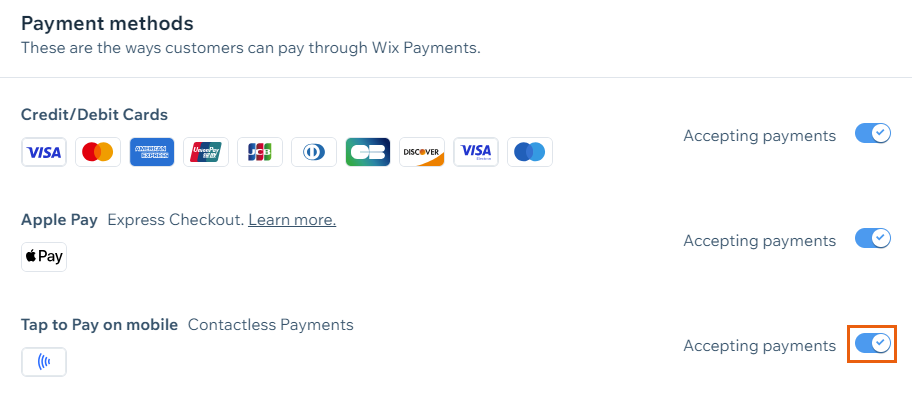
Tap to pay on mobile enabled,

  1. Go to your site in the Wix app.Tap Manage  at the bottom.
    Tap Point of Sale under Getting Paid.
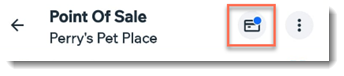
    Tap the Connect iconat the top right.

    Tap Tap to Pay on mobile.
    Tap Activate.

Important Information:

  • Items sold via Tap to Pay are subject to our list of prohibited goods and services.

  • Disabling card payments in Wix Payments will also disable Tap to Pay. You can, however, disable Tap to Pay payments without disabling card payments.

Need A Professional Website?
Contact Us 
Today!

Wix Automations: Adding and Sending a Coupon

Wix Automations: Sending Automated Emails to Contacts After Form Submissions

Wix Automations: Customizing Automated Emails

Wix Automations: Creating a New Automation

Wix Automations: An Overview

The New Automation Builder: Understanding Email Types

The New Automation Builder: Creating a Multi-Action Automation

The New Automation Builder: Sending Data via Webhook

The New Automation Builder: Adding and Sending a Coupon

The New Automation Builder: Troubleshooting Wix Automations

The New Automation Builder: Understanding Conditions Operators

The New Automation Builder: Setting Up a 'Scheduled Time' Trigger

The New Automation Builder: Sending Data to Google Sheets

The New Automation Builder: Using the Property Picker

The New Automation Builder: Viewing and Managing Automations Installed for You

The New Automation Builder: Customizing Automated Emails

The New Automation Builder: Managing Your Automations

The New Automation Builder: Creating an Automation

The New Automation Builder: Overview

Microsoft Office 365 Mailbox Limits

Resetting the Password for Additional Office 365 Mailboxes

Resetting Your Admin Password for Your Office 365 Mailbox

Accessing Your Microsoft Office 365 Mailbox Through Your Wix Account

Accessing Your Microsoft Office 365 Mailbox Through Your Wix Account

Accessing the Microsoft Office 365 Admin Center

Activating Your Microsoft Office 365 Mailbox Purchased from Wix

Google Workspace: Troubleshooting Login Issues

Google Workspace: FAQs

Google Workspace: Contacting Google Support

Google Workspace Error Message: "You do not have access to Email"

wix experts
Graphic2Traffic web design
©
bottom of page