


Working with Wix Payments
Wix Payments: About Chargeback Fees
From July 5, 2023, a chargeback fee will be applied to your Wix Payments account if you get a chargeback. Wix incurs fees from payment service providers in the event of a chargeback. Therefore, we are making this change to reflect these fees and to match current industry standards. There is no change in the experience for your customers.
When a payment is labeled as a Chargeback in your Wix Payments account, it means the funds were returned to your customer. A customer generally requests a chargeback when they don't recognize the payment, or when the goods/services were defective, not as described, or not delivered at all.
Any chargeback requires an investment of time and resources from the parties involved (Wix, banks, card schemes, etc.) and, as such, if you receive a chargeback, you incur a chargeback fee.
If you receive a chargeback that you believe to be unfair, you can file a dispute or, if you believe the chargeback to be justified, you can accept the claim. If you win the chargeback dispute, the chargeback fee will be returned to you along with the funds in dispute.
Chargebacks are a part of doing business. In many cases, however, chargebacks can be prevented before they happen.
In this article, learn about:
Chargeback fee amounts by region
Depending on where your business is located, chargeback fees can vary. Regional chargeback fees are broken down by the appropriate currency as follows:
Canada: 15.00 CAD
European Union:15.00 EUR
Switzerland: 15.00 CHF
United Kingdom: 15.00 GBP
United States: 15.00 USD
Chargebacks fees do not currently apply for Wix Payments Brazil.
Disputing a chargeback
If you believe a chargeback to be unjustified, we recommend you dispute it. A win will improve your chargeback ratio and you can recover the value of the payment, as well the chargeback fee.
To file a chargeback dispute:
Go to Payments in your site's dashboard.
Click the relevant payment to see its details.
Click Dispute Chargeback under the chargeback's details.
Select the product or service type of this transaction:Physical product: Physical products delivered, as described, to your customer.
Digital Product: Digital files sent to your customer.
Service: Any service provided to a customer, either online (e.g. website design) or offline (e.g. yoga classes).
Event ticket: Tickets for events such as performances or conferences.
Other: A product or service that doesn't fall within any of the other categories.
Begin building your case by submitting:A cover letter explaining your case.
Relevant evidence to verify your case.
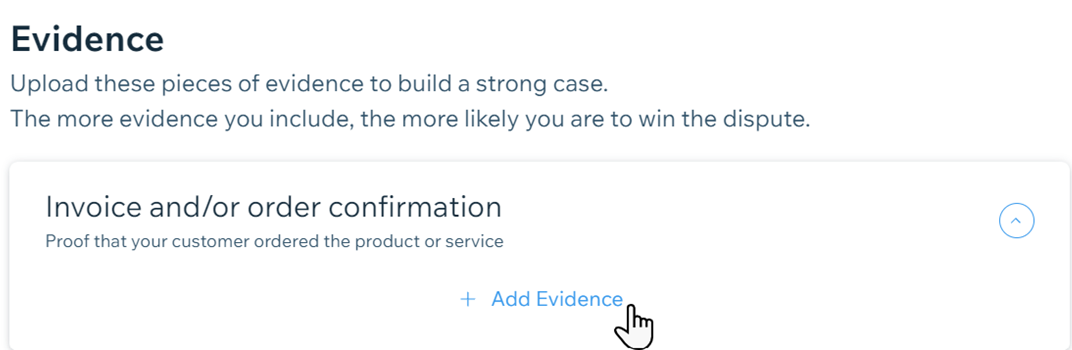
When ready, click Preview & Submit Dispute at the bottom.
Tip: You can click Save Draft if you’d prefer to complete the form later.
Preventing chargebacks
It’s best to try and prevent a chargeback rather than deal with it once it happens. There are best practices you can follow to help lower your risk of receiving chargebacks, as well as to handle any chargebacks you receive more effectively. Among the most effective measures, you can:
Make sure your product info is accurate: Your customers are less likely to dispute a purchase if they receive exactly what they order. Write product descriptions that are correct and add images that realistically depict what you’re selling.
Add clear policies to your eCommerce website: Make it easier on customers to find your shipping, refund and cancellation policies, so they know, in advance, how you handle these issues.
Respond to refund requests swiftly: Offering refunds to customers is a best practice and lessens the chance of chargebacks.
Let your customers easily get in touch: Chargebacks can sometimes be a result of poor communication, so make it easy to find your contact details by displaying them clearly across your site. Try to respond to customer concerns quickly, and keep your customers updated about shipping, delivery, or any changes to your store policies.