Getting started with Wix Music
Wix Music: Creating an Album, Single or Playlist
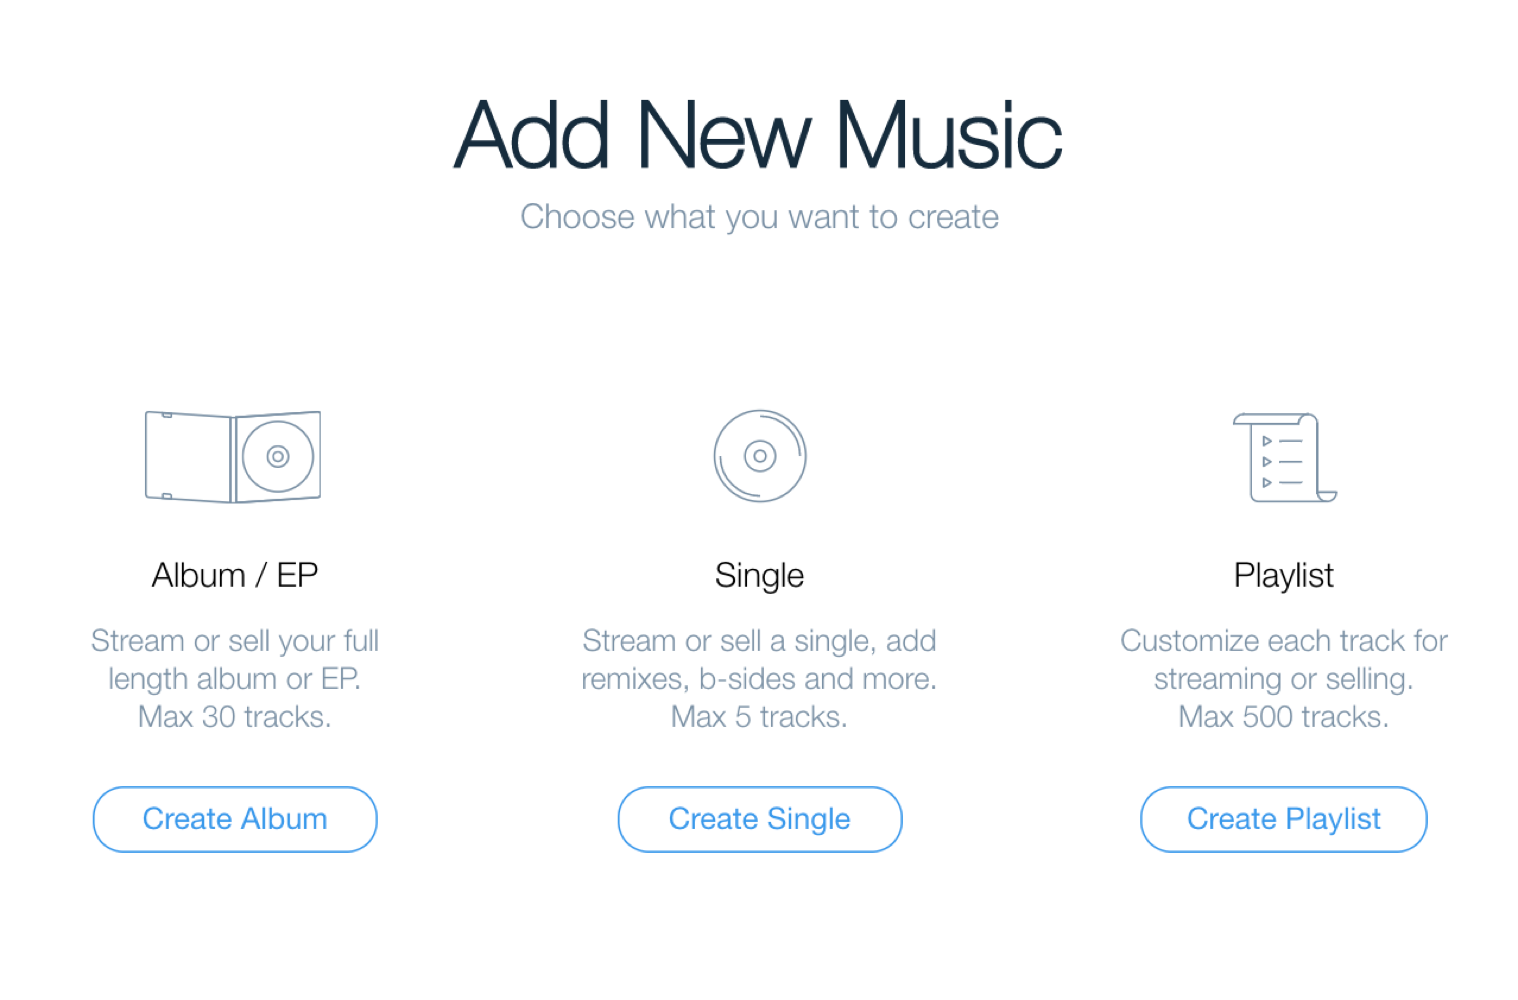
Wix Music lets you choose how you want to create music. You can choose to create music in the form of an album, single, or playlist and add it to your site for your fans to see and hear.
Once you've created your album, single, or playlist, you can then set prices for your music and let your fans download the tracks they love.
In this article, learn more about:
Creating an album
You can create an album with up to 30 tracks and allow your fans to download, purchase or stream it.
To create an album:
Go to My Music in your site's dashboard.
Click + Add Music.
Click Create Album.
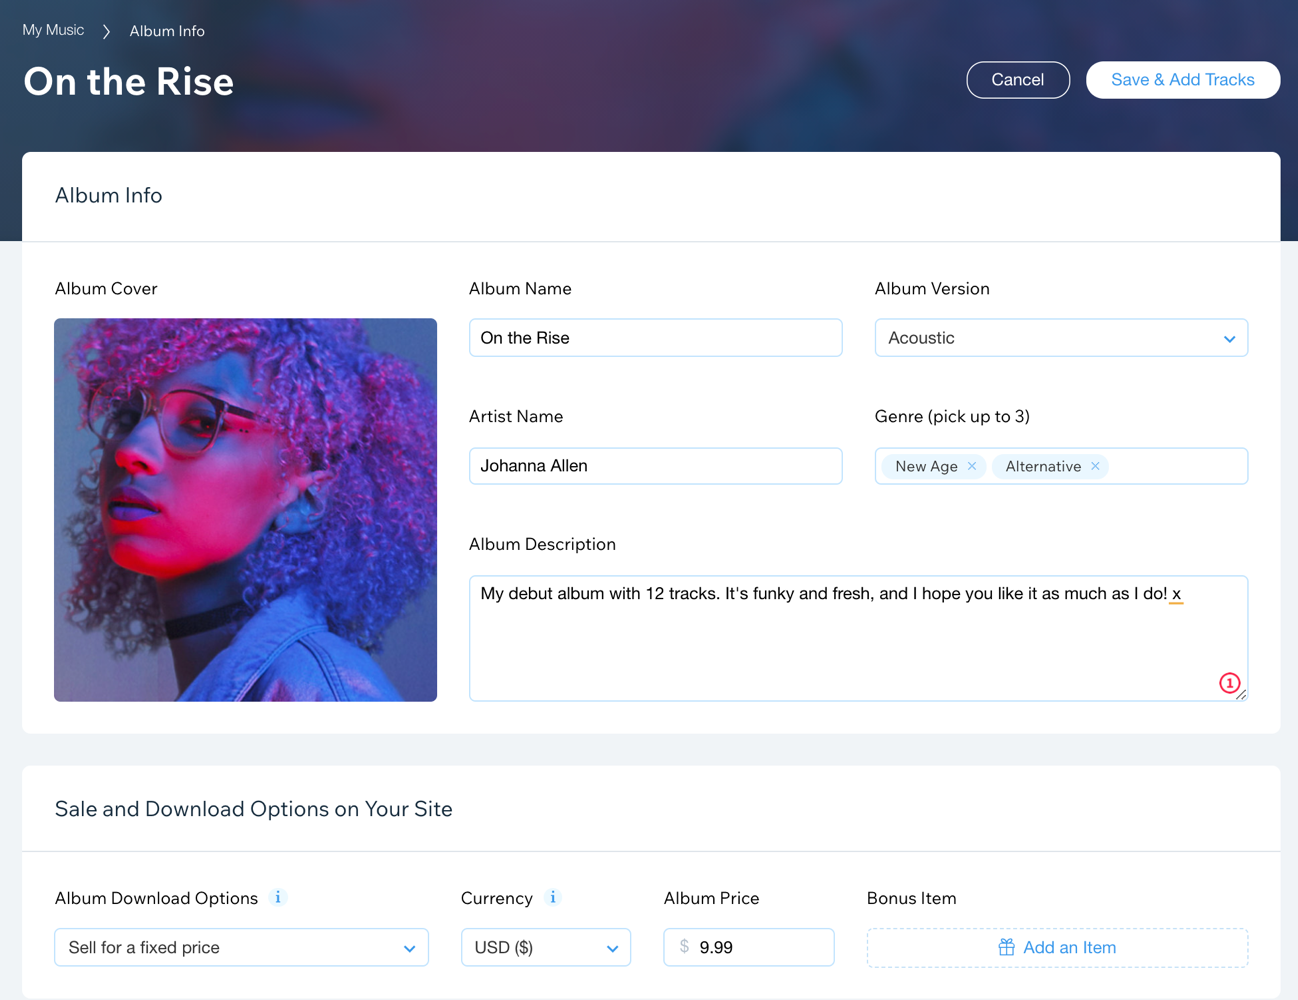
Enter the Album Info details:Album Cover: Click Add Image and select your cover image. Learn more about supported file types.
Album Name: Enter the name of the album.
Album Version: Click the drop-down menu and select a version.
Artist Name: Enter the name of the artist.
Genre: Click the field and select the genre of your album. You can select up to 3 genres.
Album Description: Enter additional information about your album.
Enter the Sale and Download Options on Your Site details:
Album Download Options: Click the drop-down menu and select an option:Sell for a fixed price: Your album is available for purchase. Enter the price in the field provided.
Free download: Your album is available for free download.
No downloads Your album is not available for download.
Let fans name their price: Enter a minimum price for your album. If the minimum price is 0, you can enable the toggle to require fans to subscribe to your mailing list.
Require email for download: Fans can download your music for free, but they must first enter their email address.
Currency: Click the drop-down menu and select a currency.
Album Price: Enter the price for the album.
Bonus Item: Click Add an Item to give your fans bonus extras like image or sheet music when they purchase your album.
Enter any Links to Other Music Platforms:Enable the Links to Other Music Platforms toggle.
Click the drop-down menu and select the relevant music platform.
Paste the link in the text box.
Click Save & Add Tracks at the top right.
Tip:
Once you've created your album, go ahead and add your tracks to it.
Creating a single
You can create a single and upload up to 5 tracks to it. Allow your fans to download, purchase or stream it.
To create a single
Go to My Music in your site's dashboard.
Click + Add Music.
Click Create Single.
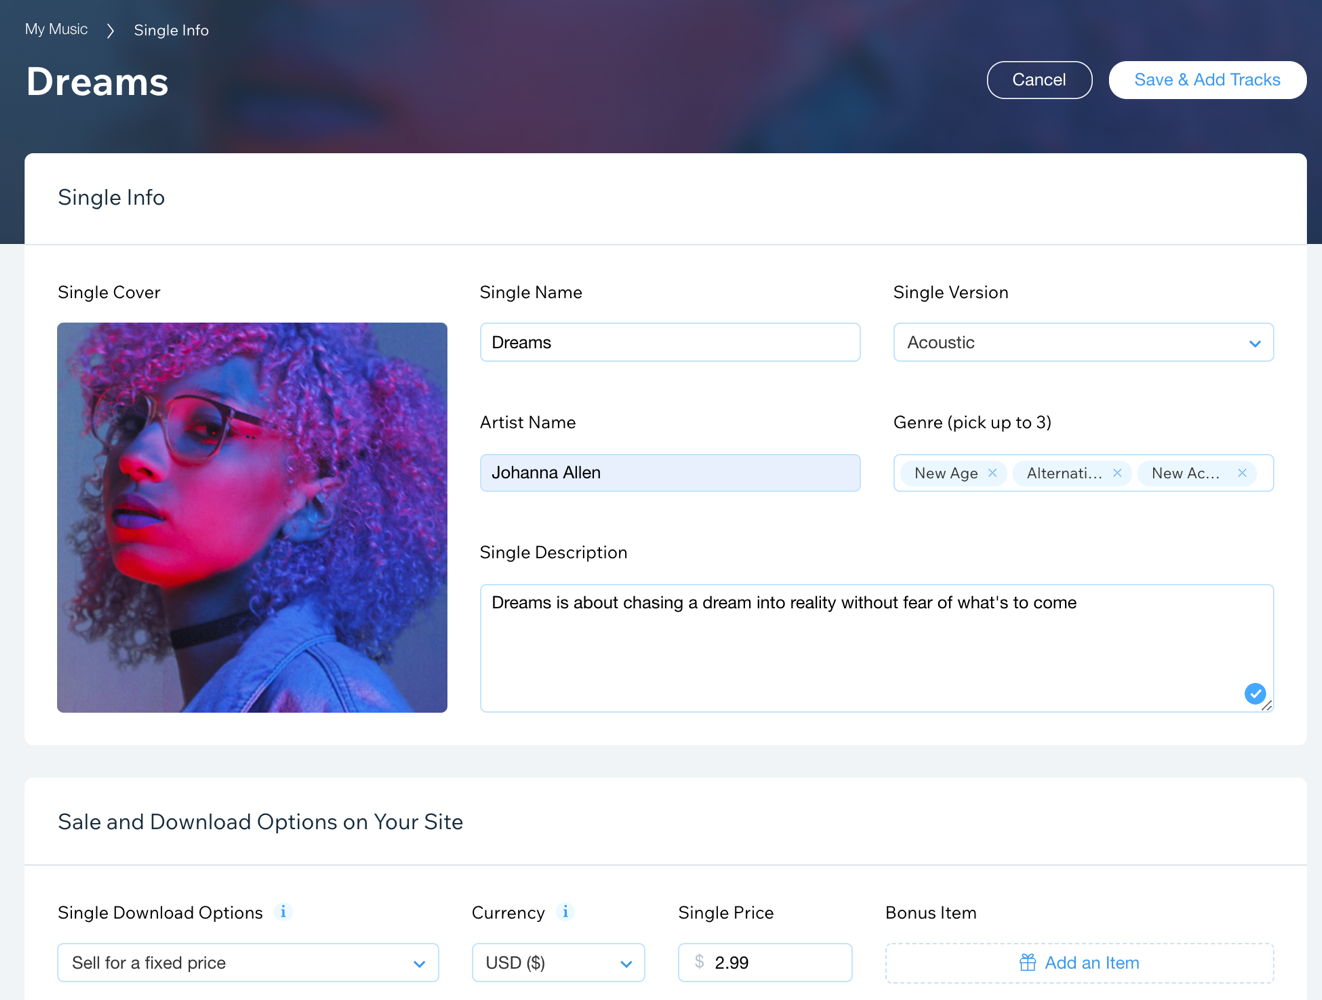
Enter the Single Info details:Single Cover: Click Add Image and select your cover image. Learn more about supported file types.
Single Name: Enter the name of the single.
Single Version: Click the drop-down menu and select a version.
Artist Name: Enter the name of the artist.
Genre: Click the field and select the genre of your single. You can select up to 3 genres.
Single Description: Enter additional information about your single.
Enter the Sale and Download Options on Your Site details:
Single Download Options: Click the drop-down menu and select an option:Sell for a fixed price: Your single is available for purchase. Enter the price in the field provided.
Free download: Your single is available for free download.
No downloads Your single is not available for download.
Let fans name their price: Enter a minimum price for your album. If the minimum price is 0, you can enable the toggle to require fans to subscribe to your mailing list.
Require email for download: Fans can download your music for free, but they must first enter their email address.
Currency: Click the drop-down menu and select a currency.
Single Price: Enter the price for the single.
Bonus Item: Click Add an Item to give your fans bonus extras like image or sheet music when they purchase your album.
Enter any Links to Other Music Platforms:Enable the Links to Other Music Platforms toggle.
Click the drop-down menu and select the relevant music platform.
Paste the link in the text box.
Click Save & Add Tracks at the top right.
Creating a playlist
Creating a playlist is a great option if you've a ton of tracks ready to go. A playlist lets you upload up to 500 tracks and share them with your fans.
Your fans can download or purchase tracks from the playlist, but not the entire playlist as a whole.
To create a playlist:
Go to My Music in your site's dashboard.
Click + Add Music.
Click Create Playlist.
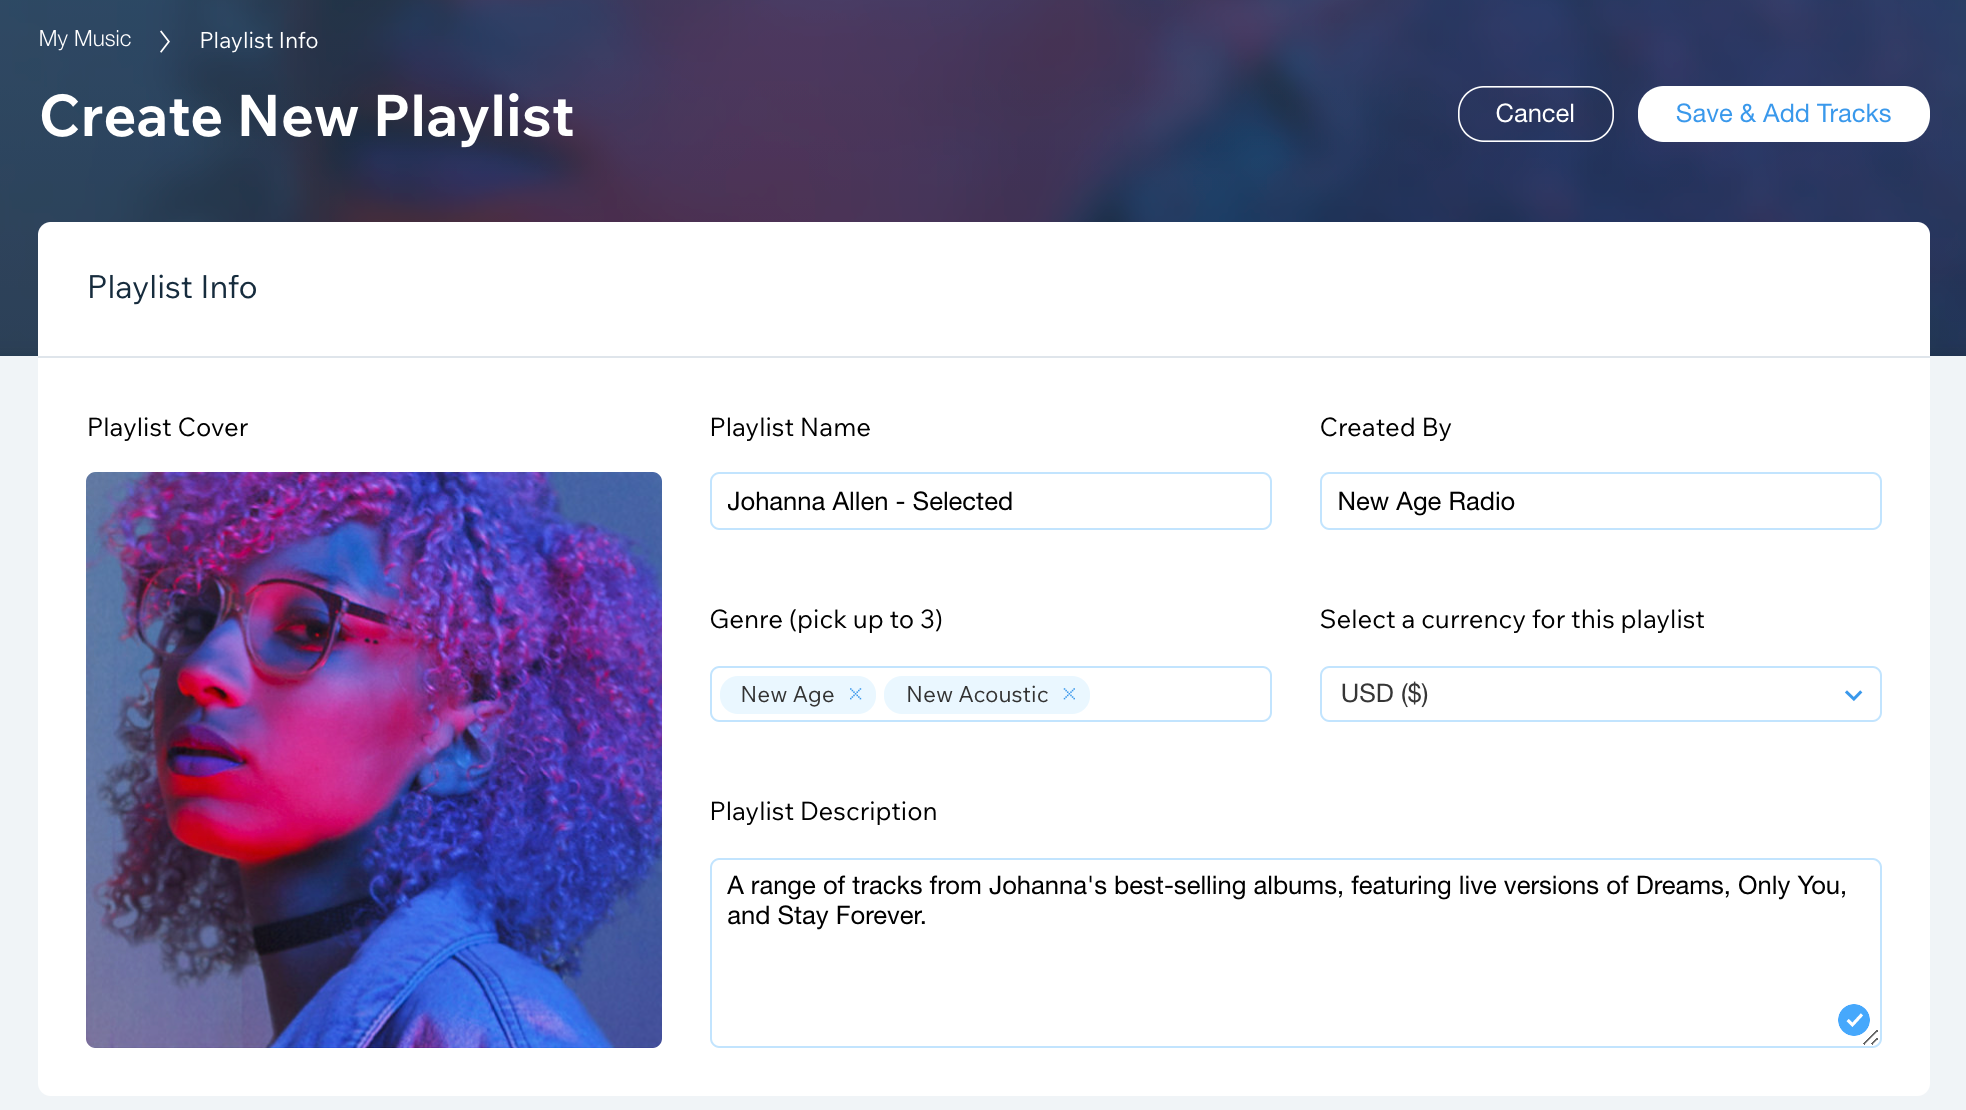
Enter the Playlist Info details:Playlist Cover: Click Add Image and select your cover image. Learn more about supported file types.
Playlist Name: Enter the name of the playlist.
Created By: Enter the name of the person who created the playlist.
Genre: Click the field and select the genre of your playlist. You can select up to 3 genres.
Select a currency for this playlist: Click the drop-down menu and select a currency for the playlist tracks.
Playlist Description: Enter additional information about your playlist.
Click Save & Add Tracks at the top right.