


Designing Wix Events
Wix Events: Setting Up Your Event Schedule Page
After creating an event schedule, you can customize the colors, fonts, and text on the Schedule Page to match your site's design.
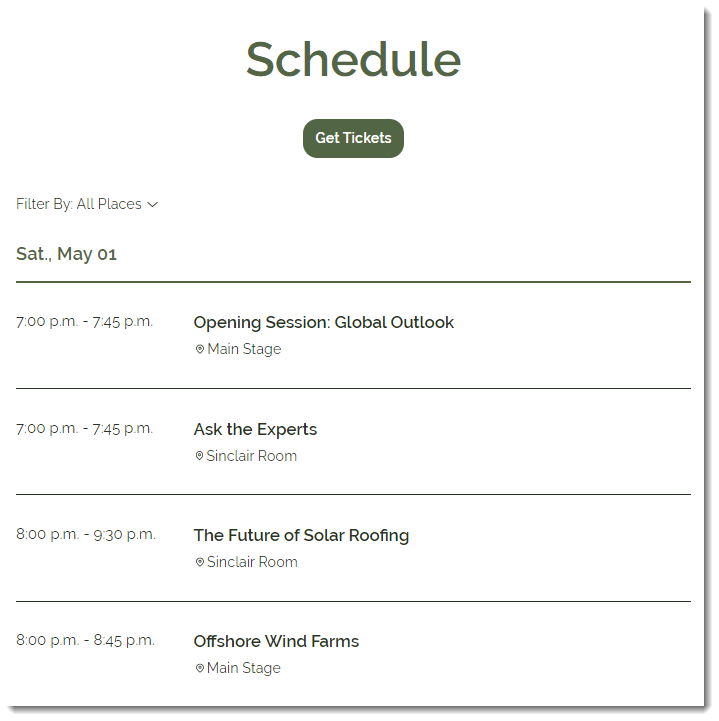
Before you begin:
Create an event schedule. Learn How
Step 1 | Access the Event Schedule
Access the schedule customization settings in the Editor.
Wix Editor | Show me how
Click Pages
 on the left side of the Editor.
Click Event Pages.
Select Schedule.
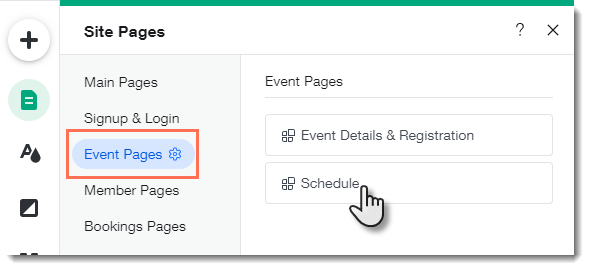
Editor X | Show me how
Click the Pages icon
 at the top bar of Editor X.
Scroll down and select Schedule.
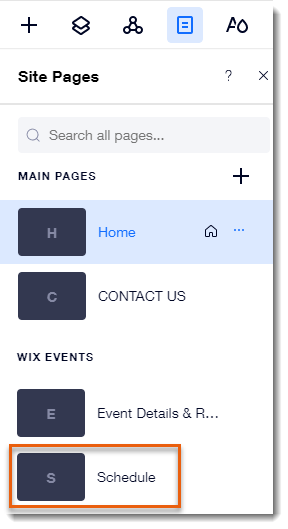
Step 2 | Customize the Schedule Design
Customize the schedule using the available options.
Show me how
Click the Schedule page in the Editor.
Click Settings.
Click any of the tabs on the left to customize the schedule:Display: Click the toggles to show or hide elements on the Schedule page.
Layout: Align the header text left, right, or center.
Text: Edit any of the available text.
Design: Customize the look of the Schedule page:Text Design: Select text fonts and colors.
Button Design: Design the look of the "Get Tickets" button.
Tag: If you created tags, they appear at the top of the schedule. You can customize the tag colors.
Date Design: Customize the date and divider line.
Background: Customize the background color and divider width
Step 3 | (Optional) Add the Schedule Page to your Site's Menu
Let potential event-goers easily access the list of sessions by adding the schedule to your site's menu.

Show me how
Go to the schedule section of the Event Details page in your live site.
Click See All.
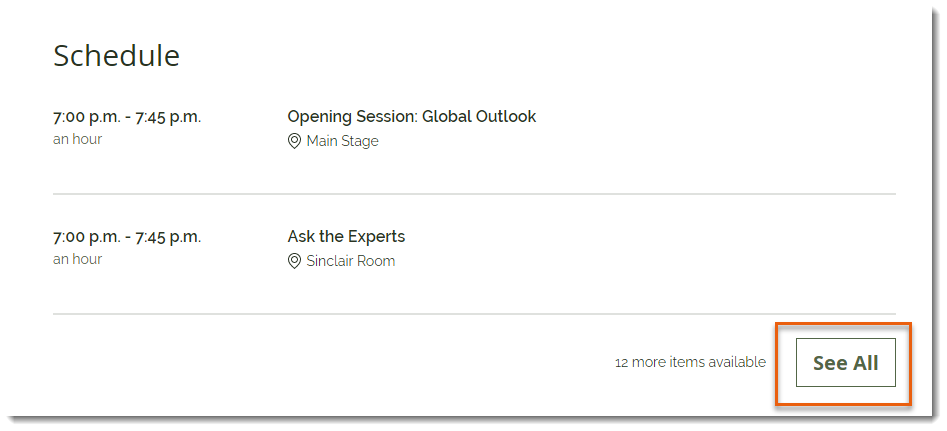
Copy the URL of the full Schedule page. (e.g. ww.mywebsite.com/schedule/KDS-conference).
Go back to the Editor.
Click your site's menu.
Select Manage Menu.
Click +Add Menu Item.
Select Link.
Under What's the web address? enter the URL you copied in step 3.
Select an option:New window: Schedule link open in a new tab.
Current window: Schedule link opens in the same tab.
Click Done.
Enter the link name (e.g. Schedule) and click Done.
(Optional) Drag the new menu item up.
Publish to display the results on your live site.