Wix Contacts FAQ
Wix Contacts: About Your Contact Panel
Wix Contacts provides a comprehensive way to manage and interact with your site visitors. By utilizing the Contact Panel, you can gain valuable insights into how users engage with your site, helping you to build stronger relationships and tailor your marketing efforts effectively.
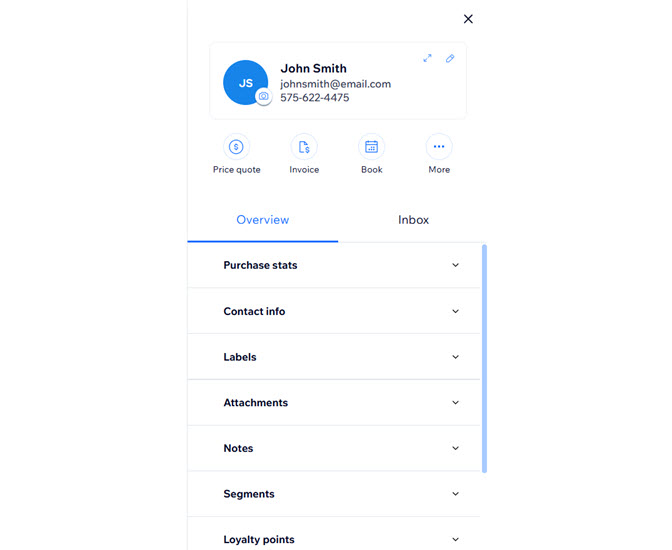
Easily access and manage your contacts
When you click on a contact, their information appears in the panel on the right. Wix collects and stores important data on how contacts engage with your site, like subscribing to newsletters, making purchases, or visiting particular pages. By examining this data in your contact panel, you can identify and target users based on their actions. This informed strategy enables you to customize your marketing efforts and strengthen your connections with your audience.
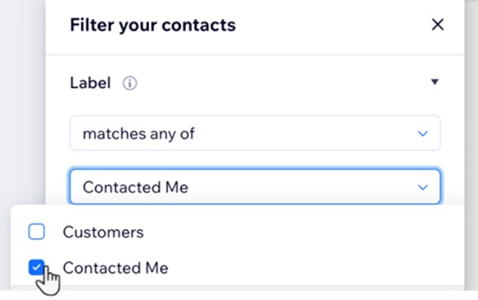
Learn more about managing your contact list.
Customize your panel with pinned actions
Save time when managing workflows, sending invoices or booking appointments by pinning actions to the top of your contact panel. You can set frequently-used actions for your contacts, allowing you to customize actions based on your specific needs.
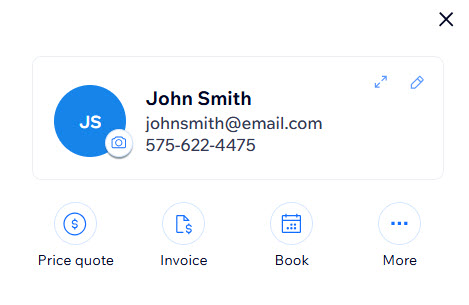
Learn more about using pinned actions in your contact panel.
Organize your contacts with labels
Group your contacts based on their relationship to your business by adding labels. This organization ensures that you can quickly find and manage different types of contacts efficiently.
Each contact can have multiple labels such as leads, customers, and service providers. Use labels to filter your contacts, send email marketing campaigns to multiple contacts at once, and more.
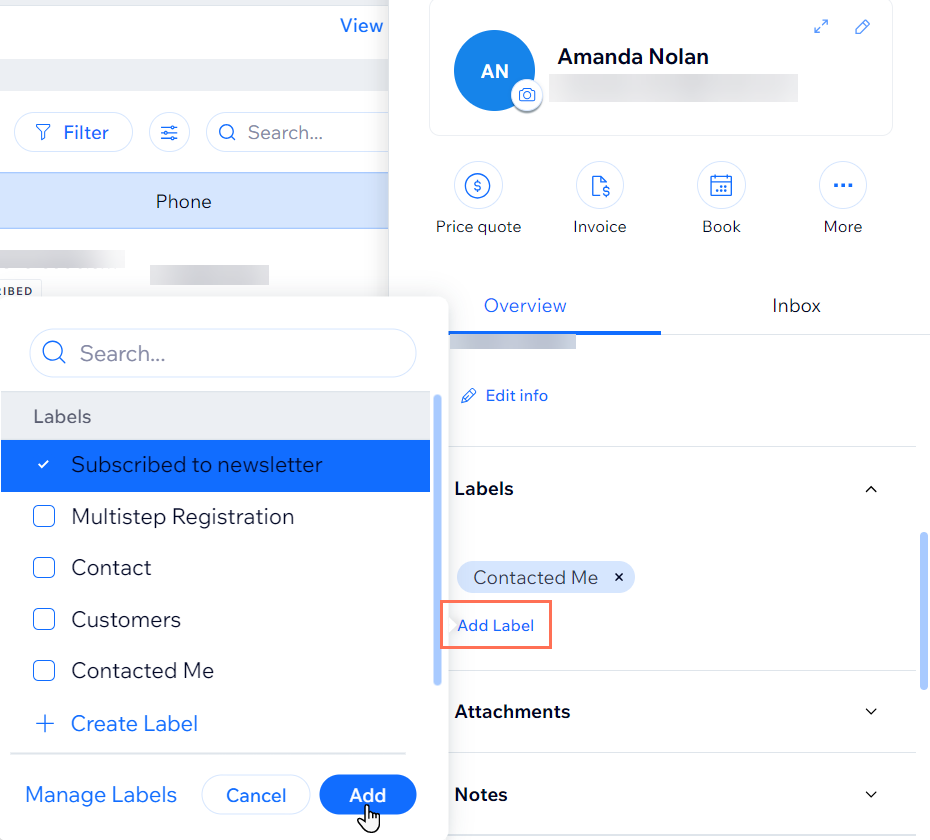
Learn more about creating and using contact labels.
Strengthen your knowledge of your customer base with segments
Analyze and segment your customer base to gain a greater understanding of who your customers are and how they're interacting with your site. Segments group your customers using conditions defined by you.
For example, if you know you want to target customers who have spent a lot in the past but haven't visited your site in a while, you could create a segment that identifies people who have spent more than $500 but haven't visited in the last 3 months.
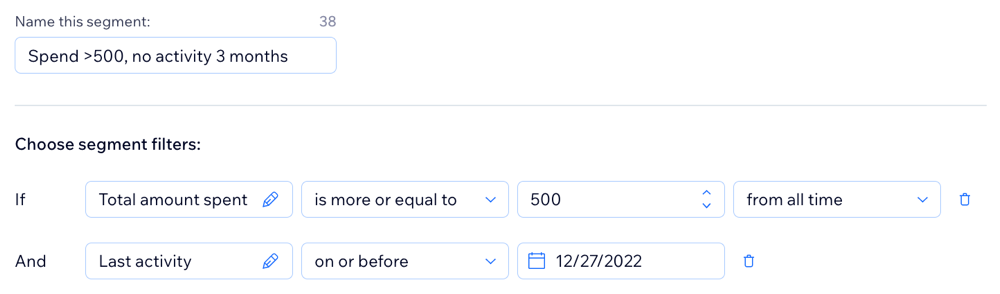
Learn more about creating contact segments.
Stay informed by setting tasks for your contacts
Create tasks and set due dates directly in your contact panel, with easy access to your Tasks & Reminders dashboard. You can assign tasks to yourself or anyone on your team, and mark them as complete once they're done. Setting tasks for individual contacts helps you stay organized and prioritize your work.
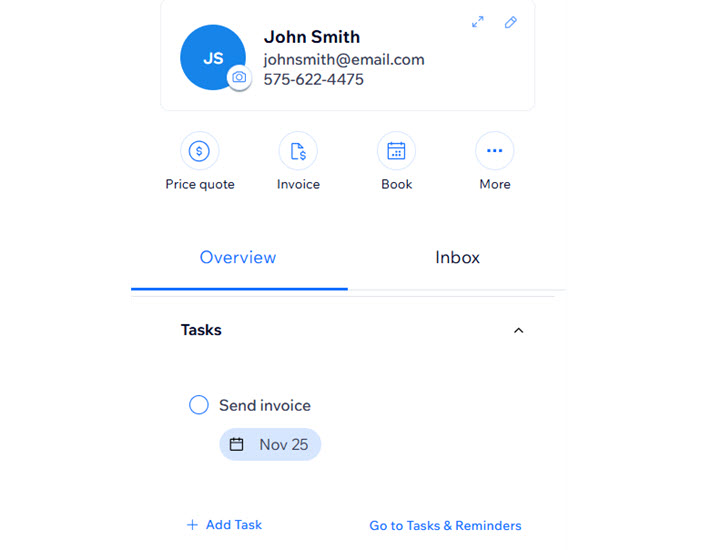
Learn more about managing your tasks & reminders.
Grow your site's community by setting contacts as members
Some contacts may want to sign up to your site to access specific services and content. You can set individual contacts as site members directly in the contact panel. Once you set a contact as a member, they automatically get an email asking them to create a password for their new account.
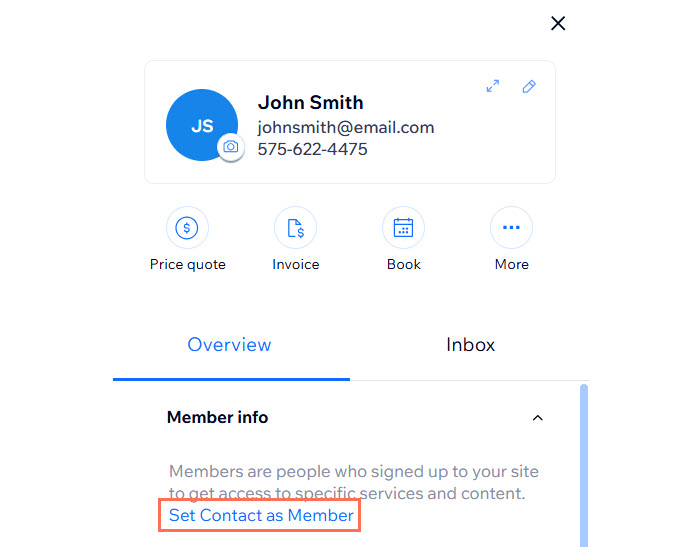
Learn more about setting contacts as site members.
Keep track of loyalty point usage
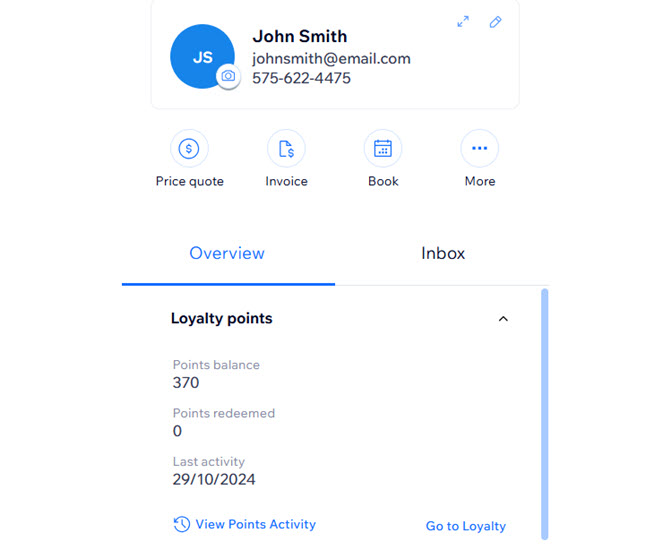
View each of your contacts' loyalty points balance and their activity straight from their contact panel. This allows you to easily access their points history and gives you a better idea of how often they gain and redeem points.