


Wix Bookings
Wix Bookings: Setting Up a Waiver
You can create a health waiver and share it with your members or clients. This allows you to check for any injuries or allergies you need to know about before a session. Your clients can only access the waiver via a link that you send.
Important:
You can only create 1 waiver per business.
We are in the process of releasing a new version of Wix Forms, but it's not available to everyone yet.
Step 1 | Add a waiver to your site
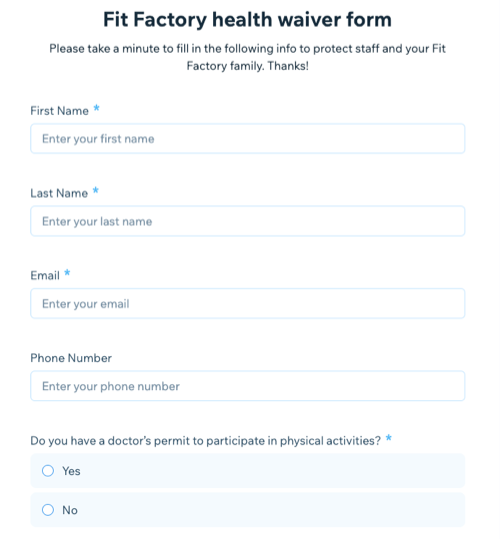
Create a waiver directly from your site's dashboard. The health waiver template contains form fields for all the necessary contact information you require from your clients.
You can also customize the form to find out specific information that you need by adding a variety of different field types.
To add a waiver to your site:
Go to Forms and Submissions in your site's dashboard.
Click Old Forms at the top.
Note: We are in the process of releasing a new version of Wix Forms, but it's not available to everyone yet. If you built your site using the Wix Editor, scroll down and click + Create Standalone Form.Click + Create Standalone Form.
Select the Health Waiver form template.
Click Get Started.
Give your waiver a name using the Form title field.
Use the Form description field to tell visitors what the form is about.
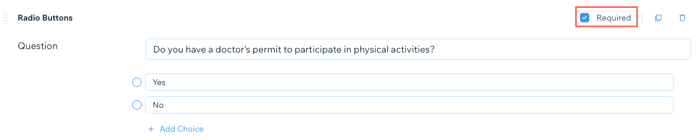
Customize your form fields. You can click the Required checkbox to make the field mandatory. The options vary depending on the field type.
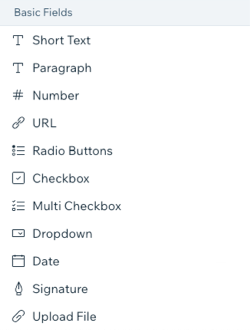
(Optional) Add your own custom form fields:Click + Add Field at the bottom.
Click Add next to the form field type from the menu on the right. Learn more about form field types
Customize the form field to your needs. The options vary depending on the field type.
Customize the Submit button text.
Enter a Thank you message.
Click Save at the top of the page.
Step 2 | Sharing your health waiver
Once you finish creating your waiver, share the unique URL of the waiver with your clients so they can fill it out and return it. You can share your waiver in a variety of ways.
To share your health waiver:
Go to Forms & Submissions in your site's dashboard.
Click Old Forms at the top.
Note: If you are using Wix Editor, scroll down to Your standalone forms.Click the More Actions icon
 next to your Waiver.
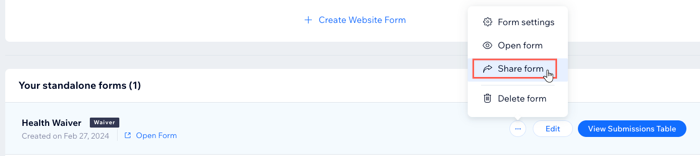
Click Share form.
Choose what you want to do:Share on social media: Click the relevant social media platform icon next to Share via.
Copy the form link: Click Copy Link, then paste your link wherever you want to share it.
Click Done.
Step 3 | Track who has submitted a waiver
When your clients fill out the waiver, the information they entered automatically appears in the waivers section of their contact card.
You can access clients' contact cards in the Contacts section of your dashboard, or from the Wix app on your mobile device.
Dashboard
Wix app
Go to Forms & Submissions in your site's dashboard.
Click Old Forms.
Note: If you are using the Wix Editor, scroll down to Your standalone forms.Click View Submissions Table and view all the client submissions.

Want to remove a waiver from your site?
You can delete your waiver directly from Forms & Submissions in your site's dashboard. Click the More Actions icon  next to your waiver and click Remove Form.
When you delete your waiver, the information collected will be deleted from your contacts. You can view existing submissions in Deleted forms. Go to Forms & Submissions, click More Actions, and click Deleted forms.