Customizing Wix Bookings pages
Wix Bookings: Customizing Your Staff Members Widget
After adding a staff members widget to showcase your staff, customize it to suit your brand and business. You can personalize the design by changing the background of the list, its fonts, colors and more.
In this article, learn more about:
Tip:
The staff members widget has repeating elements that you edit once but the changes affect all similar elements. For example, if you change the color of the staff member's name, all staff names show in the same color.
Changing the background of your staff members widget
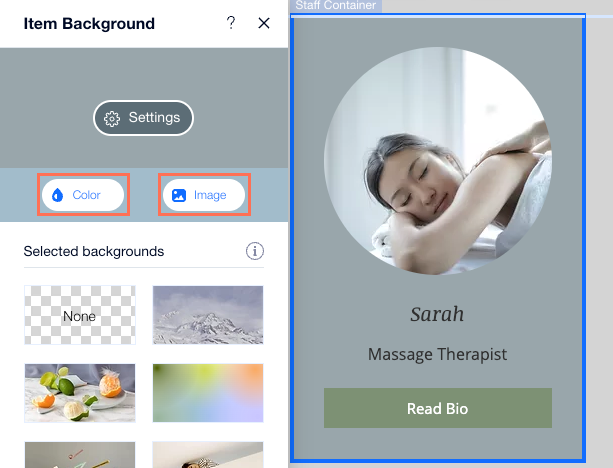
You can change the background of the staff members widget, as well as the background behind the cards that show your staff members. You can choose either a background color or background image for both elements.
To change the background on your staff members widget:
Go to the page where you have the staff members widget.
Click the staff members widget.
Click the Background icon
 .
.Choose a color or an image for the background of the staff members widget.
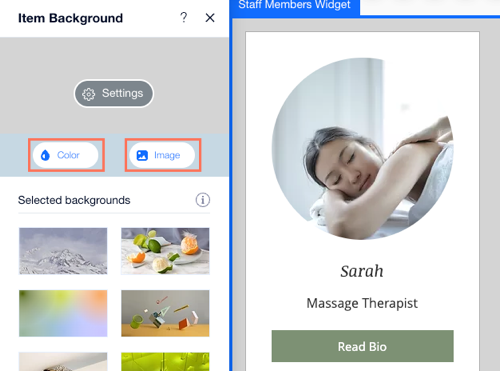
To change the background behind each staff member:
Go to the page where you have the staff members widget.
Click the staff members widget.
Click any container that show a staff member.
Click Change Background.
Choose a color or an image for the background behind each staff member.
Customizing the design of your staff members widget
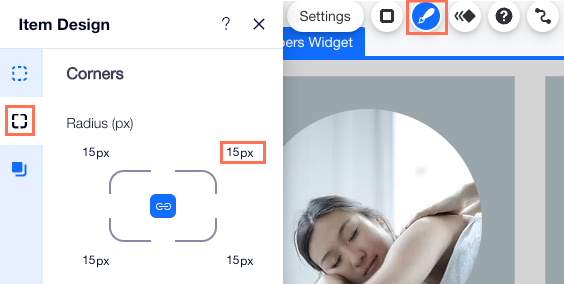
You can customize the design of your staff members widget so it fits with the overall style of your site. You can add a border, round the corners and add a shadow to make the widget stand out.
To customize the design of your staff members widget:
Go to the page where you have the staff members widget.
Click the staff members widget.
Click the Design icon
 .
.Choose what you want to customize:Border: Use the sliders to adjust the opacity and color or the width of the border.
Corners: Set the radius for the corners of your staff members widget to make them rounded.
Shadow: Enable the Apply Shadow toggle and add a shadow to your staff members widget.
Customizing text fonts and colors
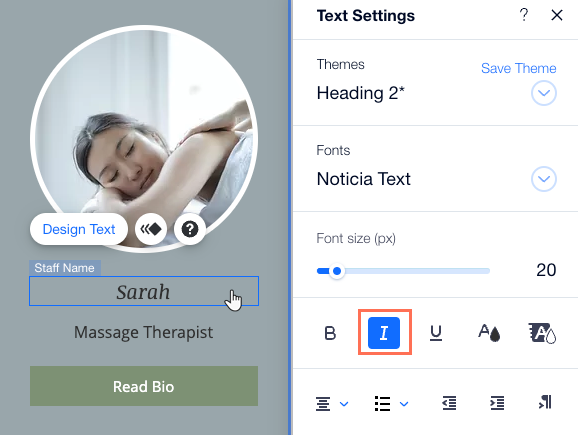
You can change fonts and customize the design of any of the text that appears in the staff members widget. Make sure the text font and color is clear and easy to read over the background you choose.
To customize text:
Go to the page where you have the staff members widget.
Click the staff members widget.
Depending on the text you want to customize, follow the steps:
Customize the button text:Click the button on staff members widget, for example: 'Book Now'.
Click the Design icon.
Choose one of the following options:Choose an existing design.
Click Customize Design and customize the text using the available options.
Customize other text:Click the text you want to edit.
Click Design Text.
Customize the text using the available formatting options.
Customizing staff images on your staff members widget
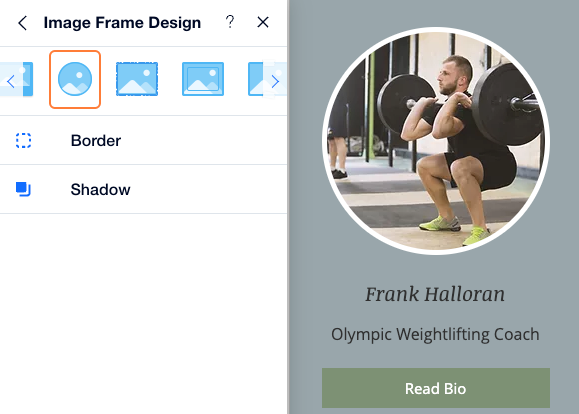
Customize the staff images to suit your site design and brand. You can choose from different themed frames, or fully customize the frame design, including adding a border or shadow.
To customize the staff images:
Go to the page where you have the staff members widget.
Click the staff members widget.
Click any staff member image.
Click the Design icon
 .
.Choose what you want to do:Select one of the designed images suggestions.
Click Customize Design to design the image further:Image frame: Select a different frame for your staff member images.
Border: Use the sliders to adjust the opacity and color or the width of the border.
Shadow: Enable the Apply Shadow toggle to add a shadow to the Staff Card images.