Customizing Wix Bookings pages
Wix Bookings: Customizing Booking Form Fields
We are in the process of releasing a new version of the booking form, so it's not available to everyone yet. If your version appears different to the one pictured below, click here.
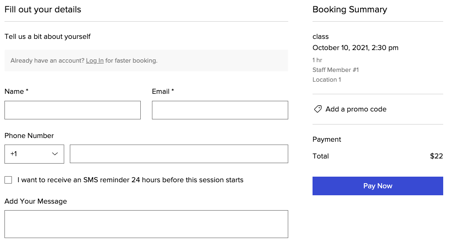
Clients use the booking form to share their information with you when they sign up for a service. You can set which specific information you'd like clients to provide with the form.
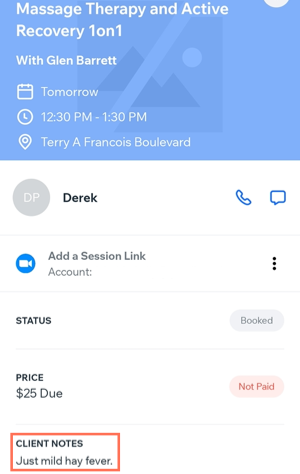
The information collected through your booking form appears in the confirmation emails you receive, the relevant appointment in the calendar, the service's participant list, and the client's contact card.
In this article, learn more about:
Note:
This article discusses updating your booking form fields. You can also customize the page title, buttons and design of your form page from the Editor.
Adding custom form fields
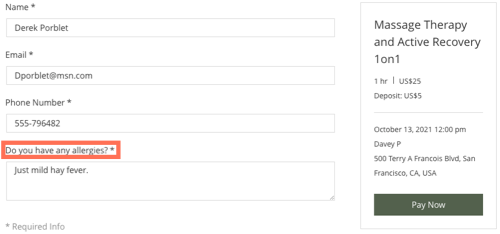
Add custom fields to your form if you require more detailed or specific information from your clients before they attend your services.
To add a custom form field:
Go to Booking Form in your site's dashboard.
Click Add custom field at the bottom of the Form Fields section.
Choose from the following options:Short answer (30 characters max): For quick questions without the need for too much detail, e.g. years of experience training.
Paragraph (255 characters max): For more specific information which might require an explanation, e.g. Health conditions your coaches might need to know before a session.
Checkbox (500 characters max): For even more detailed answers which may require clients to review policy information at your business.

(Optional) Select the Make this a required field checkbox to the field mandatory.

Click the Save icon
 .
.Click Save Form.
Notes:
You can delete, duplicate or edit your custom fields in your form at any time by clicking the
 icons on the right.
Clients who book via the Wix member apps do not see custom form fields.
If you enabled SMS reminders, a checkbox appears below the phone number field so clients can opt in.
Editing the form field labels
Customize the names of your booking form fields so clients can easily understand what information they need to enter.
To edit the form field labels:
Go to Booking Form in your site's dashboard.
Click the Form Field title that you want to edit.
Enter a new name for the field.

(Optional) Split the Name field into first and last name by clicking the Split icon
 .
.Click the Save icon
 to confirm the changes.
Note: In some cases, you have the option to choose if a field is mandatory or not.Click Save Form.
Creating a custom form for a specific service
Once your default booking form is set up, you may want to create additional forms that better suit your other services.
To add a custom booking form:
Go to Booking Services in your site's dashboard.
Create a new service or access an existing service.
Scroll down to the bottom and click Show More next to Additional Settings.
Click the Default Booking Form drop-down.
Select Create a Custom Booking Form.

Create your form and click Save Form.
Viewing customer responses
The responses a customer provides in the booking form appear in a number of places, including:
The confirmation email you receive about the booking
The client's appointment in the booking calendar
In the service's participant list
In the client's contact card
In the Wix mobile app
Learn more about viewing booking form responses