Video conferencing with Wix Bookings
Wix Bookings: Creating an Online Service
Provide services online so you can connect to international audiences and keep your business going without holding in-person meetings.
Important:
We’ve recently updated the features included in our premium plans as of January 2023. To use video conferencing you need to upgrade to one of our Business & eCommerce Premium Plans.
Step 1 | Select a platform to host your virtual service
Certain types of services, such as consultations, language classes, or therapy sessions, are well suited to an online format. Choose from one of the many online platforms to host your services.
Platforms for appointments
To create a virtual Appointment with a client, choose your preferred video conferencing platform such as Zoom, Skype or Google Hangouts. These services allow you and your clients to communicate with each other by video, and many platforms also allow you to share your screen making it easy to display written material, graphs, slideshows, or images.
Platforms for class and course sessions
When choosing a platform for a class or course session, consider whether you need to see and hear class participants or whether it's enough for them to see and hear you. Let's look at two examples:
Let clients see you: You can lead exercise classes via a video streaming platform such as Wix Video's live streaming. Like in an offline class, clients who have access to the video streaming link see you in real time when the session takes place.
Interact with multiple participants: You can lead an online language class, for example, using a platform that specializes in group meetings, such as Zoom, Cisco Webex, or GoToMeeting. You can mute and unmute participants' microphones so you can choose when you want everyone to hear you, when to let one student answer questions, or when you want to let a group of students carry on a discussion.
Notes:
The benefits, call hours and participant limits for video conferencing are based on the provider you use (Zoom, GoToMeeting, etc.) and are not controlled by Wix.
For more detailed instructions on how to set up and manage multiple video conferencing links on your site click here.
You may want to use the Wix File Share app to share course material and let students upload their work for your online services.
Check out the full course on Wix Learn about running virtual workouts.
Step 2 | Create the service in Wix Bookings
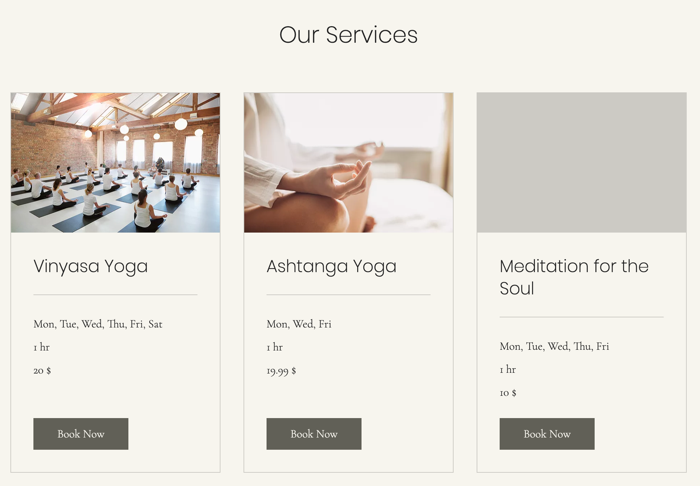
Once you've planned what kind of online sessions you want to offer, create the service in your Wix Bookings dashboard so clients can sign up.
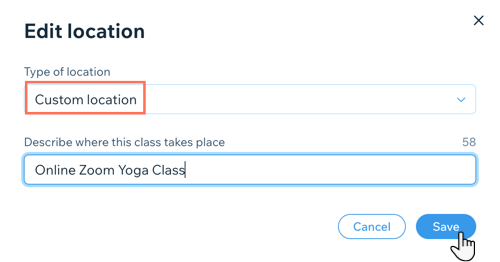
Choose from appointments, classes, or courses and consider including the word "online" in the service name or subtitle to help clients better understand what type of service you are offering. In the location field, select Custom and mention the name of the platform you are using.
Step 3 | Connect an online payment method
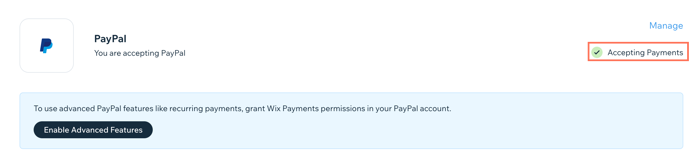
To collect payment for your service, select the online payment option rather than collecting payment in person. Make sure one or more payment methods are set up in the Accept Payments tab of your site's dashboard:
A wallet or credit card: Select and set up one of the available options (e.g. PayPal, Wix Payments, Square, etc.).
Manual Payment: After enabling the Manual Payment option, click Manage Manual Payments and leave instructions for clients telling them how to pay by online transfer, by check, or through a payment app.

Step 4 | Let clients know how to connect to your service
To join your online sessions, clients need to know how to connect, which changes depending on the platform. To connect through Google Hangouts, for example, all you need is to know your client's Gmail address. Other platforms may require a special password or key to join.
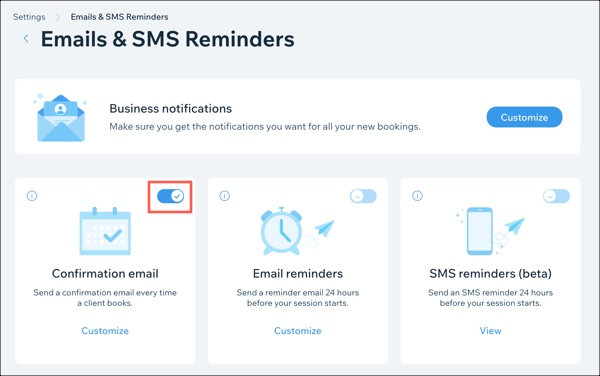
We recommend adding clear instructions to the confirmation email clients receive when they book your online service. If needed, you can also send the VC link manually from the Booking Calendar.
To customize the confirmation email:
Go to Booking Settings in your site's dashboard.
Click Emails & SMS Reminders.
Click Customize on the Confirmation email option.
Tip: Alternatively, you can use Automations to send custom confirmation emails. Disable the Confirmation email toggle and see the next section to set up an automation.Click the relevant tab to choose the service type (Appointments or Classes & courses).
(Optional) Enable the toggle to Add a video conferencing link to this email.
Choose which field to edit:Subject: Customize the email subject line to make sure your clients open it.
Message: Edit the text of the email to include any information your clients need to know before attending.
(Optional) Click Send test email to send yourself a preview of the email.
Click Save.
To manually send access details from the calendar:
Go to Booking Calendar in your site's dashboard.
Click to select the relevant session.
Click the More Actions icon
 next to the video conferencing link
Click Email Link.
Note: A default email client must be set up on your computer to contact clients. Learn howClick Send Email.

Note:
You can disable the confirmation email in the Emails & SMS Reminders section of the Settings tab in your dashboard. To do this, click the Confirmation email toggle.