


Using the Wix app to manage your bookings
Wix Bookings: Analyzing Your Booking Activity in the Wix App
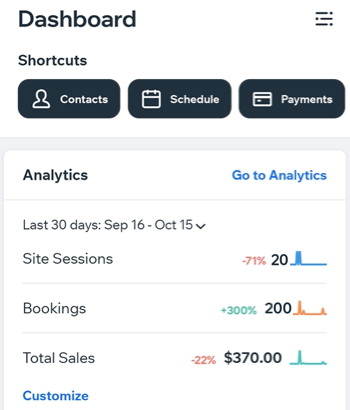
Use the Wix app to analyze your site's booking activity on the go. Check which of your services are performing the best and which ones need a boost. You can also see information about your staff members' performance (e.g. who are most in-demand).
In this article, learn more about:
Accessing Booking analytics in your Wix app
View detailed records of the bookings activity on your site so you can make informed decisions about how to grow your business and improve your services.
To access your Bookings analytics:
Go to your site in the Wix app.
Tap Manage
 at the bottom.
Tap Analytics.
Tap All Reports.
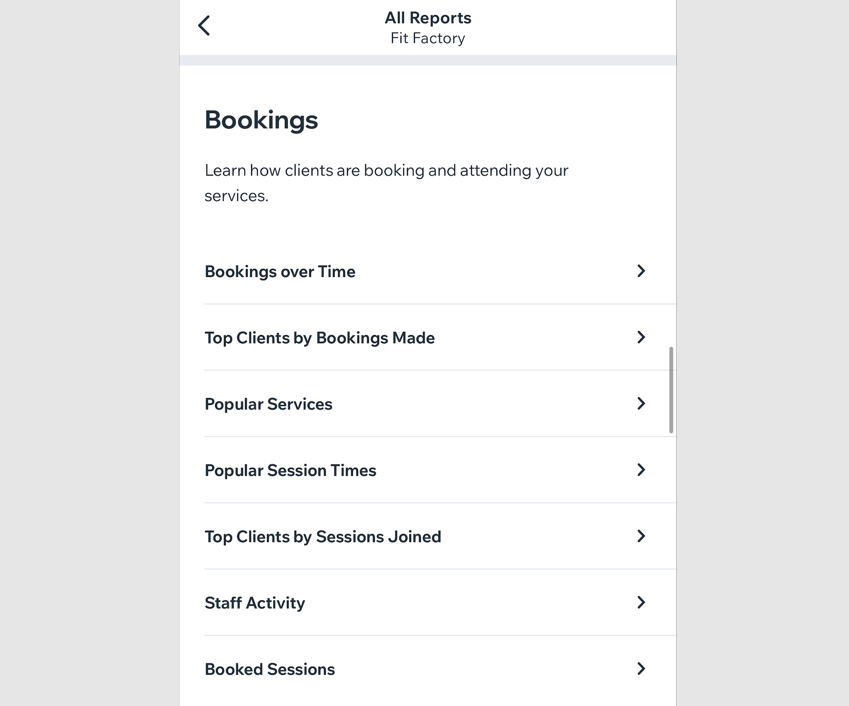
Scroll down to Bookings and choose to review analytics reports on:Bookings over Time: Compare booking trends during different time periods.
Top Clients by Bookings Made: Identify which clients booked your services most.
Popular Services: See how many clients booked each of your services.
Popular Session Times: See what times suit your clients best.
Top Clients by Sessions Joined: Find out who your most active clients are.
Staff Activity: See who your most in-demand staff members are.
Booked Session: Overview of all your booked sessions.
Viewing a specific Bookings analytics report
Gain useful insights into which clients use your services the most, how your business has progressed over time and which of your services are the most popular.
Choose the type of report you want to see, in what timeframe and how the information appears - in a line graph, or in a table.
To view a Bookings analytics report:
Go to your site in the Wix app.
Tap Manage
at the bottom.Tap Analytics
Tap All Reports.
Tap the specific report you want to see in the Bookings analytic menu (e.g. Bookings Over Time).
View and customize the report by doing the following:
Change the time period of the report
Tap the existing time period you see (e.g. Last 30 Days) to change it. Select a timeframe for this report under Select a time period.
Tip: Choose a preset time period (e.g., weekly, monthly, quarterly) or tap Custom to set your own dates.
Display the report as a line chart, table, or bar chart
Tap the relevant tab at the top of the report to access different chart types:
Line: Compare to the previous period, group the results by Day/Week/Month and select what you want to measure from the drop-down menu.
Bar Chart: Display and compare your data as a bar chart. Choose the categories to display and the time period to group by (Day/Week/Month).
Table: Choose the number and type of columns you want to compare from the drop-down menus, and group them by Day/Week/Month. Tap the checkboxes next to the relevant information you want included in the report.

Download the report
Select the desired view you want to download (Line or Table)
Tap the More Actions icon
 at the top right.
Tap Schedule Delivery.
Set up your download destination, format and recurrence.