top of page

Other video players

Single Video Player: Adding and Setting Up the Single Video Player

Display a video on your site using the Single Video Player. This sleek and easy-to-use player allows you to customize the playback options, video controls and player borders.

Upload your own video or embed a video from YouTube, Vimeo, Facebook, Dailymotion or Twitch.
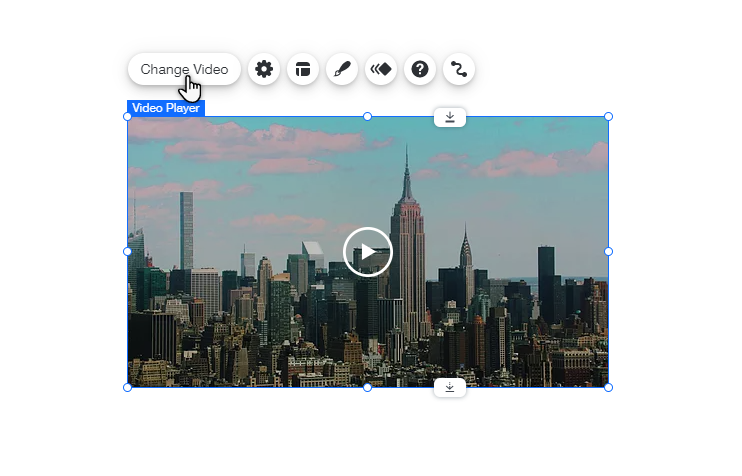
A screenshot of a Single Video Player with the cursor hovering over the Change Video option.

To add and set up the Single Video Player:

Wix Editor

Studio Editor

  1. Go to your editor.

  2. Click Add Elements  on the left side of the editor.

  3. Click Video & Music.

  4. Click and drag a video from the Single Video Players section to add it to your page.

  5. Click Change Video.

  6. Choose the type of video you want to add:Upload your own: Click the Your computer icon and select the video. The limit for video uploads is 4GB.
    Embed a video from a social network: Click the relevant social network icon and enter the web address.

  7. Customize the Playback options:
    Autoplays:Enabled: Your video starts playing when the page loads.
    Note: Due to browser restrictions, videos play on mute when set to autoplay. However, your viewers can turn the sound on whenever they want.
    Disabled: Your visitors need to click the Play icon to play the video.

    Plays in loop:Enabled: Your video plays constantly on repeat.
    Disabled: Your visitors have to press the Play icon to watch the video again.

  8. Enter a description in the What's in the video? field to push your page higher up in search results.

Note:

iPhones have native video controls that cannot be removed or disabled. This means that even if a video control is disabled on your Wix site, it may still be enabled on an iPhone.

Need A Professional Website?
Contact Us 
Today!

Wix Automations: Adding and Sending a Coupon

Wix Automations: Sending Automated Emails to Contacts After Form Submissions

Wix Automations: Customizing Automated Emails

Wix Automations: Creating a New Automation

Wix Automations: An Overview

The New Automation Builder: Understanding Email Types

The New Automation Builder: Creating a Multi-Action Automation

The New Automation Builder: Sending Data via Webhook

The New Automation Builder: Adding and Sending a Coupon

The New Automation Builder: Troubleshooting Wix Automations

The New Automation Builder: Understanding Conditions Operators

The New Automation Builder: Setting Up a 'Scheduled Time' Trigger

The New Automation Builder: Sending Data to Google Sheets

The New Automation Builder: Using the Property Picker

The New Automation Builder: Viewing and Managing Automations Installed for You

The New Automation Builder: Customizing Automated Emails

The New Automation Builder: Managing Your Automations

The New Automation Builder: Creating an Automation

The New Automation Builder: Overview

Microsoft Office 365 Mailbox Limits

Resetting the Password for Additional Office 365 Mailboxes

Resetting Your Admin Password for Your Office 365 Mailbox

Accessing Your Microsoft Office 365 Mailbox Through Your Wix Account

Accessing Your Microsoft Office 365 Mailbox Through Your Wix Account

Accessing the Microsoft Office 365 Admin Center

Activating Your Microsoft Office 365 Mailbox Purchased from Wix

Google Workspace: Troubleshooting Login Issues

Google Workspace: FAQs

Google Workspace: Contacting Google Support

Google Workspace Error Message: "You do not have access to Email"

wix experts
Graphic2Traffic web design
©
bottom of page