Designing your plans pages
Pricing Plans: Customizing Your Thank You Page
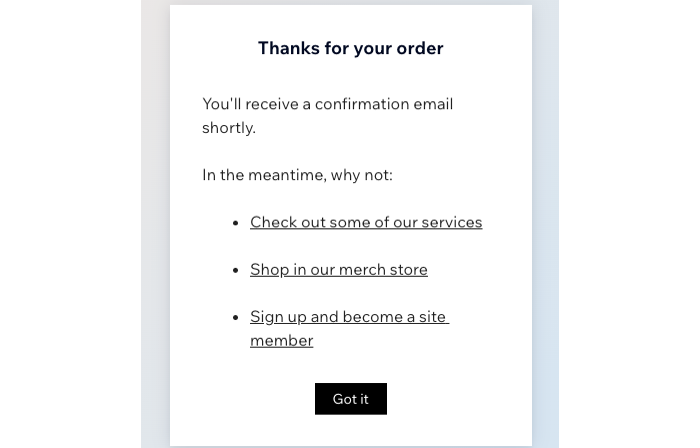
Customize the text that appears on the page your customers see after purchasing a plan. This is a great way to make extra revenue by directing customers to additional products, services or plans on your site.
Note:
Custom 'Thank you' messages appear only when customers purchase a pricing plan (e.g. packages or memberships) directly on your site. They won't see this message when buying a different service with a pricing plan.
To customize your Thank You page:
Go to Pricing Plans in your site's dashboard.
Click one of your existing plans, or click + Create plan.
Scroll down to Settings.
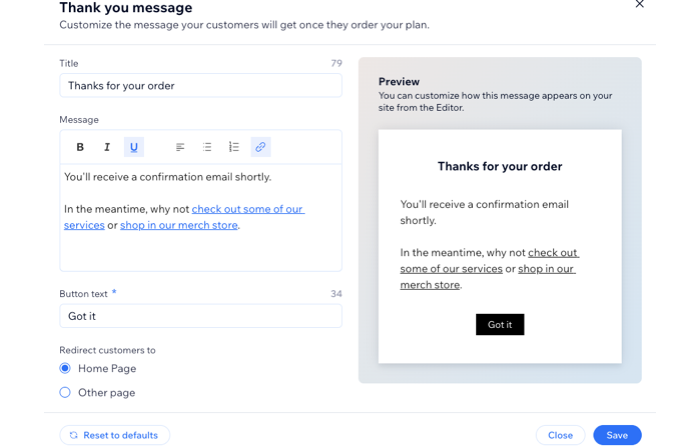
Click Edit next to Customize the Thank you page.
Enter a Title for your Thank You page.
Enter the text for this page in the Message field.
Tip: Use the formatting options available to make important information stand out.(Optional) Add links to your Thank You page:Click and drag your mouse to select the text you want to link.
Click the Link icon .
.
Enter the relevant URL.
(Optional) Select the checkbox next to each linking option you want to apply to the link:Link opens in a new tab: The link opens in a new tab in your browser.
noreferrer (recommended): The linked website will not receive info on the referring site (your site).
nofollow: Let search engines know that you don't recommend giving credit to the linked page for SEO purposes.
sponsored: Used to mark paid links (ads or placements) to inform search engines of compensation and reduce penalty risks for ranking manipulation.
Click Save.
Enter your Button text.
Choose where the button directs customers to:Home Page: When they click the button on the Thank You page, your customers return to your home page.
Other page: Direct customers to a specific URL, such as your services or products page or a landing page. Enter the Redirect URL in the field.
Click Save.