Using the Wix app for Pricing Plans
Pricing Plans: Creating Coupons Using the Wix App
Grow your list of recurring clients by creating discount coupons they can use on membership plans and packages. You can offer a fixed amount coupon ($20 off) or a percentage discount coupon (20% off).
Notes:
You can also create coupons for Wix Stores, Wix Bookings, and Wix Events.
Discount coupons for Pricing Plans cover the plans themselves, but not any setup fees you may have enabled.
To create a Pricing Plans coupon:
Go to your site in the Wix app.
Tap Manage
 at the bottom.
Tap Coupons under Marketing.
Tap Add a Coupon.
Select an option:
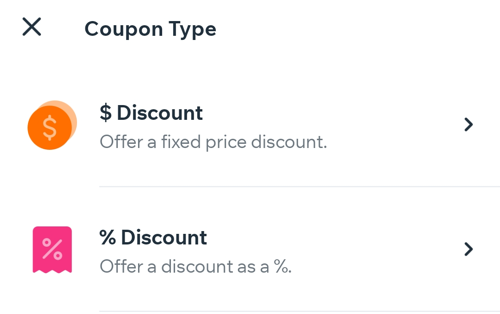
Create a $ Discount coupon:Tap $ Discount.
Enter the amount that will be taken off the price.
Tap Next.
Create a % Discount coupon:Tap % Discount.
Enter the percentage of the discount you want to offer.
Tap Next.
Enter the Coupon Code your clients enter to get the discount.
Enter the coupon name for your own records.
Note: This name appears in your coupons list.Tap Next.
Choose which plans the coupon applies to:All plans: The coupon can apply to any available plans you offer.
Specific plan: The coupon can apply to one specific plan you offer.Click the Service drop-down menu and select a service.
Tip: If your site has Wix Stores or Bookings, you see additional options.
Choose the billing cycle that the discount applies to:First billing cycle: Choose this option to only apply a discount to the first billing cycle of a plan.
All billing cycles: Choose this option to apply a discount to all future billing cycles of a plan until the coupon expires.
Custom: Choose how many billing cycle you want the coupon to last for.Enter the number of first billing cycles the coupon applies to.
Set the coupon's start and end date:Tap the date under Dates Valid.
Select the start date from the calendar.
(Optional) Tap to select an end date.
Tap Save.
(Optional) Enable the toggle under Usage Limits and enter the total number of times the coupon can be used.
Tap Done.
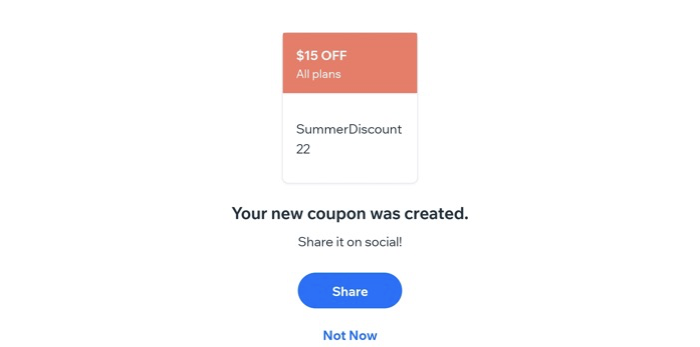
(Optional) Tap Share to share your new coupon.