top of page

Setting up Online Programs

Online Programs: Automatically Sending an Invoice When a Program Is Purchased

Automatically send an invoice when someone purchases your program, making it easier for you to track purchases and payments. This saves you time and ensures prompt delivery of invoices.

Important:

Make sure your site has been upgraded to a plan that accepts payments.

In this article, learn more about:

Automatically send an invoice when a program is purchased

When automatically sending an invoice, a detailed invoice is tailored to the purchased program and is sent to the relevant customer. You can enable this feature for both new and existing programs.

To automatically send an invoice:

  1. Go to Online Programs in your site's dashboard.

  2. Choose an option:If this is a new program: Click Create New to create a new program. Once you choose a template, click Edit to enter your program details.

    Existing Programs: Click the More Actions icon  next to the program you want to edit.Select Edit Settings.

  3. Click Visibility and Pricing.

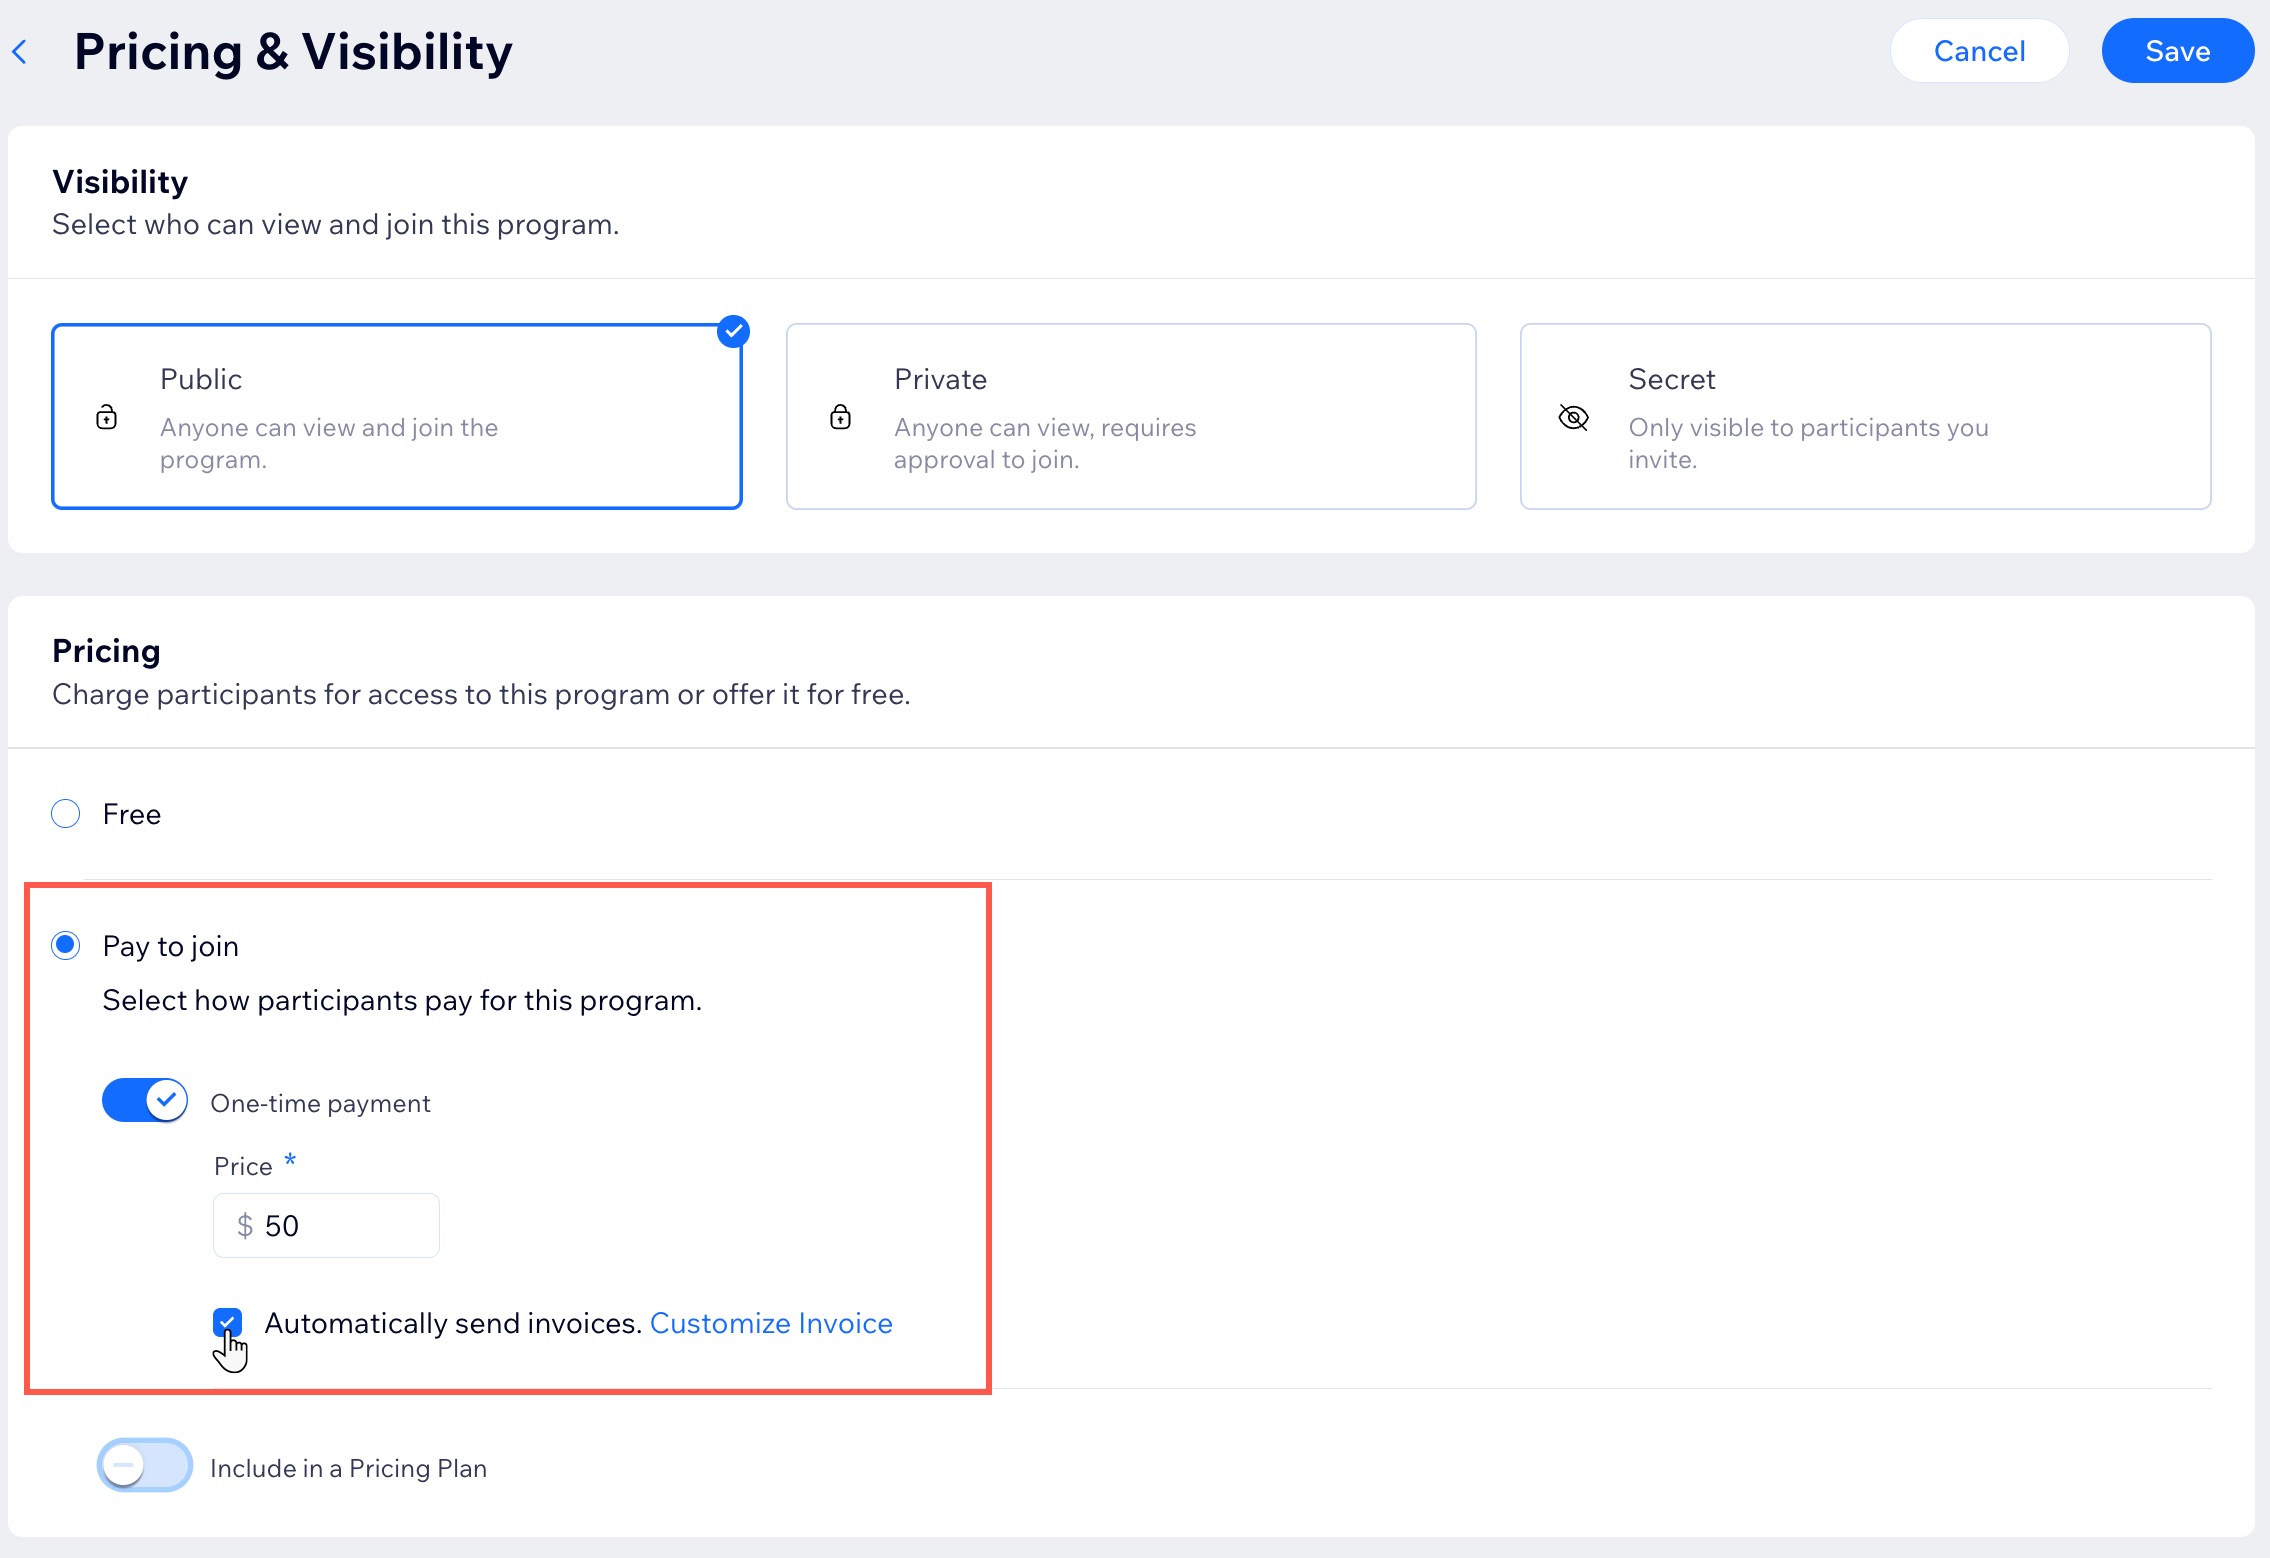
  4. Select the Automatically send invoices checkbox.

  5. Click Save.

A screenshot of select the Pricing section to select the Automatically send invoice checkbox.

Tip:

Click Customize Invoice to tailor the details of your invoices. This includes the invoice header, transaction details and incorporating company details from your Business Info.

FAQs

Click a question below to learn more.

How do participants receive an invoice after they purchase a program?

Participants receive an email with a link to download the invoice.

Can I enable automatic invoicing using the Wix app?

No. This feature is currently not available on Wix app. However, you can enable it directly from your site's dashboard.

Need A Professional Website?
Contact Us 
Today!

Wix Automations: Adding and Sending a Coupon

Wix Automations: Sending Automated Emails to Contacts After Form Submissions

Wix Automations: Customizing Automated Emails

Wix Automations: Creating a New Automation

Wix Automations: An Overview

The New Automation Builder: Understanding Email Types

The New Automation Builder: Creating a Multi-Action Automation

The New Automation Builder: Sending Data via Webhook

The New Automation Builder: Adding and Sending a Coupon

The New Automation Builder: Troubleshooting Wix Automations

The New Automation Builder: Understanding Conditions Operators

The New Automation Builder: Setting Up a 'Scheduled Time' Trigger

The New Automation Builder: Sending Data to Google Sheets

The New Automation Builder: Using the Property Picker

The New Automation Builder: Viewing and Managing Automations Installed for You

The New Automation Builder: Customizing Automated Emails

The New Automation Builder: Managing Your Automations

The New Automation Builder: Creating an Automation

The New Automation Builder: Overview

Microsoft Office 365 Mailbox Limits

Resetting the Password for Additional Office 365 Mailboxes

Resetting Your Admin Password for Your Office 365 Mailbox

Accessing Your Microsoft Office 365 Mailbox Through Your Wix Account

Accessing Your Microsoft Office 365 Mailbox Through Your Wix Account

Accessing the Microsoft Office 365 Admin Center

Activating Your Microsoft Office 365 Mailbox Purchased from Wix

Google Workspace: Troubleshooting Login Issues

Google Workspace: FAQs

Google Workspace: Contacting Google Support

Google Workspace Error Message: "You do not have access to Email"

wix experts
Graphic2Traffic web design
©
bottom of page