


Payment Basics
Getting an Overview of Your Payments
Go to Payments in your site's dashboard to view and manage your payments. Get an overview of all the payments you've received through your site, as well as extensive details of individual transactions. Gain insights into your customers' payment preferences, and view the history of payments to your business over time.
Payment activity overview
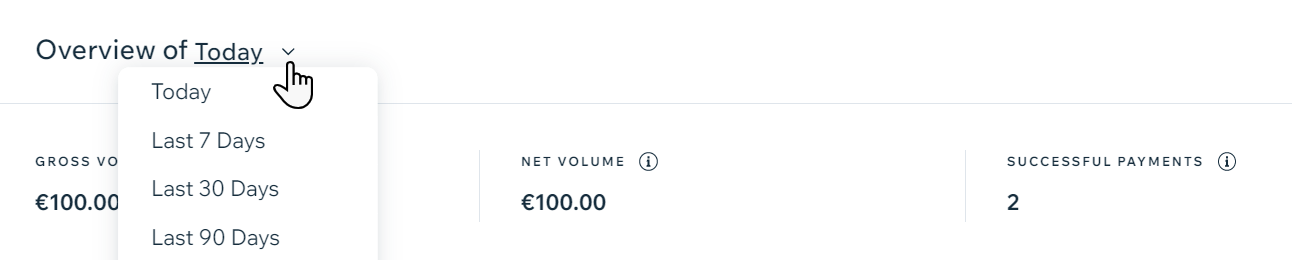
At the top of the page you can see an overview of your activity, tallying your gross income, net income and the number of payments you've received so far. Click the drop-down menu to adjust your desired date range.
Viewing all payments
In the All payments section, you can see a list of all your payments received through any payment method or payment provider. The list includes the following details for each transaction:
Date: The date of the payment
Customer: The name of the customer who placed the order
Product/Service: A description of what was purchased
Payment method: The payment method used (e.g. credit card, PayPal, etc.)
Status: The current status of the payment (e.g. successful, failed, refunded, pending)
Amount: The amount of the purchase

Filtering your payments
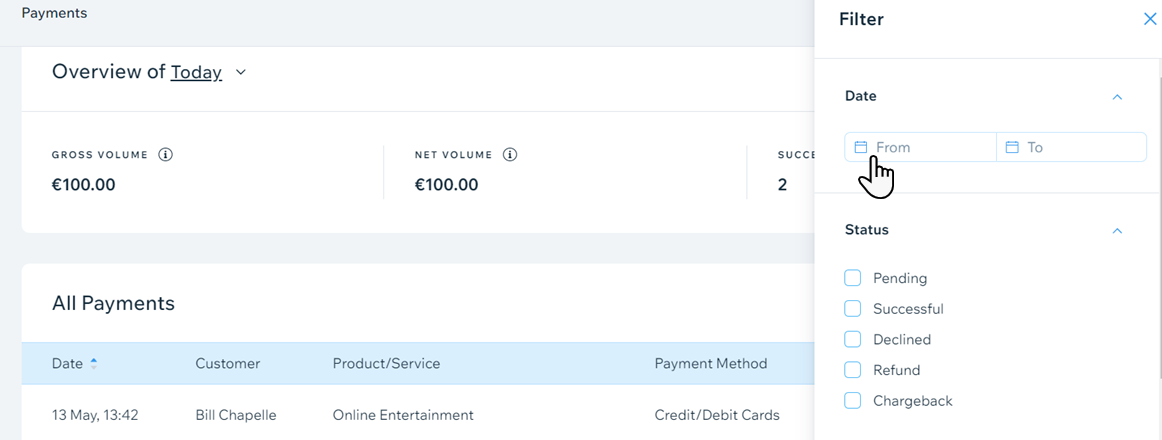
You can search for specific payments by filtering. Use one or more of the following filters to organize your payments: Status, Payment provider, Payment method and Order type. Select the relevant timeframe using the Date fields.
Understanding payment statuses
Depending on the nature and recency of a transaction, your payments may have one of the following statuses:
Pending: Waiting for payment to be confirmed by the payment provider
Successful: The transaction has been completed and the payment has been captured by the payment provider
Declined: The payment was not confirmed by the provider
Refund: The payment has been refunded
Chargeback: Your customer requested their credit card company to return the funds

Viewing more payment details
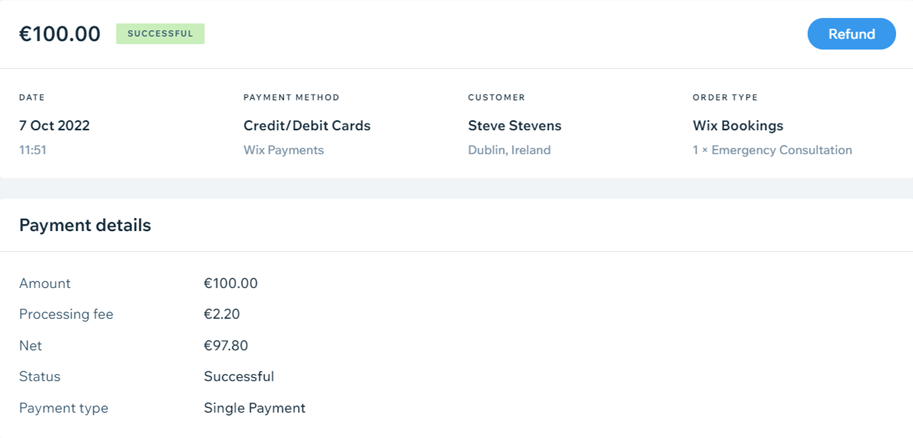
Click a payment to see more details about it. Once a payment is clicked, you will see a new page offering such information as:
Payment details: The payment ID, processing data, and the payment status
Payment method details: The payment provider and credit card details
Order details: Description of the order and shipping information
Customer info: The name, email address and phone number your customer provided during the checkout process
Downloading a CSV file of your payments
If you need a CSV file, you can click the Download icon  to instantly download your payment report.

Manual (offline) payments
If you're receiving payments using the manual (offline) method, you must mark them as paid before they appear in your payments page.
You can manually mark the following payments as paid:
FAQs
Click the questions below to learn more about accepting payments.
How do I refund a customer?
If your payment provider supports refunds made through Wix, follow the steps:
Click on the payment you wish to refund.
Click Refund.

Enter the amount to refund and a note (if needed).
Click Refund.
If the refund option is not available, it means you'll have to contact your payment provider directly to issue a refund.
How do I get my payouts?
Payouts are managed by your payment provider. If your provider is a third-party provider, contact them directly.
If your provider is Wix Payments, learn about receiving payouts from Wix Payments.
I'm using Wix Hotels. How do I set up my payments?
Learn how to set up and manage your payments for Wix Hotels.