


Amazon App
Adding and Setting Up the Amazon App
Important:
The Amazon app has been removed from the Wix App Market. Please note, if you already have the app installed on your site it will continue to work and Wix will continue to support it.
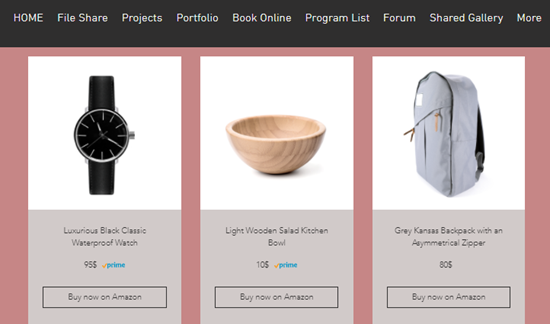
The Amazon app lets you display and promote products from international Amazon sites, directly on your site. You can showcase your products in a customizable gallery and connect your Amazon affiliate account to earn commission on your sales.
For Amazon Store Owners: If you have an Amazon store, this is a great way for you (or your friends) to funnel traffic to your Amazon products.
For Amazon Affiliates: Create an Amazon affiliate account or connect your existing account to earn commission.
Notes:
Wix now lets you create an Amazon Shop sales channel that fully integrates with Wix Stores. Learn more
The Amazon app is not currently available for users in India and China.
Connect your Amazon affiliate account
You'll need to connect your Amazon account to the app using your Amazon credentials.
Important:
If you're a new affiliate, you need to make 3 sales through affiliate links before you can connect your account. If you don't have 3 sales, you can use this workaround solution.
Active accounts that have no sales for a month revert back to inactive status.
To connect your account:
Click the Amazon app in your editor.
Click Settings.
Click the Settings tab.
Click Connect.
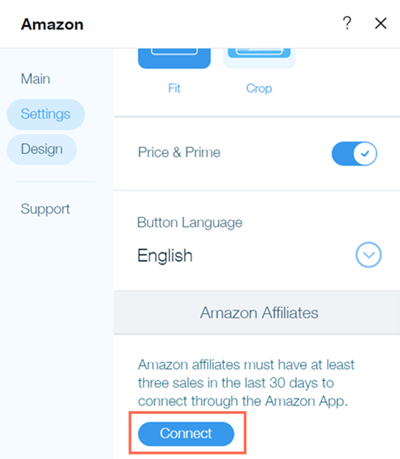
Enter your Amazon credentials.
Click Connect.
Not able to connect your account?
If you see the error Double Check Your Info and Try Again, confirm that your credentials are correct and try connecting again. If you still can't connect, you'll need to contact Amazon affiliate support.
Add items to your site
After you've connected your account, you can start adding the items that you want to sell to your site. You can add up to 30 items.
To add your items:
Click the Amazon app in your editor.
Click Settings.
Click the Main tab.
Click Add Items.
Click +Add Items on the Manage Items window.
Click the Country drop-down menu and select the Amazon domain you want to sell from. For example, if your product is sold from Amazon.com, select USA.
Note: If you have an affiliate account, the country is determined added from your account and cannot be changed.Search for an item by name, URL or ASIN.
Note: If, when searching for an item by name, you do not find the correct variant (e.g. color) of that item, search by URL or ASIN instead. Learn more
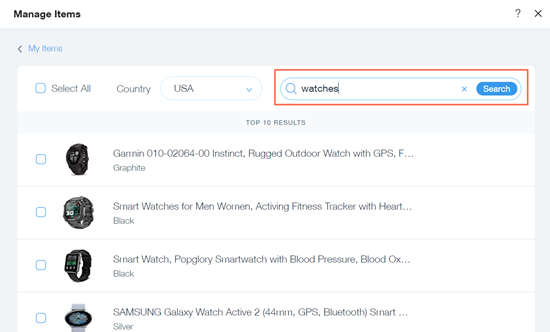
Select the items you want to display, or select the Select All checkbox.
Click Save.
Note:
It may take up to 24 hours for an item's information (e.g.) price to update. Click the Refresh icon to make the changes appear immediately.
Customize the app's settings and design
Now that you've connected your account and added your items, you can customize the app's settings and design to match your site.
To customize the settings and design:
Click the Amazon app in your editor.
Click Settings.
Click the Settings tab.
Drag the Items per row slider to change the number of items displayed in each row. You can have up to three items per row.
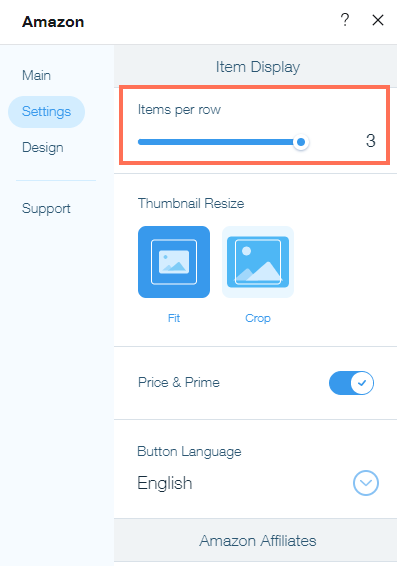
Click the Price & Prime toggle to enable or disable the Price & Prime details.Enabled: The price and Amazon Prime link are displayed.
Disabled: No price and Amazon Prime link are displayed.
Select an option under Thumbnail Resize to set how the item images are resized:Fit: The item image is resized to fit the app window.
Crop: The item image is cut to fit the app window.
Click the dropdown menu under Button language to select a language for the buy button under each item.
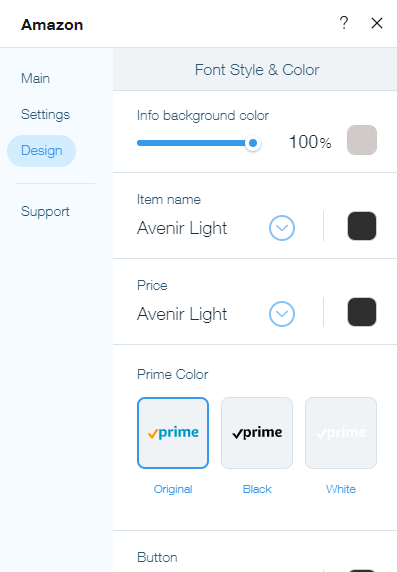
Click the Design tab.
Customize the app's Font Style & Color using the options below:Info background color: Drag the slider to change the opacity and select the color of the info background.
Item name: Select the font and color of the Item name text.
Price: Select the font and color of the Price text.
Prime color: Select the color of the Amazon Prime link.
Button: Select the font and color of the Buy Now button.
Customize the app's Hover Label using the options:Font color: Select the font color of the message that appears when you hover over an item.
Background color and opacity: Drag the slider to change the opacity and select to background color of message that appears when you hover over an item.