top of page

Setting up Retail POS sales

Wix Retail POS: Setting Up Text Receipts

Important:

  • This article is about Wix Retail POS tablet for brick & mortar businesses.

  • For info on using POS on a mobile device, click here.

Save paper by providing customers with receipts via text message (SMS). After you enable this option, you'll be able to select it at checkout.
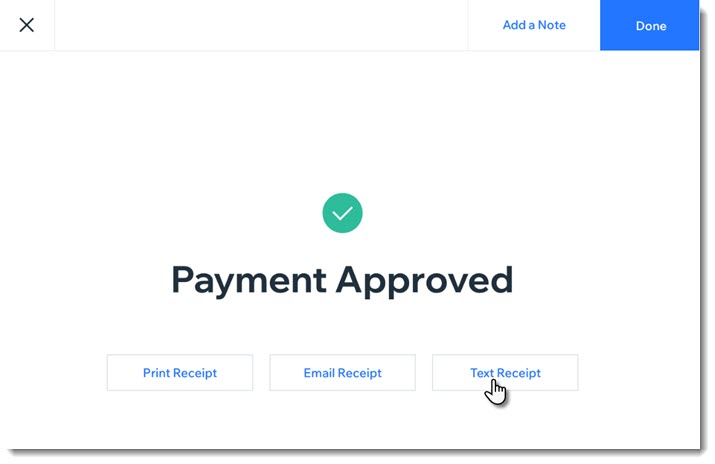
Screenshot of the screen you see after payment for a sale was approved. The screen show a text receipt option

Enabling text receipts

To display the text message receipt option at checkout, you must first enable text receipts.

To enable text receipts:

  1. Open the POS tablet.

  2. Tap the Menu icon  at the bottom left.

  3. Tap Settings.

  4. Tap Receipt on the left menu.

  5. Enable the Enable text receipts toggle.

FAQs

Click a question below to learn more about text receipts.

How do I enter phone numbers correctly?

Enter your customer's phone number, starting with the country code, then the area code, and the actual number. For US and Canadian numbers, enter 1 as the country code, as in the example below:

Screenshot of the field where you enter the phone number and the Text Receipt button

How can I send or resend a text receipt at a later date?

  1. Open the POS tablet.

  2. Tap Sales History from the bottom bar.

  3. Tap the relevant sale to select it.

  4. Tap Actions.

  5. Select Text Receipt.

  6. Enter the phone number and tap Text Receipt.

Need A Professional Website?
Contact Us 
Today!

Wix Restaurants: Setting Up Your Restaurant Address and Phone Number

Wix Restaurants: An Overview

Pricing Plans: Creating Coupons Using the Wix App

Pricing Plans: Customizing Your Plans on the Wix Mobile Apps

Pricing Plans: Enabling Invoices for Plan Purchases in the Wix App

Pricing Plans: Setting Up Tax in the Wix App

Pricing Plans: Connecting a Plan to Content & Services in the Wix App

Pricing Plans: Creating an Introductory Offer Using the Wix App

Pricing Plans: Selling Plans Offline Using the Wix App

Pricing Plans: Managing Purchased Plans in the Wix App

Pricing Plans: Creating Plans in the Wix App

Pricing Plans: Adding Pricing Plans in the Wix App

Pricing Plans: Updating the Payment Method on a Customer Subscription

Pricing Plans: Changing the Payment Date for Recurring Subscriptions

Pricing Plans: Understanding Wix Analytics Subscriptions Reports

Pricing Plans: Viewing and Downloading Analytics Reports

Pricing Plans: Viewing and Editing Your Client Information

Pricing Plans: Limiting Your Blog to Members Who Purchased a Pricing Plan

Pricing Plans: Viewing a Client's Subscription and Payment History

Pricing Plans: Canceling Client Plans

Pricing Plans: Checking How Many Package Sessions Were Used

Pricing Plans: Managing Your Clients' Subscriptions

Pricing Plans: Temporarily Suspending a Plan

Pricing Plans: Creating Discount Coupons

Pricing Plans: Selling Plans Offline

Pricing Plans: Displaying Different Plan Types Using Tabs

Pricing Plans: Customizing Your Thank You Page

Pricing Plans: Customizing the Mobile View of the Pricing Plans Page

Pricing Plans: Displaying Plans on Multiple Site Pages

Pricing Plans: Customizing the Look of Your Pricing Plans Page

wix experts
Graphic2Traffic web design
©
bottom of page