


Setting up Retail POS hardware
Wix Retail POS: About Your HP Barcode Scanner
Important:
This article is about Wix Retail POS tablet for brick & mortar businesses.
For info on using POS on a mobile device, click here.
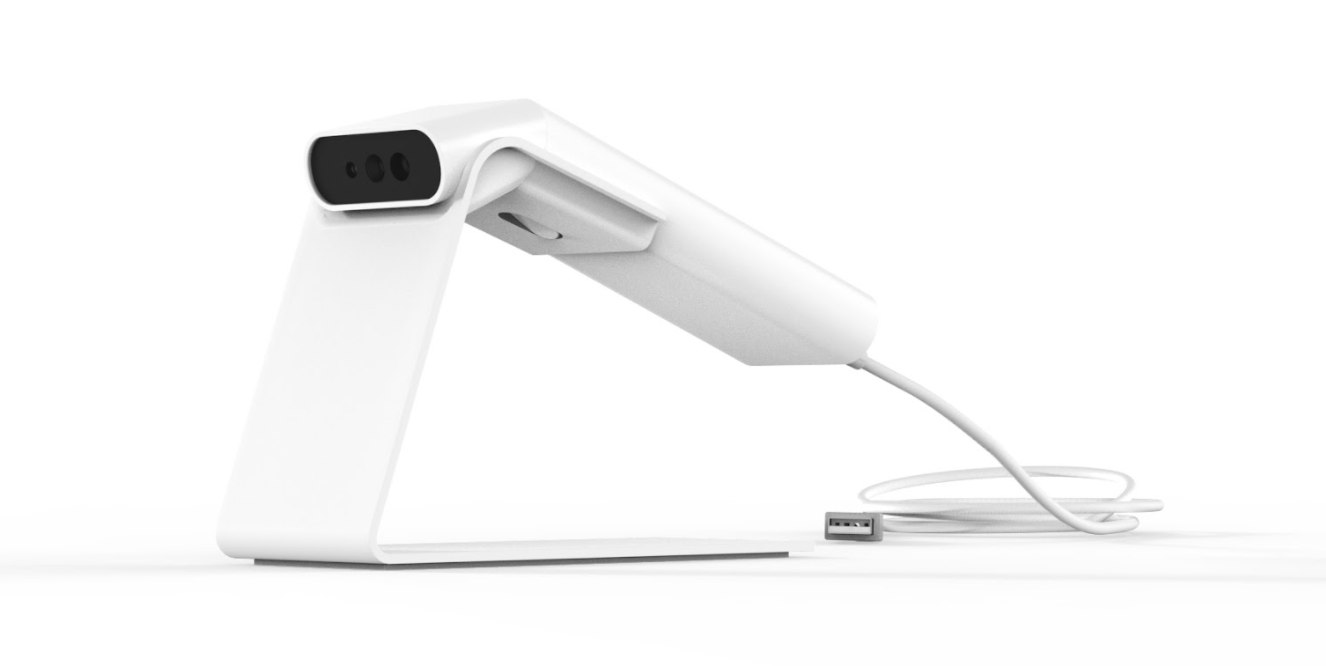
Use the Barcode Scanner to scan your products when customers are checking out or when you are adding new products to your catalog.
Learn how to:
Setting Up the Scanner
Start by connecting the scanner to the tablet, then go to your hardware settings to verify that it's connected correctly.
To set up the scanner:
Connect the cable to the scanner and to the tablet.
Note: This automatically turns the scanner on.Open the POS tablet.
Tap the Menu icon
 at the bottom left.
Tap Settings.
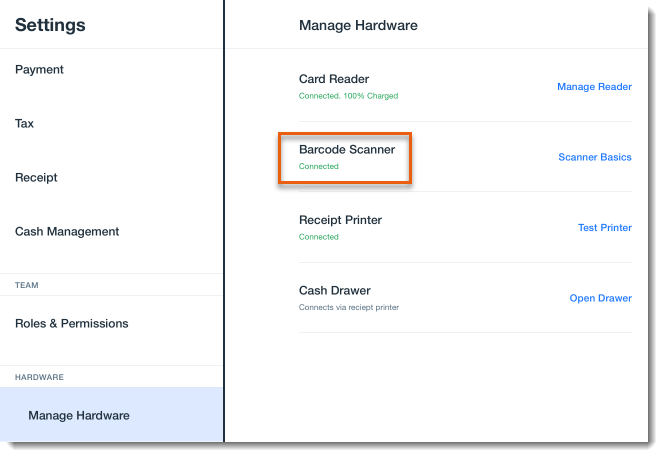
Tap Manage Hardware.
Check the status under Barcode Scanner. If the scanner is connected properly, the status should read Connected.
Scanning Products with the Barcode Scanner
The barcode scanner's red light means ready to use. The scanner beeps and the light changes to green when it successfully scans a product.
To scan products:
Pick up the barcode scanner.
Hold the scanner's trigger button and, without letting go, aim the scanner's beam to the center of the product's barcode.
Release the button after you hear the beep.
Tip:
You can also scan products without having to hold the button. Place the scanner on its stand and hold the product's barcode in front of the red beam.
Maintaining the Barcode Scanner
To keep the scanner functioning properly, follow the guidelines below.
To maintain the barcode scanner:
Keep the scan window clean and without scratches.
If there is a stain on the scan window, clean it using a soft cloth (e.g. an eyeglass cleaning cloth).
Do not spray any liquid on the scan window.
Do not use any detergent to clean other parts of the device except for water.
Troubleshooting Your Barcode Scanner
If your barcode scanner stops responding or doesn't act normally, disconnect it from the tablet and then reconnecting it.