


Creating your Wix Restaurants menu
Wix Restaurants: Adding Images to Your Menus
Important:
This article is about the original Wix Restaurants Menus App. Try out our new, improved menu app. Learn how to add and set up Wix Restaurants Menus (New) app.
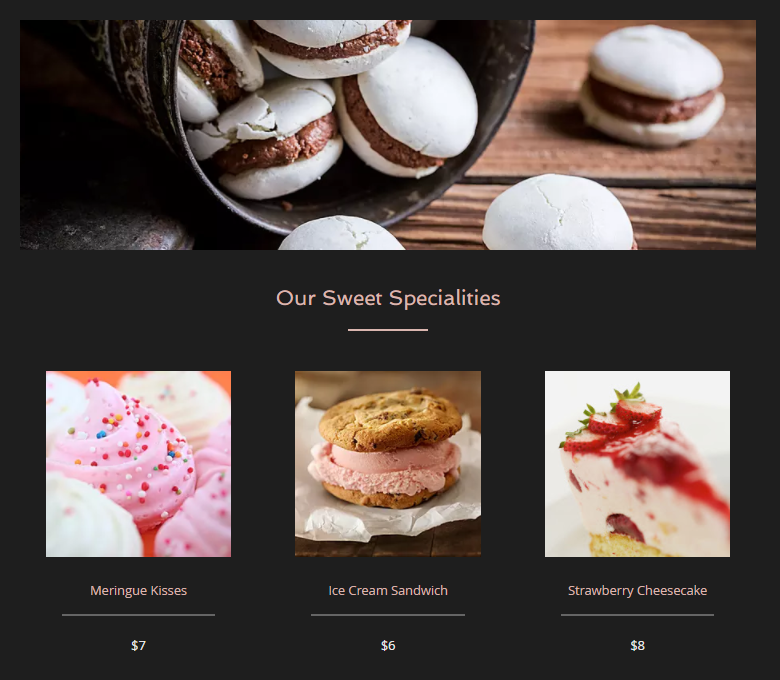
Adding images to your Wix Restaurant menus is a simple yet powerful way to showcase your culinary creations. Not only does this make your menu more appealing, but it also gives potential customers a visual taste of what they can expect, potentially driving more orders.
For instance, imagine you're running a bakery. By adding mouth-watering images of your freshly baked breads and pastries under each menu section, such as 'Breads', 'Cakes', 'Pastries', or 'Specials', you're giving customers a reason to explore further and place an order.
What if you don't have an image for a specific dish? No worries. You can add placeholder images for those dishes, ensuring your menu always looks complete and professional.
In this article, learn more about:
Important:
Make sure section images are visible on the online ordering page: Click the Wix Restaurants Orders app in the Editor and select Settings. Then, in the Layout tab, select Show section images.
To display images in your menu, choose a layout with section images, dish images, or both.
Want to learn more?
Check out the course in Wix Learn about creating online menus.
Adding images to menu sections
You can easily add images to different menu sections (e.g. appetizers, main course, desserts).
To add an image to a menu section:
Go to Menus in your site's dashboard.
Go to the section you want to add an image to and select the relevant section.
Click Edit next to Section Info.

Hover over the image and click Update to edit.
Select an image or click Upload Media to upload a new one.
Click Add to Page.
Click Save.
Adding images to dishes
You can add images to individual dishes on your menu.
To add an image to a dish:
Go to Menus in your site's dashboard.
Go to the dish you want to add an image to and select the dish.
Click Edit next to Dish Info.

Hover over the image and click Change Image.
Select an image or click Upload Media to upload a new one.
Click Add to Page.
Click Save.
Adding placeholder images
You can upload placeholder images which appear any time a dish does not have its own image.
To add a placeholder image:
Go to Menus in your site's dashboard.
Go to the menu you want to add a placement image to and select the menu.
Click the More Actions icon
 in the top right corner.
Click Set Placeholder Image.
Click Change Image.
Select an image or click Upload Media to upload a new one.
Click Add to Page.
Click Save.
Guidelines for images in Wix Restaurants
You can upload images to menu sections (e.g. Appetizers, Beverages, etc.) and to individual dishes.
General recommendations for Wix Restaurants images:
Images should be less than 30 MB.
Image width should be less than 4000 pixels.
Image height should be less than 4000 pixels.
There are no image format restrictions.
The recommended image ratio varies depending on the layout you choose to use in Wix Restaurants Menus and Wix Restaurants Orders.
Recommendations for dish image ratios in Wix Restaurants menus:
Yummy layout: 1:1 ratio
Catalog layout: 1:1 ratio
Other layouts: 4:3 ratio
Recommendations for dish image ratios in Wix Restaurants orders:
Strip layout: 1:1
Card layout: 4:3
The image ratio should be 1:4.